

 Daria "Foxdari" Sedelnikova
Lae'zel is a githyanki warrior specializing in two-handed weapons. At first glance, she appears ruthless and uncompromising, strictly loyal to the traditions of her people. To earn Lae'zel’s respect, you'll need to show strength and determination.
As a protagonist, Lae'zel presents herself as an unyielding and determined woman, willing to go to any lengths to complete her mission and return to her people.
About the character
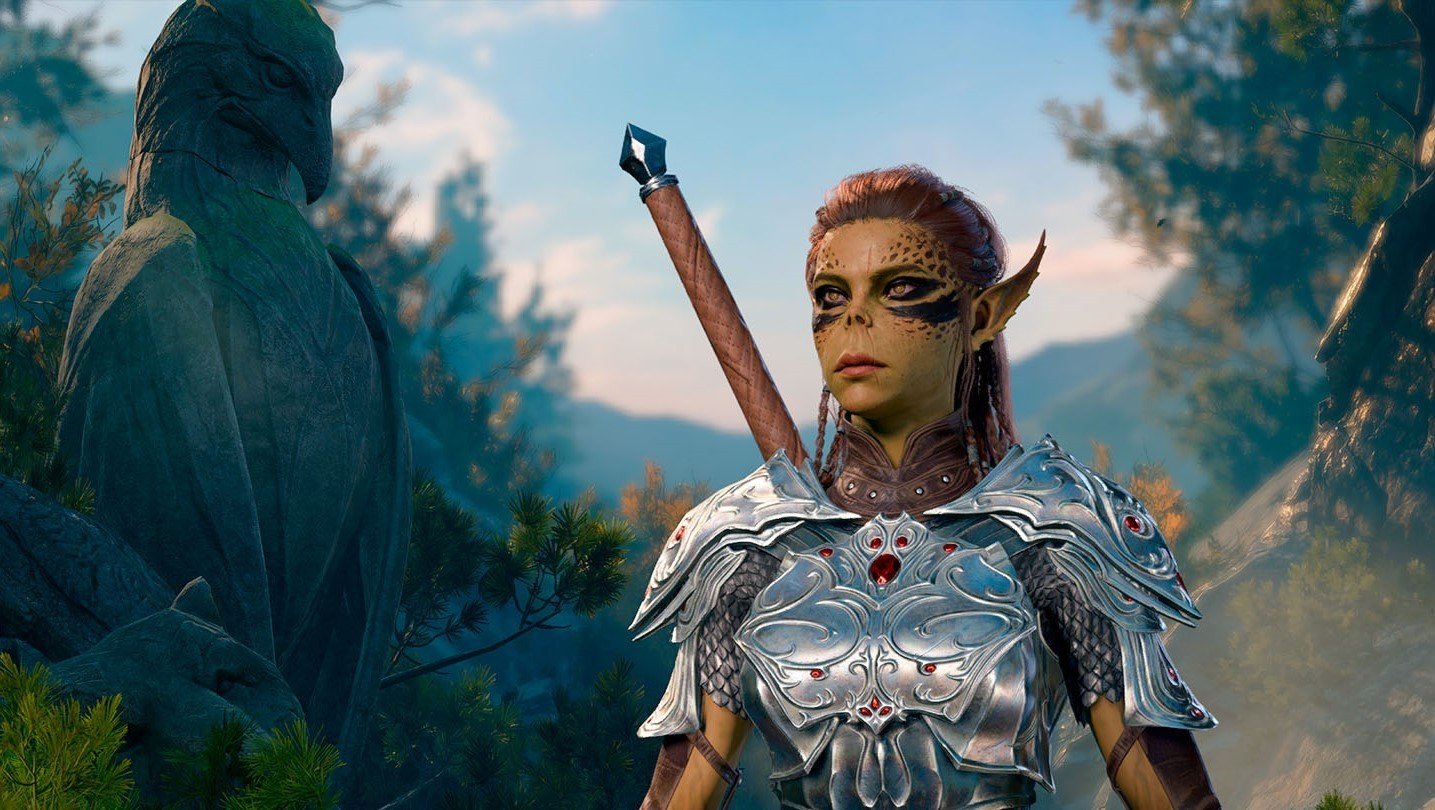 Image: Ensigame / Lae'zel in BG3
- Race: Githyanki
- Class: Warrior
- Location: Nautiloid, Wilderness
- Starting Health: 12
- Equipment: Heavy armor
- Skills: Athletics, Acrobatics, Survival, Intimidation
- Voice Actor: Devora Wilde
Basic Character Stats:
|
Strength |
Dexterity |
Constitution |
Intelligence |
Wisdom |
Charisma |
|---|---|---|---|---|---|
|
17 |
13 |
15 |
10 |
12 |
8 |
For beginners, we recommend using the preset stats. Larian Studios has carefully balanced the parameters, taking into account racial features and class requirements. Inexperienced players may make mistakes when allocating points.
Overview
 Image: Ensigame
- Appearance: Lae'zel is a typical representative of the githyanki race. She has long dark hair, yellowish-green skin, and yellow eyes with vertical pupils. Her body is covered with dark pigment spots, and she has a long vertical scar running from her forehead to her chin. Like all githyanki, Lae'zel is lean, with pointed ears and a flattened nose. She wears steel armor and wields a longsword.
- Personality: A fierce warrior, Lae'zel is powerful even by the standards of her people. She values toughness, persistence, determination, and strength. She despises displays of compassion and views unnecessary help to others as weakness. In terms of Dungeons & Dragons morality, she can be described as lawful evil.
- Behavior: Lae'zel prefers to resolve conflicts through combat and intimidation. She is determined and will do anything to complete her mission and return to her people. She claims that she will go to any lengths to earn the favor of her queen. Faced with the threat of transformation into a mind flayer — the very enemy she swore to destroy — Lae'zel strives to prove she is worthy of reuniting with her people, even if they decide to execute her.
Backstory before the game
 Image: Ensigame
Githyanki are born from eggs kept in pools of acid. Warriors try to lay their eggs at the same time so all the offspring hatch together. If a githyanki does not hatch with the others, the egg is destroyed.
Lae'zel was born in the K'liir nurseries, also known as Stardock. This githyanki enclave is located on an asteroid in the Tears of Selûne, a cluster surrounding the moon of the same name. Here, among the stars and rocks, young Lae'zel received the traditional upbringing of her people. She was trained in the art of war, raiding tactics, and looting in the name of Vlaakith. These brutal training sessions forged her character, turning her into a ruthless warrior.
 Image: steamcommunity / Lae'zel
From a young age, Lae'zel was indoctrinated with hatred for the illithids — the eternal enemies of the githyanki. She was taught a sense of superiority over other races, which eventually grew into open disdain for all those who did not belong to her people. The young warrior was prepared to do whatever it took to complete her tasks, showing no mercy or hesitation. Her mind was as sharp as a blade, and her will was as unyielding as the steel of her armor.
Lae'zel participated in several dangerous expeditions. Alongside her cohort, she fought on a neighboring asteroid, demonstrating remarkable bravery and skill. Later, her group of young githyanki launched a daring raid on another ship, wiping out the entire crew. Despite her achievements in battle, her peers still considered her an inexperienced warrior.
 Image: Ensigame / Lae'zel BG3 Build
Eager to prove her worth to Vlaakith and earn the right to join the adult githyanki in the Astral Plane, she took a desperate step. Lae'zel set out in search of mind flayers, creatures she had only heard of in legends. Her goal was to claim the head of an illithid and present it to the queen as a trophy.
Fate dealt Lae'zel a cruel blow. During her mission, she was captured by a nautiloid, a living ship of the mind flayers. The githyanki warrior became a prisoner of her sworn enemies.
Racial traits
In the world of Dungeons & Dragons, the githyanki are a race of warriors who were once slaves to the illithids. As a result of this connection, they gained psionic abilities. Githyanki live in the Astral Sea, and they possess unique Astral Powers known as Githyanki Psionics. They have access to spells such as Mage Hand, Enhance Leap, and Misty Step.
In addition, githyanki have the ability Astral Knowledge, which grants proficiency bonuses to all skills.
Class Features
Warriors in Dungeons & Dragons are strong tanks, capable of withstanding powerful melee attacks and dealing significant damage. Their power comes from their primary attributes — Strength or Dexterity.
|
Title |
Description |
|---|---|
|
Second Wind  |
A bonus action can restore a portion of Laezel's health. |
|
Great Weapon Fighting  |
If the result of a two-handed damage roll is 1 or 2, Laezel may reroll the die once. |
We have a detailed Fighter guide in Baldur's Gate 3, there we have detailed the skills, builds and benefits of the class.
Origin
Background Lae'zel — a soldier, fitting the backstory of the heroine herself and the lore of githyanki, who are raised in spartan conditions.
|
Characteristics |
Description |
|---|---|
|
Athletics |
The success of a shove during battle and resistance to being shoved by enemies depend on Strength. |
|
Intimidation |
This also helps in social interactions, as you can use intimidation to get the truth from your interlocutors! |
Lae'zel BG3 Build
Lae'zel is one of the fiercest warriors in Baldur’s Gate 3, dealing powerful blows and enduring enemy attacks. As a githyanki, she is focused on delivering maximum damage and dominating in close combat. However, despite her strength, it's crucial to consider her survivability, especially in later stages of the game. We recommend using medium armor to balance defense and mobility.
Let’s look at the best feat for Lae'zel.
- Durable: Increases maximum health and allows Lae'zel to fully restore HP during a short rest.
- Ability Improvement: Use this ability to increase her Strength and Constitution, boosting her damage output and health.
- Alternatively, you can choose Great Weapon Master twice instead of Durable. Critical or fatal hits allow an extra attack as a bonus action. Lae'zel often finds herself surrounded by enemies, and this feat will grant a bonus to attacks with two-handed weapons. The attack rolls receive a -5 penalty, but the damage increases significantly.
For more tips on building a Fighter in Baldur’s Gate 3, check out our other guide.
Where to find Lae'zel
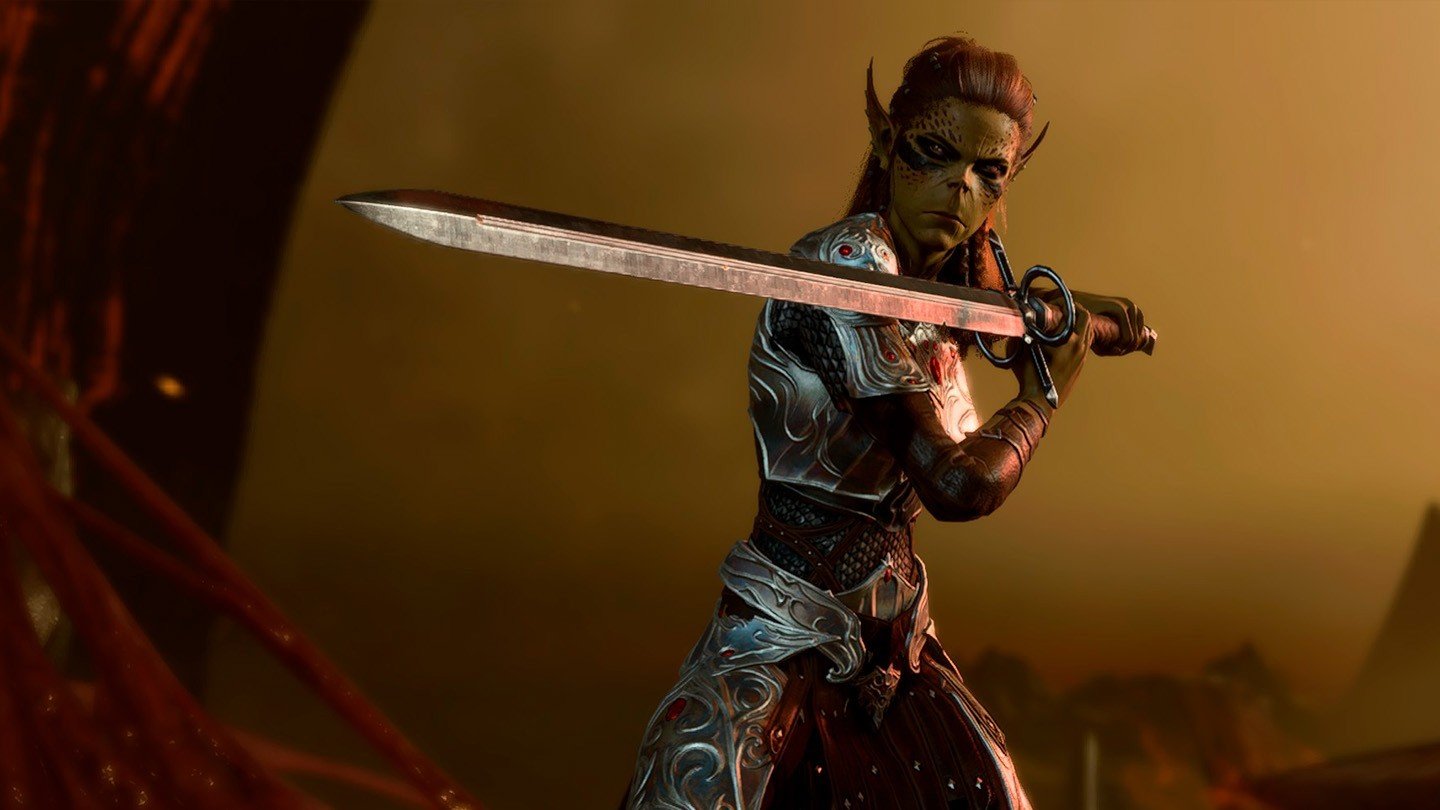 Image: Ensigame / Where to find Lae'zel
Lae'zel first appears as a temporary companion during the prologue. After that, you can find her imprisoned by tieflings in the Wilderness starting area. You must rescue her from captivity, otherwise, you won’t be able to invite her to your party. There are several ways to do this: kill the tieflings, convince them to release Lae'zel, or persuade them to flee.
How to romance Lae'zel
Initially, Lae'zel is only interested in the player's combat potential and will propose a night of indulgence to satisfy her desires. If the player starts a romance with another character, romantic scenes with Lae'zel will no longer be possible. Instead, she will mention that she was interested in you but now prefers "fresh meat", hinting at a fling with someone else.
Lae'zel Approval
 Image: steamcommunity / How to romance Lae'zel
Lae'zel disapproves of hesitation and indecision, favoring bold and decisive actions. Support her desire to rid herself of the mind parasites, prioritize brute force over diplomacy, and you will quickly gain approval from this githyanki warrior.
Here’s what Lae'zel approves of:
- Refuse to expel Lae'zel from the party when Shadowheart demands it.
- Strike Aradin and Zevlor after the goblin raid.
- Don’t assist Zevlor.
- Scold Elegis for fearing the goblins.
- Allow Lae'zel to interrogate Zorru and compliment her on her performance.
- Talk to Zevlor if Arabella dies after the goblin raid.
- Do nothing when Kagha threatens Arabella.
- If you kill the Owlbear, kill its cub as well.
- Attack Fezzerk’s gang.
- Fight Gut in the throne room.
- Offer help to Anders.
- Recruit Karlach.
- Intimidate Salazon.
- Let Lae'zel be the first to use the extraction device in the githyanki creche.
- Convince Varrl to give you the book about Orpheus.
How to Romance Lae'zel
 Image: steamcommunity / How to romance Lae'zel
Lae'zel is often at odds with other companions, especially Shadowheart. From the start of the game, the warrior displays her straightforward and aggressive personality, preferring to solve problems through force. She isn’t interested in emotional closeness, and her attraction to you is based on instincts and physical desire.
- Romantic Scene: Starting a romance with Lae'zel is quite simple. Once you’ve earned enough approval points, she will suggest spending the night together. Your first intimate scene will be brief and without romance, but you can repeat such encounters whenever you wish.
- Relationship Development: The next stage of your relationship begins at the githyanki creche, an important location that you should visit in Act 1 when you reach level 5. Here, Lae'zel will insist on leading negotiations with the githyanki brood and using the device to extract the parasite. Let her do this, and after returning from the Astral Plane, share your thoughts with her. This will strengthen your bond and advance your relationship.
To transition from mere instinctual attraction to a real relationship with Lae'zel, you’ll need to wait for the night when she attacks you. This is her way of testing the character’s strength and endurance. Defeat her in combat, and Lae'zel will recognize you as a worthy partner.
Reaching true romance requires convincing Lae'zel to reject her tyrannical queen and side with the rightful heir, Orpheus. In this case, a new romantic scene will unfold without physical intimacy. Lae'zel will become sentimental and offer to watch the sunrise with you, confessing her feelings.
Lae'zel’s Quest
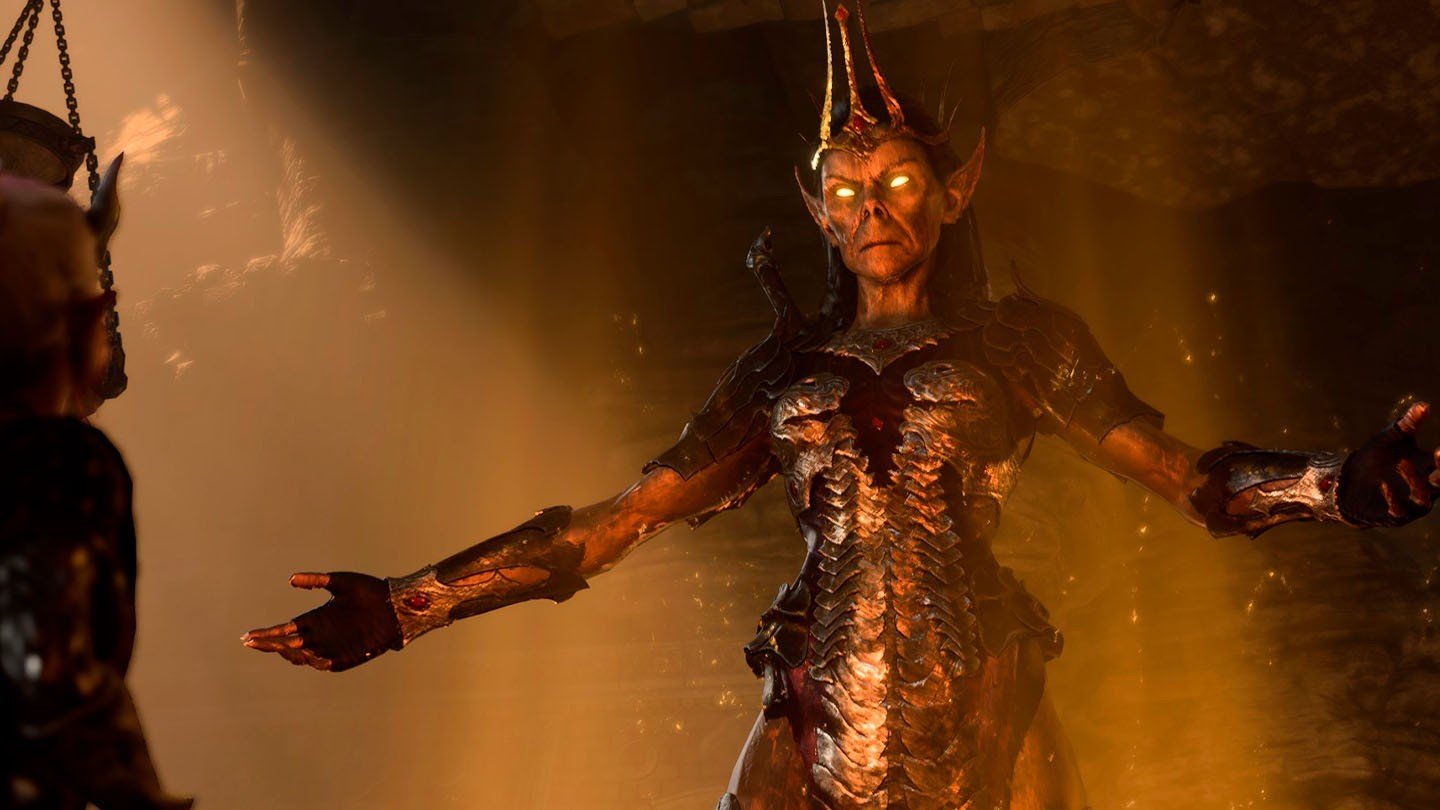 Image: Ensigame / Lae'zel’s Quest
Lae'zel’s personal quest is called "The Githyanki Warrior" and spans all three acts of the game. The main goal is to find a way to extract the illithid parasites and prove her worth to the githyanki people.
In Act 1, Lae'zel joins the party after escaping from the illithid ship. After the crash, you temporarily lose track of her but soon find her imprisoned by tieflings. Once freed, Lae'zel reveals her plan to find the githyanki creche, where the illithid parasites can be removed.
Your search leads to a tiefling named Zorru in Emerald Grove, who directs you to the mountain pass in the northwest. There, you encounter a group of githyanki and their leader, Voss, who tells you that the creche is located west of the pass, in another location.
In Act 2, in the Rosymorn Monastery area, Lae'zel insists on finding the creche. In the infirmary, you meet Stornuggoss, who tells you about the device used to extract parasites. Lae'zel demands to undergo the procedure first. You must decide who will go through the extraction first: Lae'zel or yourself. This choice will affect Lae'zel’s trust in the party and your relationship with her.
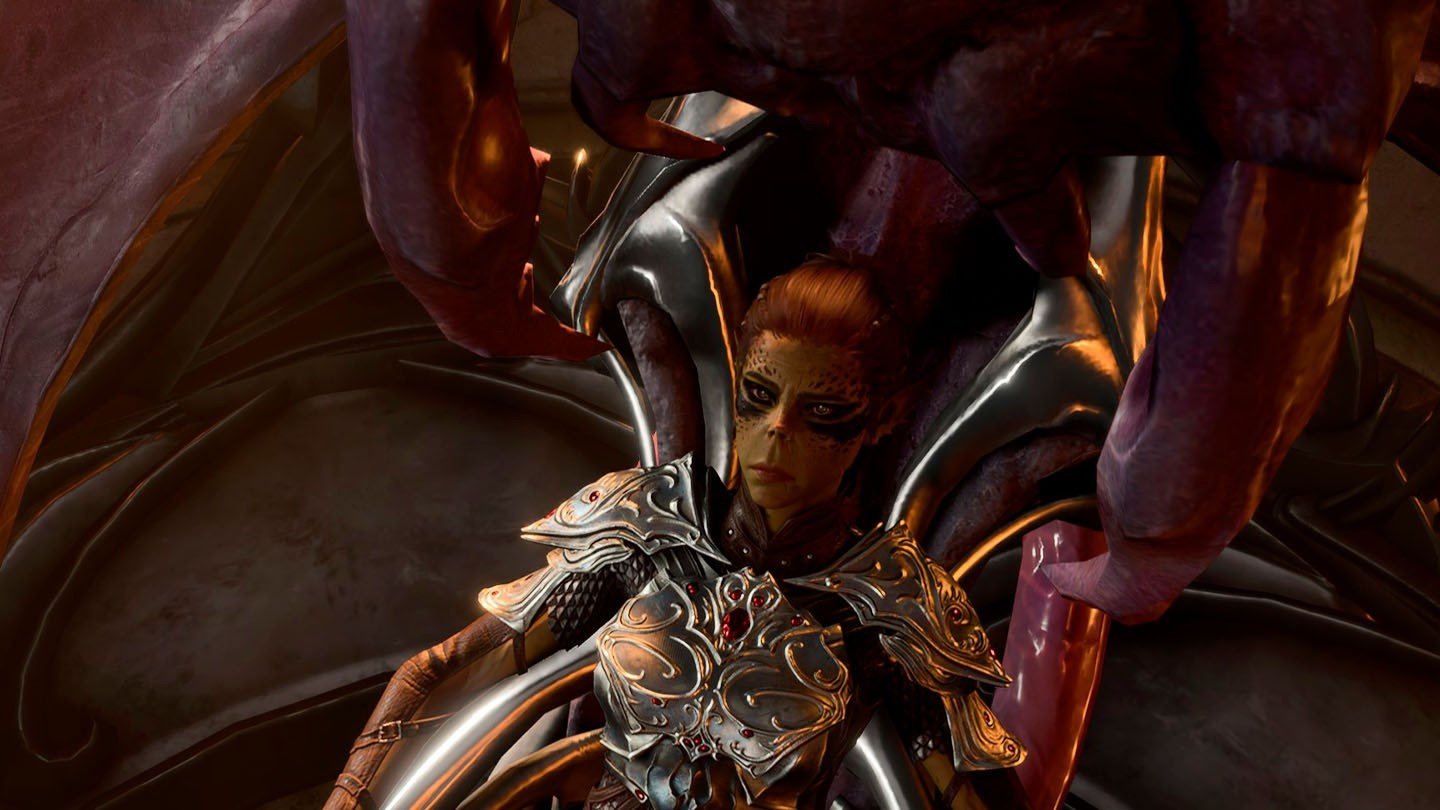 Image: Ensigame
In Act 3, in Rivington, you need to visit Sharess’ Caress Inn. On the third floor, you’ll find Voss, who is attempting to strike a deal with the devil Raphael. Raphael will dismiss him and offer you a deal instead: the Orphic Hammer, which can free Prince Orpheus, in exchange for the Netherese Crown. Voss needs this hammer to rescue the prince.
You can refuse Raphael’s deal, and afterward, you, Lae'zel, and Voss can plot to steal the required item from the devil’s house. This option allows you to avoid losing approval from any companions, and you can still accept Raphael’s deal later if desired.
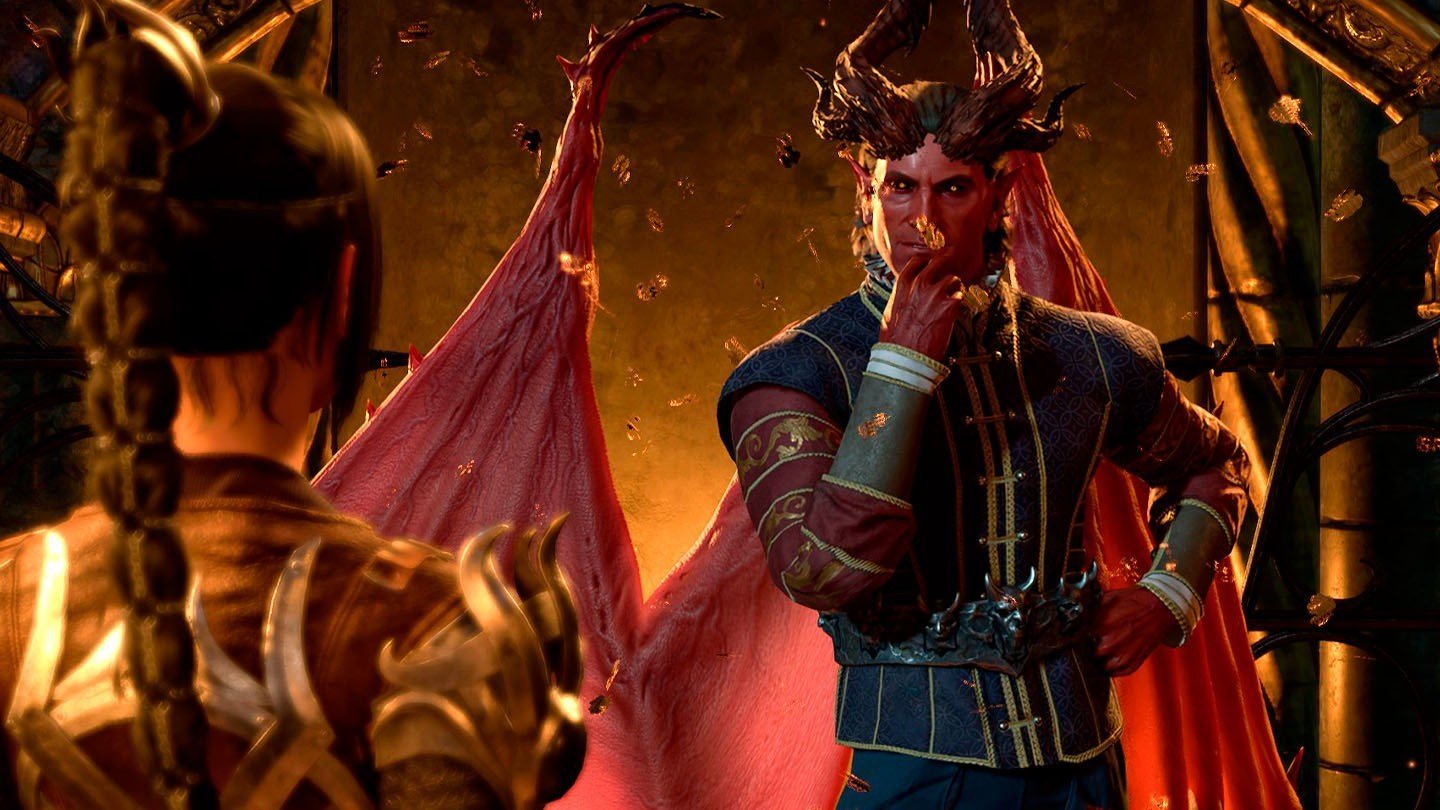 Image: Ensigame
Alternatively, you can accept Raphael’s deal and sign the contract. Gale and Karlach will disapprove of this choice. Gale will insist on finding and destroying the contract in the devil’s house immediately.
After the conversation with Raphael, Voss will ask for details and will demand that you attempt to obtain the Orphic Hammer, telling you to meet him in the sewers.
Later, in the camp, Vlaakith’s projection will appear and command Lae'zel to kneel and kill Orpheus. If Lae'zel has previously rejected the queen and found incriminating evidence against her, the player can try to convince Lae'zel to forever renounce the tyrant and side with the true heir.
 Image: Ensigame
Later in the story, the party will enter the Astral Prism, an artifact held by Shadowheart, where The Emperor and Orpheus are imprisoned. Several factions will clash here: the githyanki want to kill Orpheus, the Emperor wants to consume his brain, and you stand in the middle. You’ll need to fend off the attacks, free the prince, or allow the illithid to consume his brain.
If you free Orpheus, he will initially be hostile but will join the party once he understands the world’s situation. He may even sacrifice himself and become an illithid, something he hates most.
Lae'zel’s quest has two major outcomes. A war begins against the githyanki queen’s tyranny, with Orpheus and Voss leading a revolution, and Lae'zel joins them. If Orpheus dies or becomes an illithid, Lae'zel will still join Voss. In the epilogue, Lae'zel will not attend the party’s gathering but will send her astral projection to tell the group about the results of the revolution.
 Image: Ensigame
The alternative is for Lae'zel to remain loyal to the queen and ascend. Having carried out the order to kill the heir, she is once again accepted into Vlaakith’s sanctuary. The final scene has a dark tone, with the queen forcing Lae'zel to kneel before her throne while the githyanki silently watch. Lae'zel then disappears, and rumors spread that the queen devoured her.
Main image: reddit.com


0 comments