
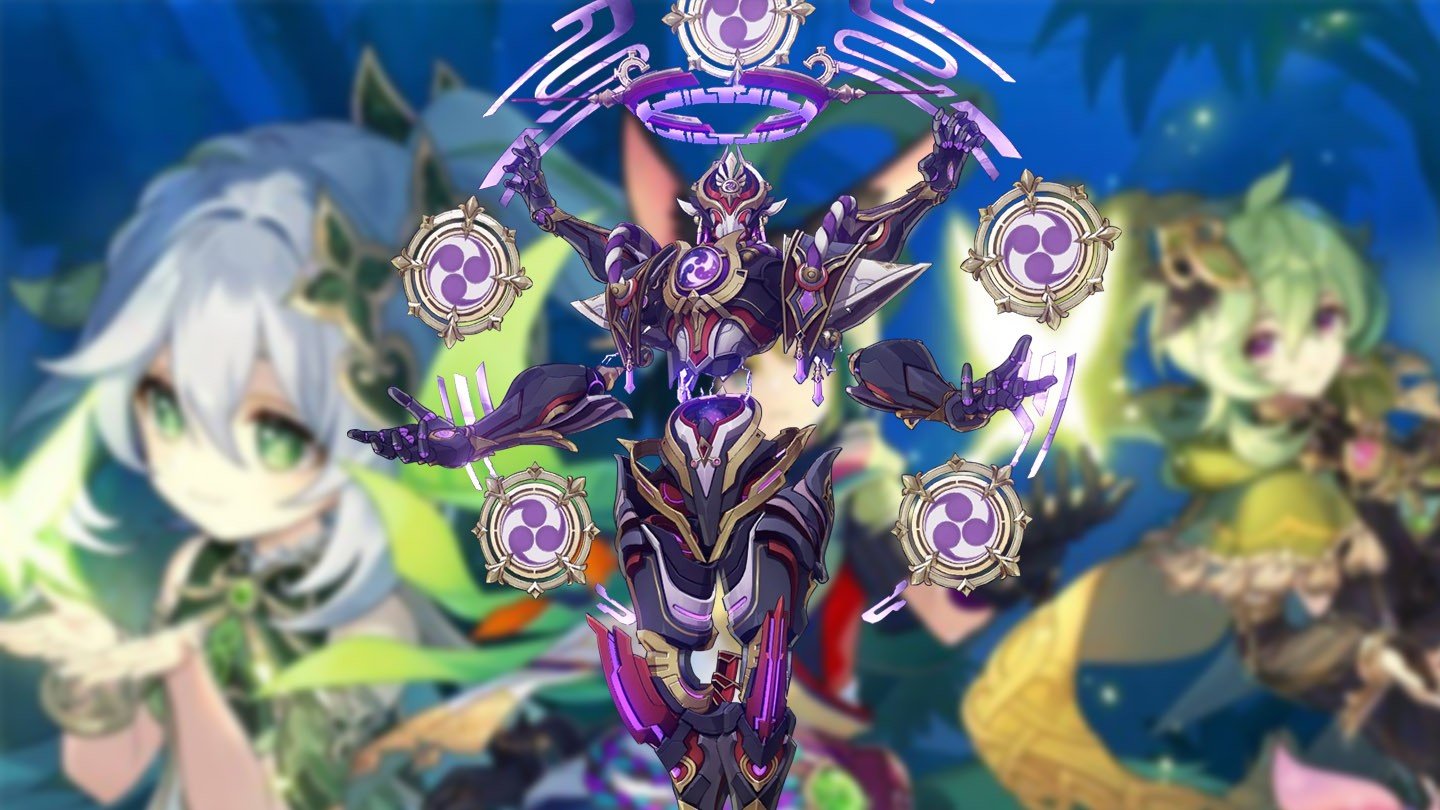
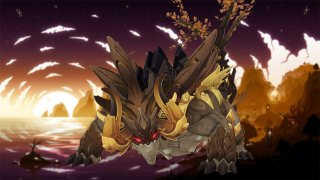
Shouki no Kami, Scaramouche, Everlasting Lord of Arcane Wisdom—these are all names of the weekly boss in Sumeru. Originally created as a puppet vessel for Raiden, he was rejected and set out on a solitary journey until encountering the Fatui. The character's arc ended in Inazuma, but he returned to the Wisdom region as a powerful enemy with valuable loot.
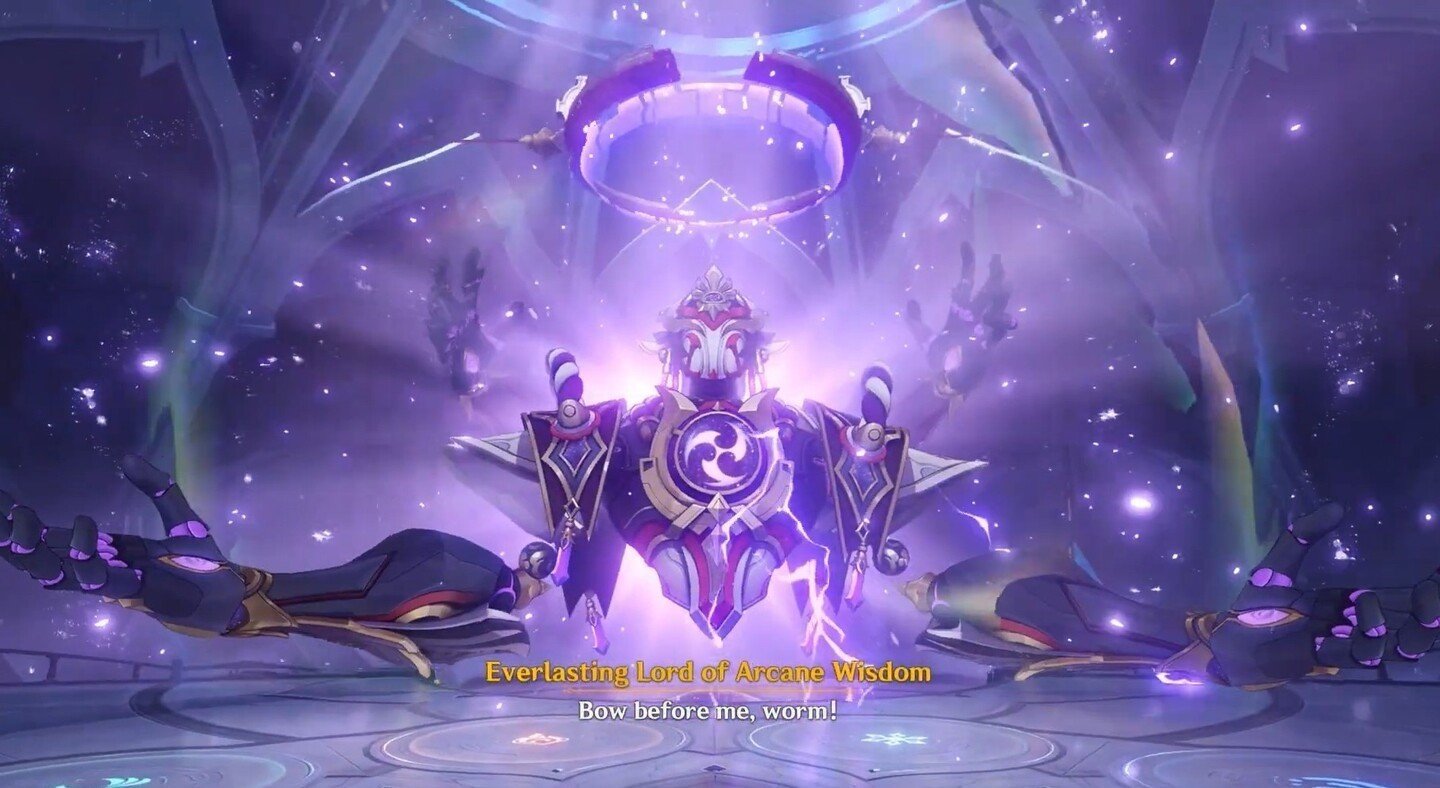 Image: youtube.com
In this guide, you will learn:
- How to unlock the Everlasting Lord of Arcane Wisdom and where to farm the boss afterwards;
- The achievements available for defeating him;
- A list of materials you can obtain after defeating him, and their uses for character talent leveling and ascension.
Tactics will help you win, and the drop information will allow you to plan your character development in advance.
How to Unlock and Where to Find?
To unlock the ability to defeat the boss weekly, you need to complete the story chain "Akasha Pulse and the Flame of Kalpa." The quest to unlock the battle with Scaramouche is the task "Where the Ship of Consciousness Drifts."
Afterward, to start the battles, you will need to find the punishment dungeon called "Zeruri Workshop." Four difficulty levels are available for the "Shining Altar of Eternity."
Best Characters for Fighting the Boss
The battle is divided into two phases. The boss has extremely high attack and health stats, but they can increase and decrease depending on the phase. In the second phase, the boss's max health will be lower than in the first phase, but the damage he deals will be higher.
Additionally, Shouki no Kami has resistance to specific damage types: 50% to Electro and 10% to all other elements. In the second phase, these stats change: 90% resistance to Electro and 30% to all other elements.
When Scaramouche is shielded, his resistances increase to 290% to Electro and 230% to other elements, respectively. If stunned, he loses resistances and becomes 140% more vulnerable to all elements except Electro (for which his resistance drops by 80%).
Almost any character can be used for the fight, except for Electro characters, of course. Specifically, characters who can deal damage from a distance and avoid getting close to the boss are ideal, as this will make activating the Electro matrices easier during the first phase (more on that later).
Team Examples
Let's review the most effective teams for fighting the boss.
|
Character 1 |
Character 2 |
Character 3 |
Character 4 |
Description |
|---|---|---|---|---|
|
Hu Tao |
Xingqiu |
Rosaria |
Citlali |
A team focused on the Vaporize reaction. Works especially well if Hu Tao has the Dragon's Bane weapon. |
|
Ganyu |
Nahida |
Bennet |
Zhongli |
Ganyu acts as the main carry, protected by Zhongli's shield from interruptions. Nahida applies Dendro status, and Bennet boosts team damage. |
|
Ayaka |
Ganyu |
Furina |
Kazuha |
Ayaka is the main carry, with Ganyu supporting her damage. Furina heals the team. |
|
Yoimiya |
Ganyu |
Kazuha |
Layla |
Yoimiya deals significant Pyro damage from a distance, staying safe with Layla's shield. |
Attacks and Abilities of the Everlasting Lord of Arcane Wisdom
The battle is clearly divided into two stages.
First Phase
The boss is stationary, and the fight takes place on a small platform in front of him. Elemental matrices are embedded in the floor at the back. During the battle, green crystals will drop from the boss, which you can pick up to charge the Akasha Terminal (a flying creature resembling a rabbit near you).
Once the terminal is fully charged, you can activate one of the elemental matrices. To do this, stand on it and press the "T" key. Depending on which matrix you use, the following effects will activate:
- Cryo – Clears the platform of Pyro;
- Pyro – Clears the platform of Cryo;
- Anemo – Creates an air current, allowing the character to fly (helps to dodge the boss's abilities);
- Hydro – Restores the player's health;
- Electro – Applies the "Suppression" effect to one of the boss's hands.
Activating them is not mandatory, but it will make the fight much easier. Try to activate the Electro matrix as often as possible. If you manage to trigger both in quick succession and apply the "Suppression" effect twice, the boss will instead receive the "Stun" effect, making him completely helpless for several seconds.
While "Suppression" is active, Shouki no Kami will shoot lightning at the player from the functioning hand, dealing Electro damage.
"Divine Hand"
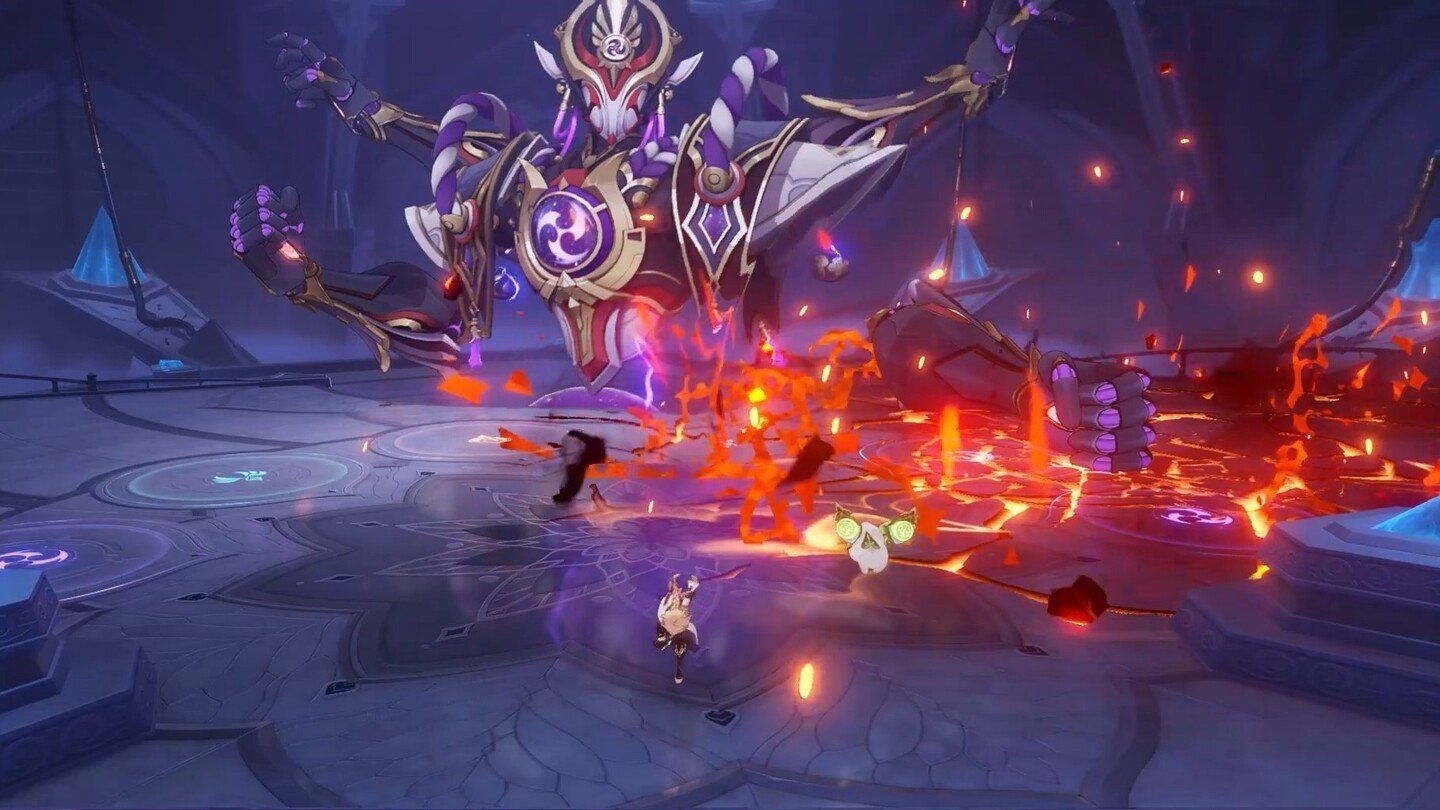 Image: youtube.com
The boss punches the platform, leaving a Pyro or Cryo puddle on the ground that damages the player. After a few seconds, he swings his hand again, reapplying damage and spreading the effect across the platform. To get rid of the AoE, activate the corresponding matrix.
"Punishment"
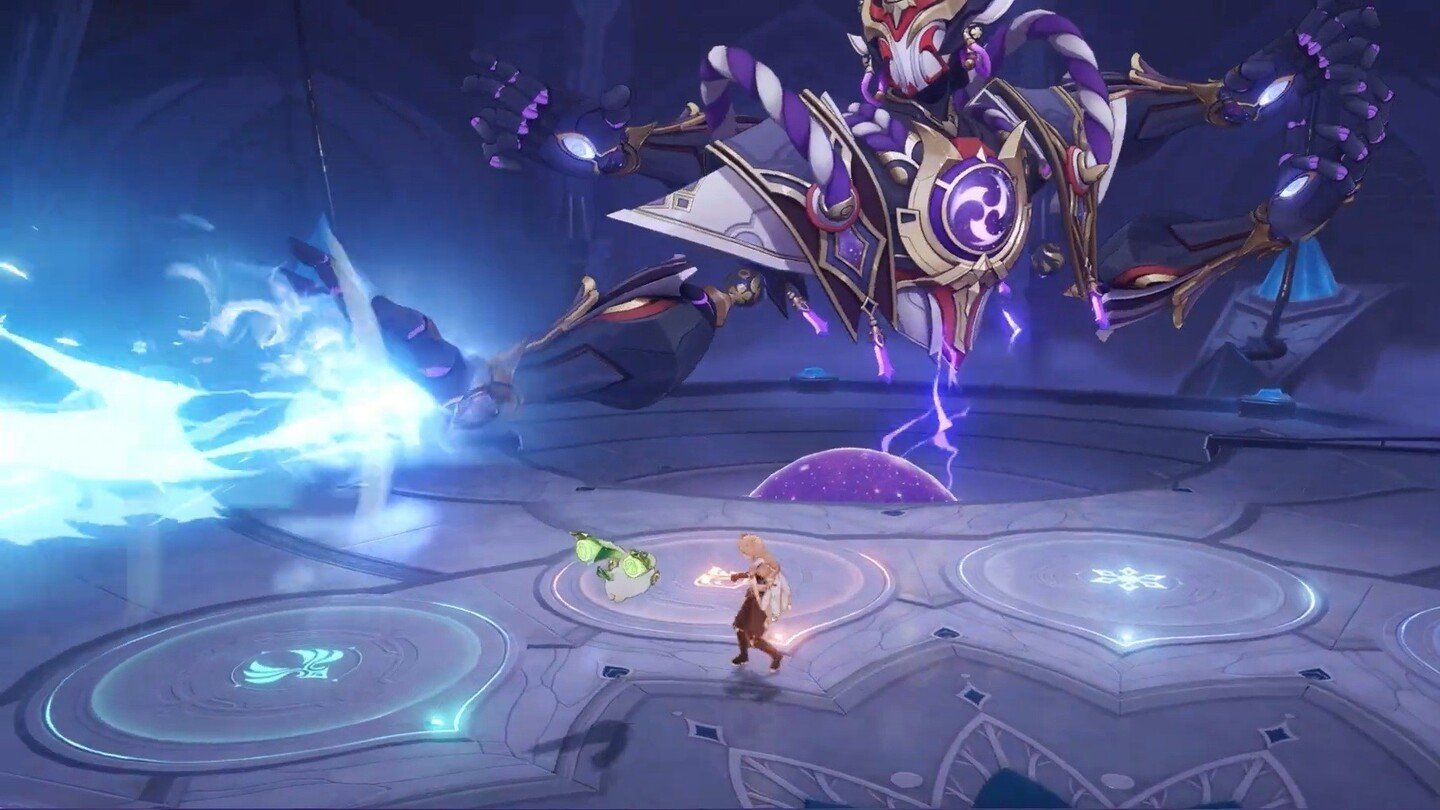 Image: youtube.com
After a brief delay, the boss begins to sweep his hand over the platform, releasing a Pyro or Cryo beam in front of him, leaving corresponding puddles on the ground. Upon reaching the opposite edge of the platform, Shouki no Kami punches the ground, dealing ice or fire damage in the area and leaving puddles. This can be countered with the Anemo matrix.
"Cyclone"
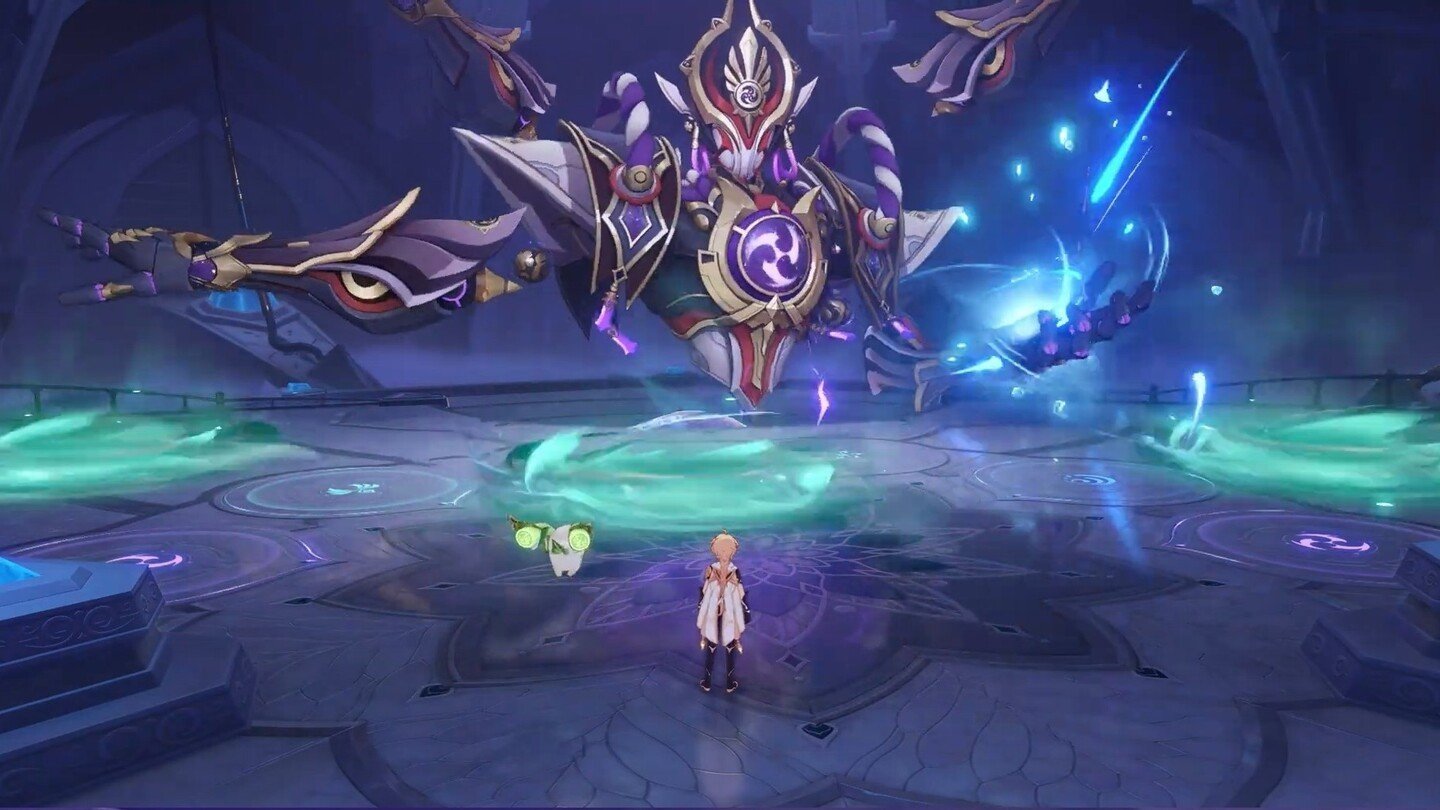 Image: youtube.com
The boss summons three air vortices that pull the player in and deal Anemo damage. After a few seconds, they transform into Hydro vortices.
"Annihilation"
 Image: youtube.com
After a short charge-up, the boss unleashes a powerful Electro beam, dealing damage across the entire platform every second. After several seconds, a massive explosion follows, which can only be dodged using the Anemo matrix.
"Psionic Storm"
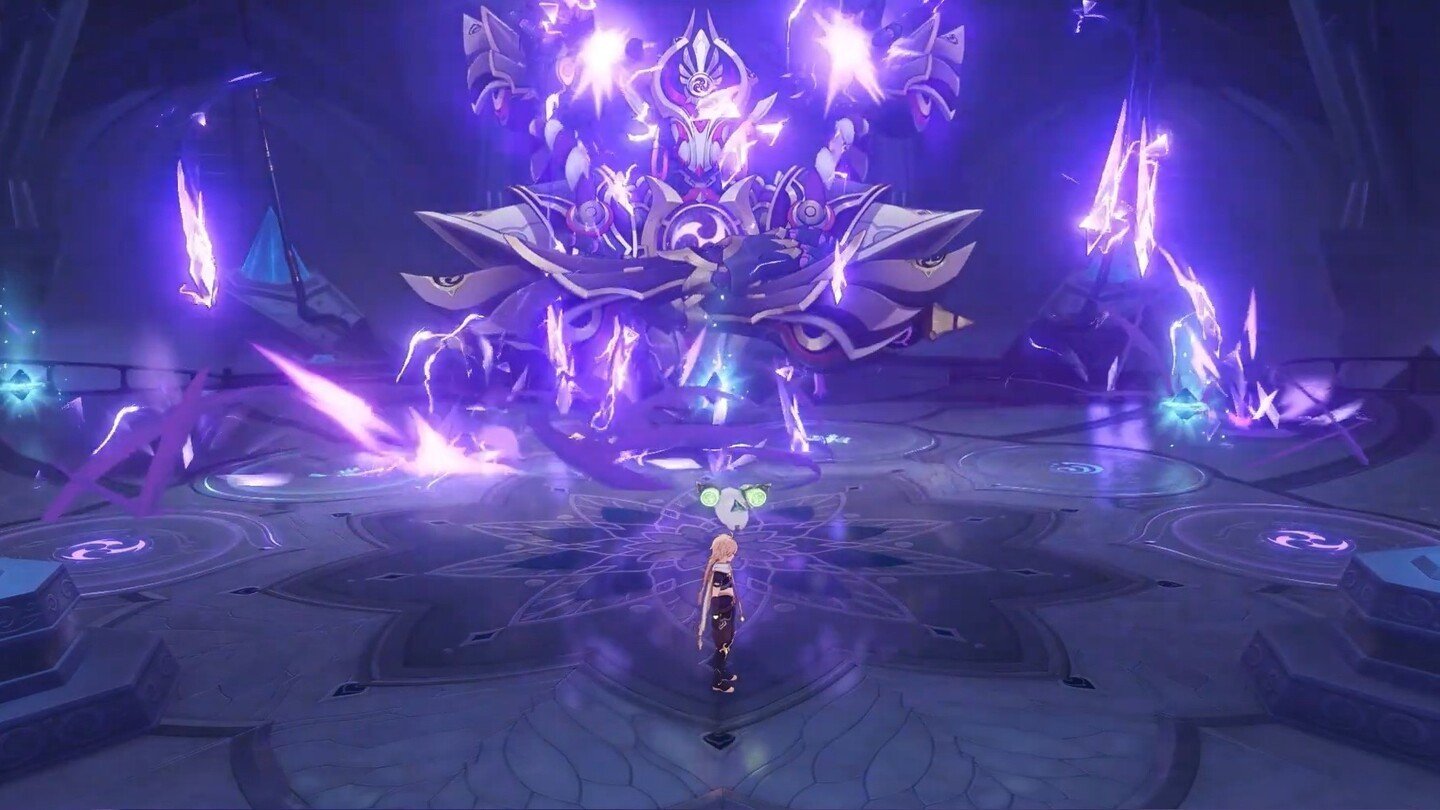 Image: youtube.com
Shouki no Kami releases a flurry of Electro particles, dealing area damage in front of him. He then launches two massive Electro prisms that fly toward the player and explode upon contact with the ground.
"Ring of Lightning"
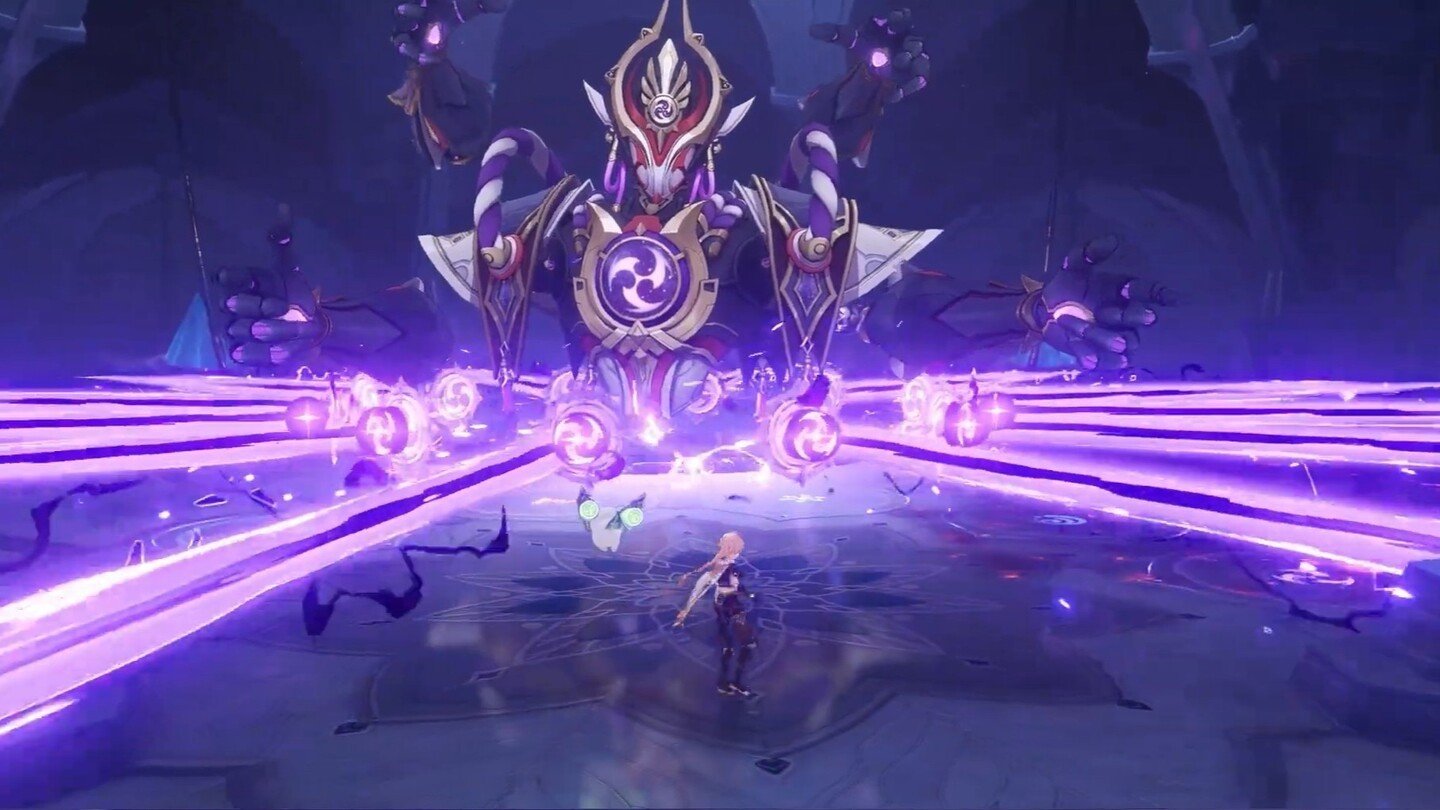 Image: youtube.com
Scaramouche summons numerous lasers that rotate counterclockwise around him, dealing Electro damage to the player every second. To avoid taking damage, either dash at the moment a laser is about to hit you or activate the Anemo matrix.
Second Phase
 Image: youtube.com
Once the Everlasting Lord of Arcane Wisdom’s health bar is depleted, the second phase begins. The battle now takes place in a large hall, and the boss stands at full height before the player. As the fight starts, Scaramouche applies a strong shield to himself, greatly increasing his resistance to all forms of damage.
The Akasha Terminal becomes your primary weapon, although it now charges more slowly. It continuously attacks the boss regardless of your actions, gradually wearing down his shield. You can now pull yourself toward the energy cubes that charge the Akasha Terminal by pressing the "T" key, making it easier to collect them.
Once the terminal is fully charged, press the activation key to prepare the "Targeted Blast" ability. To fire, aim the cursor at the boss and press "E". This skill deals massive damage and is the most effective way to break his shield quickly.
"Kneel, Worm!"
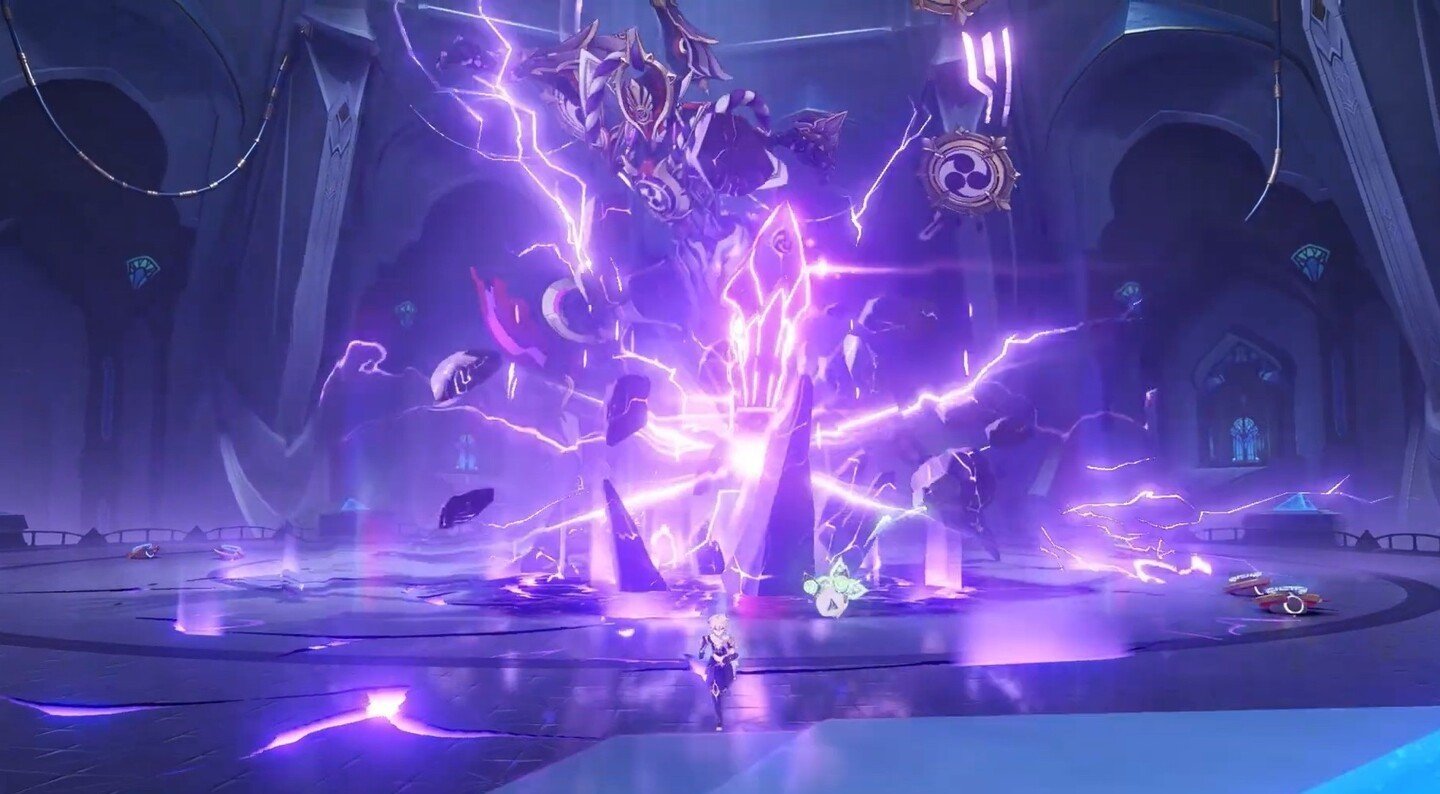 Image: youtube.com
Three consecutive ground slams that deal significant Electro area damage. The third strike sends out a shockwave.
"Piercing Bolts"
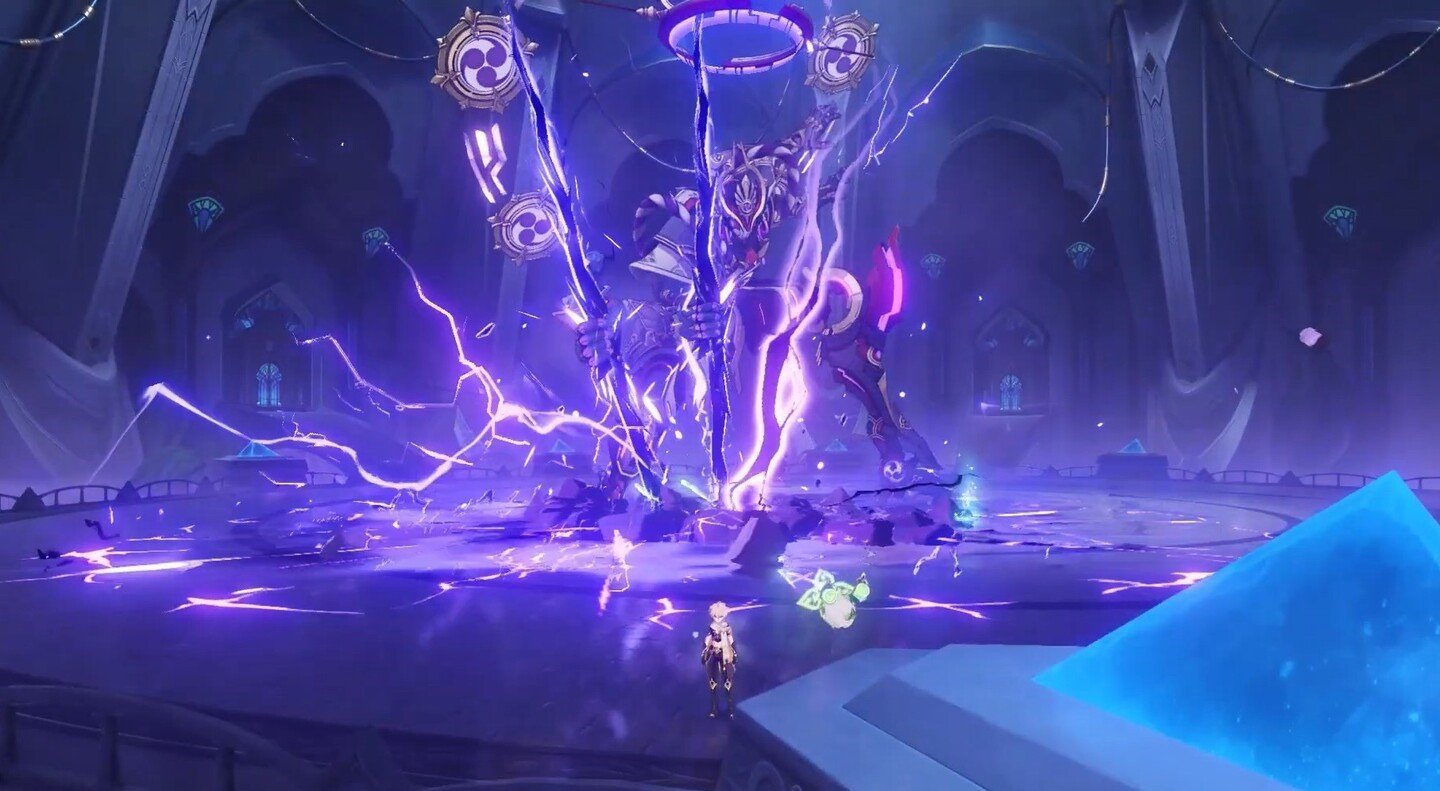 Image: youtube.com
Scaramouche drives four electric spears into the ground one after another, each dealing heavy Electro damage. Each spear also emits an energy wave, which should be dodged as well.
"Falling Stars"
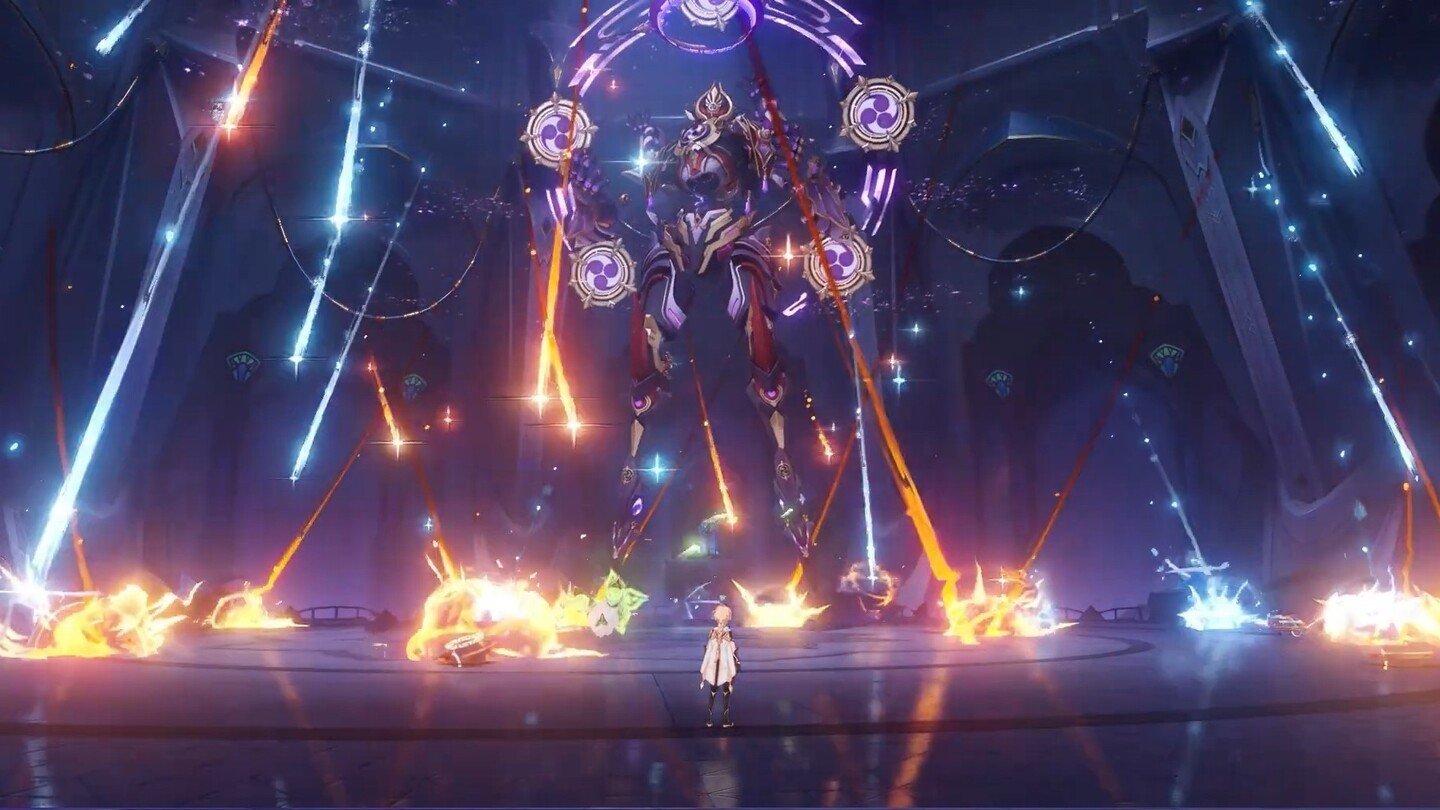 Image: youtube.com
The boss releases a large number of capsules that deal damage on impact. They appear as Hydro, Cryo, or Pyro and remain on the ground for a short while before exploding in a large AoE blast. You can prevent this by destroying them in time. Effective strategies:
- Hydro — Dendro attacks;
- Cryo — Pyro attacks;
- Pyro — Hydro attacks.
"Galactic Barrage"
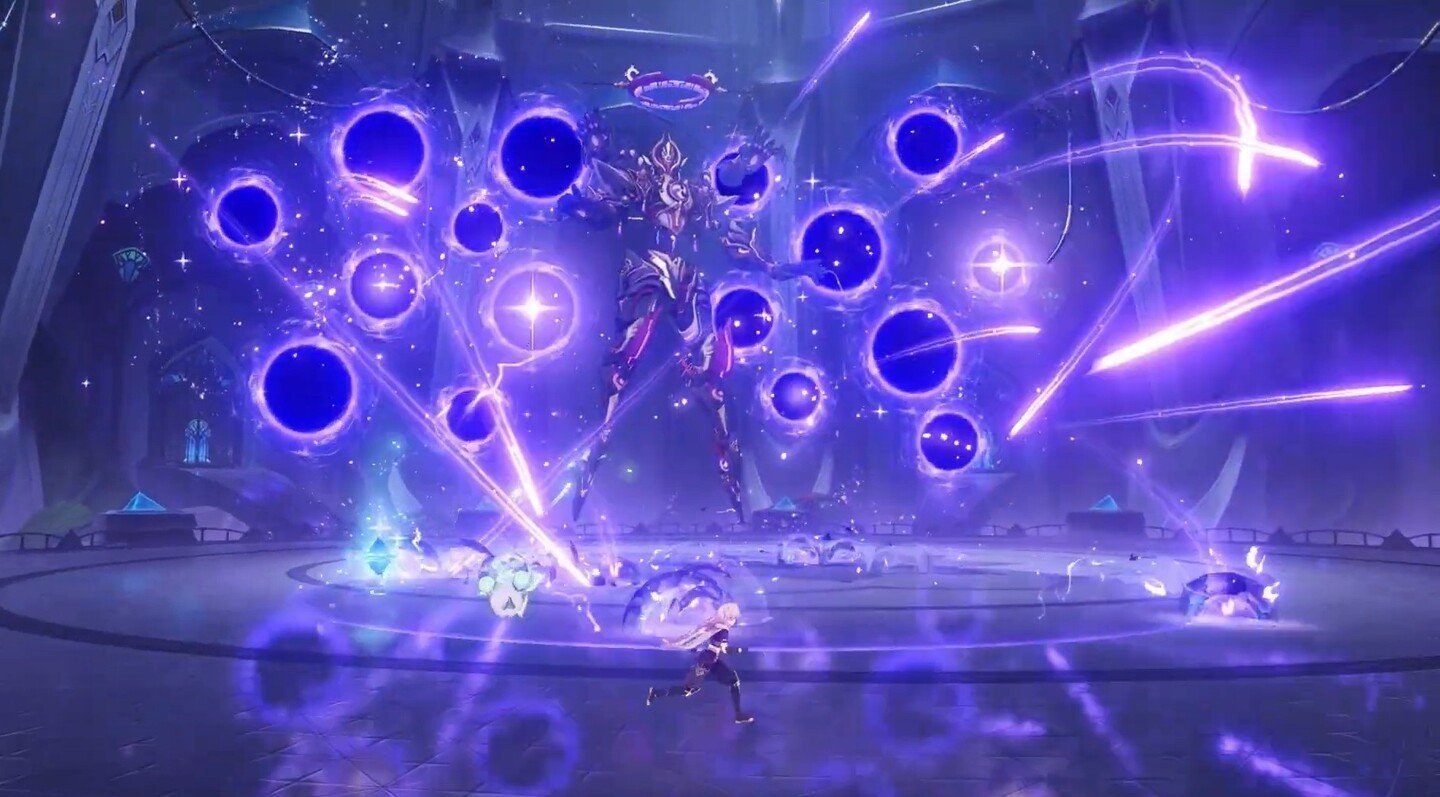 Image: youtube.com
The boss opens numerous portals that launch Electro projectiles, dealing AoE damage. This is followed by lightning beams striking down from the sky. Dodging this ability is nearly impossible, so it’s best to stay protected behind a shield.
"Thunderclaps"
This ability is used only if the player moves behind the boss. Scaramouche quickly turns around and summons several Electro spheres, which he launches at the player. The spheres explode upon hitting the ground, dealing AoE damage.
"Lethal Maneuver"
Shouki no Kami teleports to the far end of the hall and dashes toward the player at high speed, dealing Pyro or Cryo damage on impact and leaving AoE fields with corresponding elemental damage. He immediately repeats the move once more.
"Eruption"
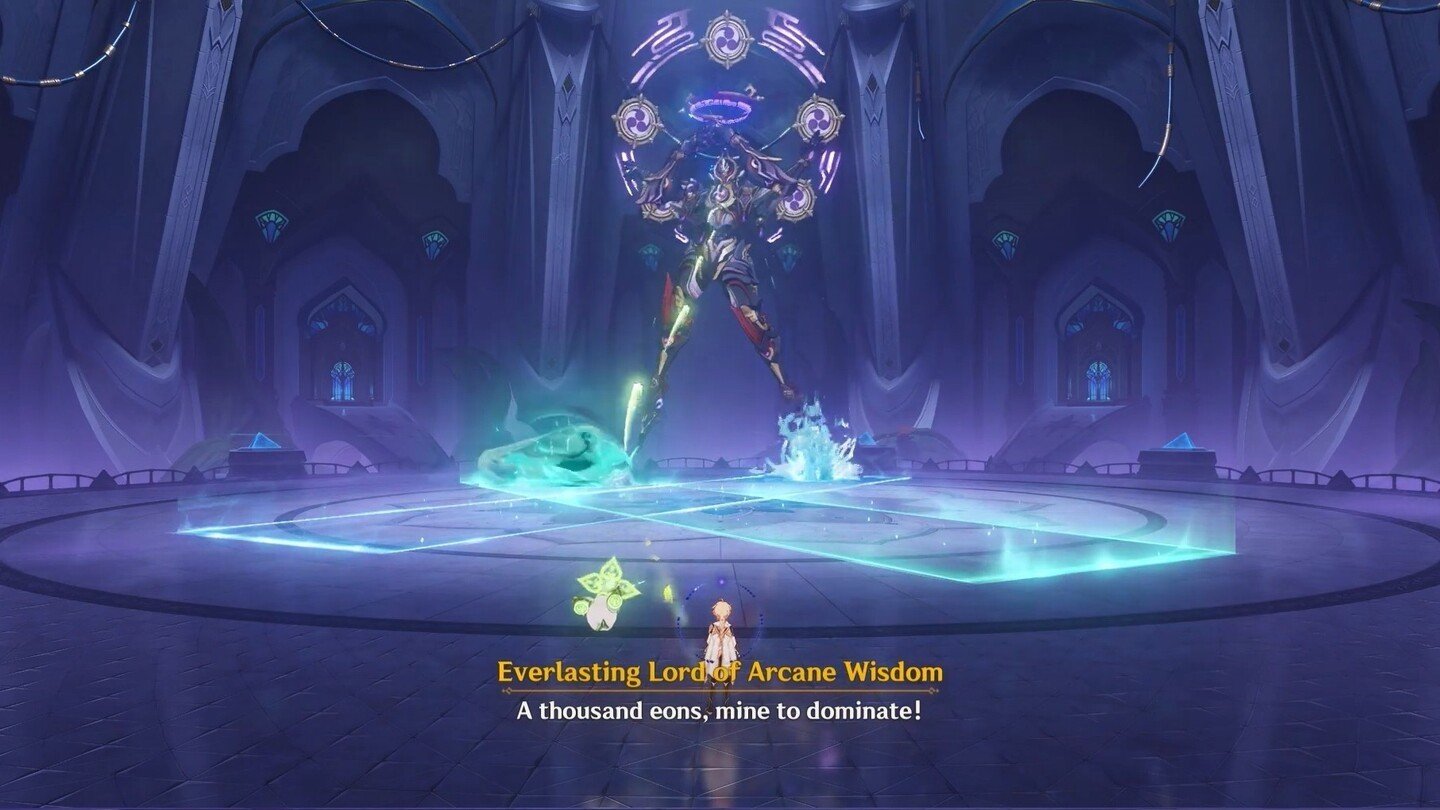 Image: youtube.com
Two intersecting rectangles appear on the ground — one Anemo, one Hydro. After a short delay, both explode, dealing damage of their respective element types.
"Setsuna Shoumetsu"
 Image: youtube.com
This is the boss’s ultimate and most powerful ability, triggered only once per fight — after his shield is destroyed. Shouki no Kami summons four Nirvana Engines and begins channeling a massive spell. Your objective is to charge the Akasha Terminal and perform a Targeted Blast before Setsuna Shoumetsu fully charges.
- Destroying each engine grants you an energy cube to charge the Akasha Terminal — eliminate them as fast as possible;
- The engines aren’t defenseless: they fire at the player and deal periodic damage;
- They are Electro-type, so using Pyro, Cryo, or Dendro attacks is the most effective way to destroy them.
If you manage to unleash the Terminal’s skill before the boss completes his casting, the spell will be interrupted, and Scaramouche will be stunned for an extended period. Additionally, all your characters will have their energy fully restored. Use the "T" key to quickly move toward the boss’s core and begin your rotation.
If you fail to interrupt "Setsuna Shoumetsu", a massive Electro sphere will fall onto the arena, instantly killing the active character and draining energy from the rest of your team. This ability is unavoidable and unblockable.
General Tips
The Everlasting Lord of Arcane Wisdom may seem like an insurmountable foe due to his many abilities. However, it’s not as difficult as it initially seems. Here are a few simple tips to help you in battle:
- Scaramouche isn't particularly demanding in terms of team composition since much depends on the Akasha Terminal. The most important thing is to avoid including Electro characters in your party;
- In the first phase, it’s easy to get confused due to the many elemental matrices on the floor, but you don't need to memorize each one. The Electro matrix is the most beneficial as it disables the boss;
- During the second phase, avoid taking unnecessary hits just to deal damage. The Akasha Terminal does most of the work — focus on charging it;
- After interrupting the Setsuna Shoumetsu ability, Shouki no Kami will shut down. Don’t rush to trigger your elemental bursts — first, move to the platform in front of the robot to take a more advantageous position.
Achievements
You can earn several achievements for defeating this boss:
- "Like Hopscotch?" — Activate all elemental matrices in the first phase.
- "It All Comes Tumbling Down" — Put the boss in a state of Stun by consecutively activating two Electro matrices in the first phase.
- "...It's Payback Time" — Destroy the boss’s shield in the second phase while he uses the Galactic Barrage ability.
- "Causality of Birth and Extinction" — Don’t interrupt Setsuna Shoumetsu. Your active character must die in a horrific manner.
- "Dance Like You Want to Win!" — Defeat the boss in co-op mode.
Rewards for Defeating the Everlasting Lord of Arcane Wisdom
The rewards include:
- Artifacts from the following sets: Wanderer's Troupe, Gladiator's Finale, Berserker, Instructor, The Exile;
- Adventure Experience;
- Mora;
- Friendship Experience;
- Character Experience;
- Dream Solvent (33% chance);
- Midlander Billet (33% chance);
- Vajrada Amethyst.
You will also receive materials for talent ascension:
- Puppet Strings (required for ascension of Faruzan, Nahida, and Dehya);
- Mirror of Mushin (required for ascension of Alhaitham, Layla, Mika, and Shilonen);
- Daka's Bell (required for ascension of Setos, Yaoyao, and Wanderer).
 Image: hoyoverse.com
We hope this guide helps you in your battle with the Everlasting Lord of Arcane Wisdom in Genshin Impact. Remember: knowledge is your best weapon. By thoroughly studying the boss’s abilities, selecting the right characters, and learning the attack animations, you’ll be able to defeat even the fiercest opponents.
Main image: ensigame.com


0 comments