After the apocalypse, the armor of the mighty Dendro Dragon, once gleaming with an emerald hue, took on a grim, ashen shade, crumbling like petrified sand. A mysterious affliction twisted its mind, plunging it into madness, and since then, the beast has mercilessly destroyed anyone who dares to trespass into its cursed domain.
 Image: genshin-impact.fandom.com
In this guide, we’ll cover:
- How to access Apep and where to farm it afterward;
- Achievements for defeating the boss and the conditions for unlocking them;
- Optimal team compositions—group setup recommendations;
- Key boss abilities—which attacks and mechanics are critically dangerous to ignore;
- Valuable loot after victory—a full list of materials, their uses for talent leveling and character ascension.
Tactical tips will help you minimize losses during battle, and detailed info about loot will help prioritize your team’s development. Find out which characters especially need the obtained resources and prepare for new challenges!
How to Unlock and Where to Find Apep
Apep is a weekly boss, but unlocking it isn’t straightforward—we don’t encounter the dragon during Sumeru’s main storyline.
To gain access, you must fully complete Part I of Nahida’s Story Quest and begin the second part, "Sapientia Oromasdis". At the end, you’ll face the Guardian of the Oasis. The quest that unlocks the battle is Act II: "Homecoming", under the mission titled "What Shape Does the Self Hold".
Later on, to initiate the fight, you’ll need to enter the domain called "The Realm of Beginnings". Depending on your progression, you can choose one of the difficulty levels called "They Too Were Once Flawless".
Apep’s Attacks and Abilities
Unfortunately, the battle with the Dendro Dragon isn’t as impressive as one might hope. Despite the epic scenes of the giant serpent towering over Sumeru’s dunes, you won’t be fighting it directly—instead, you’ll be battling inside it.
The fight consists of three phases, each involving monstrous parasites inhabiting the dragon’s body. The first and third phases are straightforward combat trials against large enemies. The second phase is quite different, as it requires defending the Heart of Oasis from the Proliferating Organism.
Let’s break down the phases.
Phase One—Evolved From an Apocalyptic Millennium
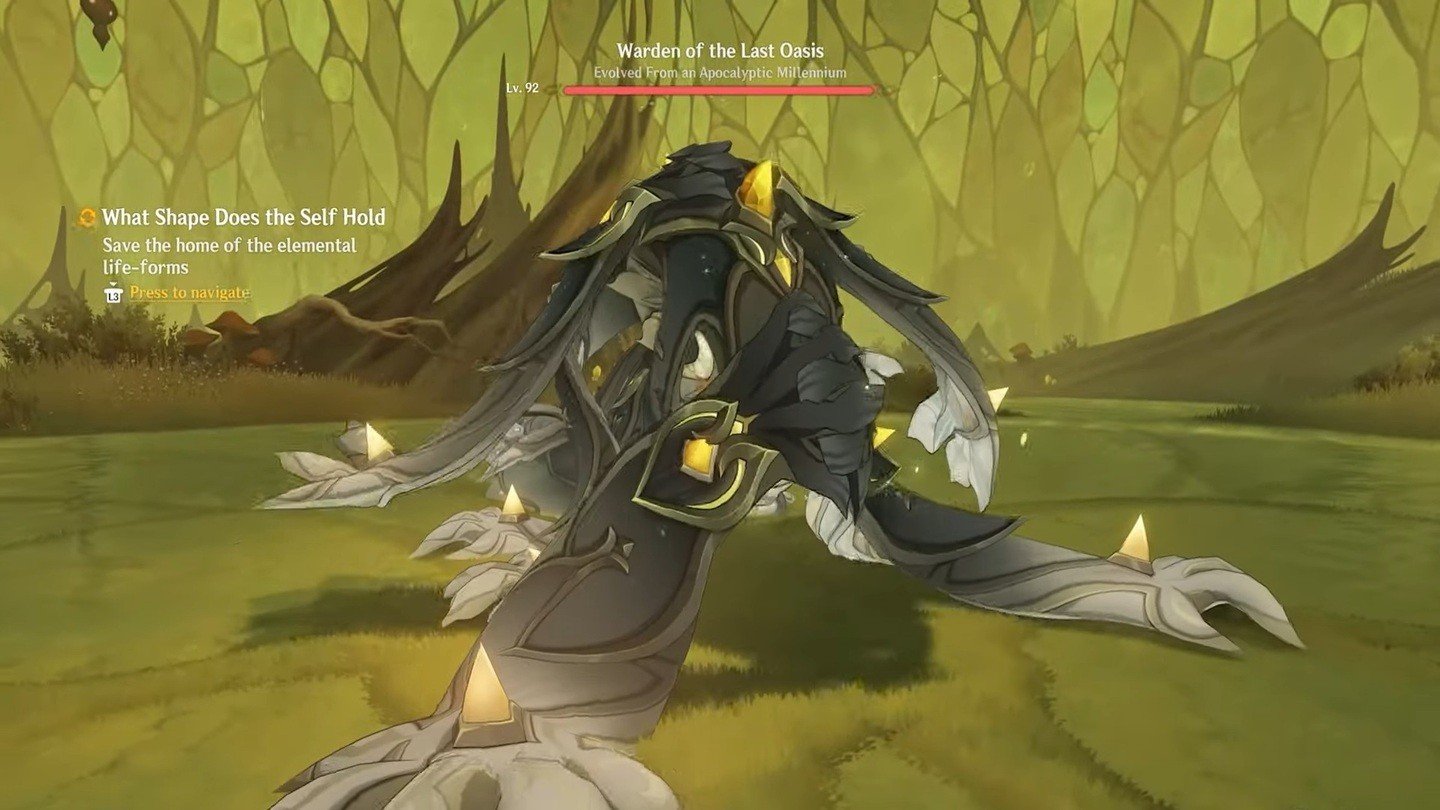 Image: youtube.com
The first phase lasts until the health bar of the Apocalyptic Millennium drops to zero.
Submersion
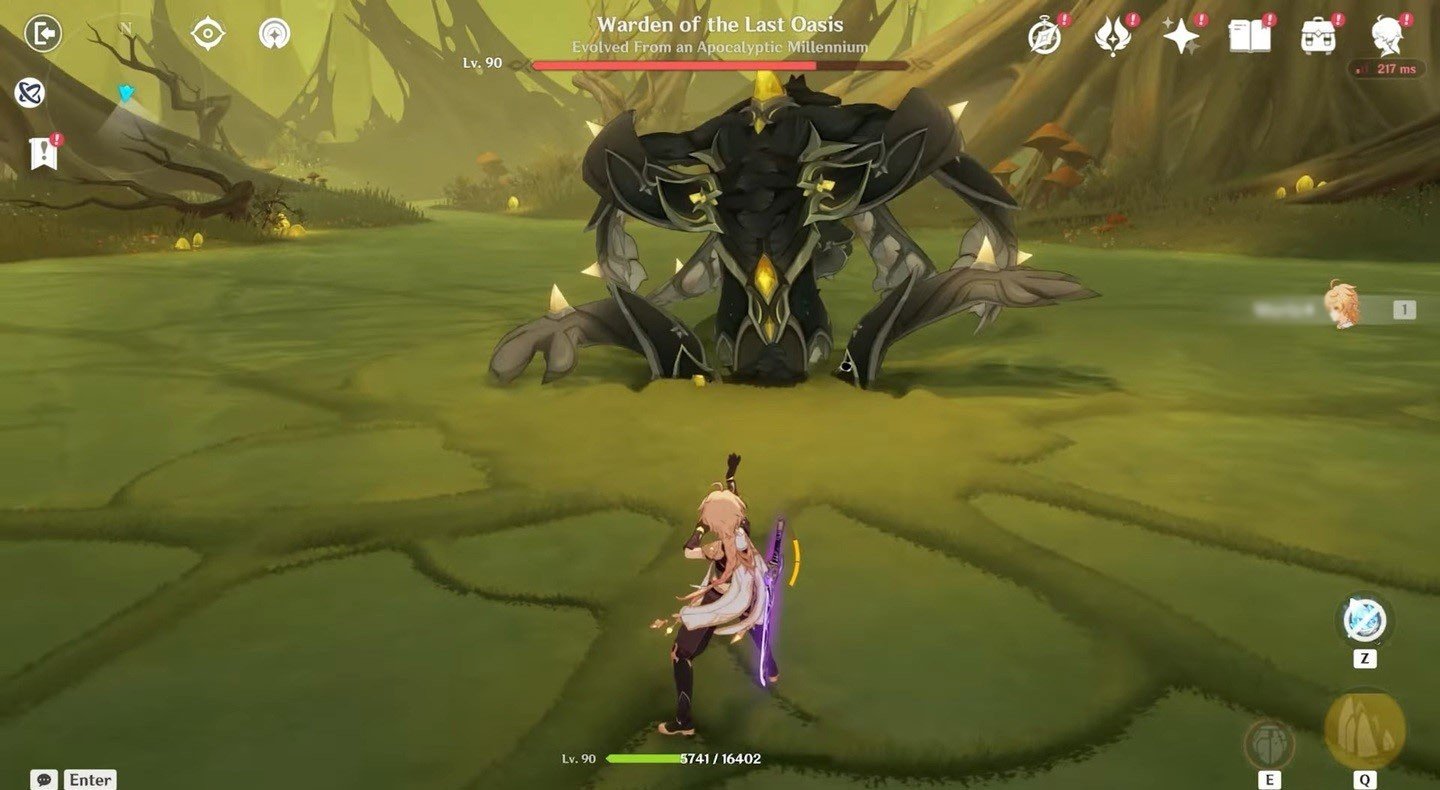 Image: youtube.com
The boss dives into the ground, becoming invulnerable for a few seconds, then emerges near the player and instantly attacks in front of itself.
Heavy Blow
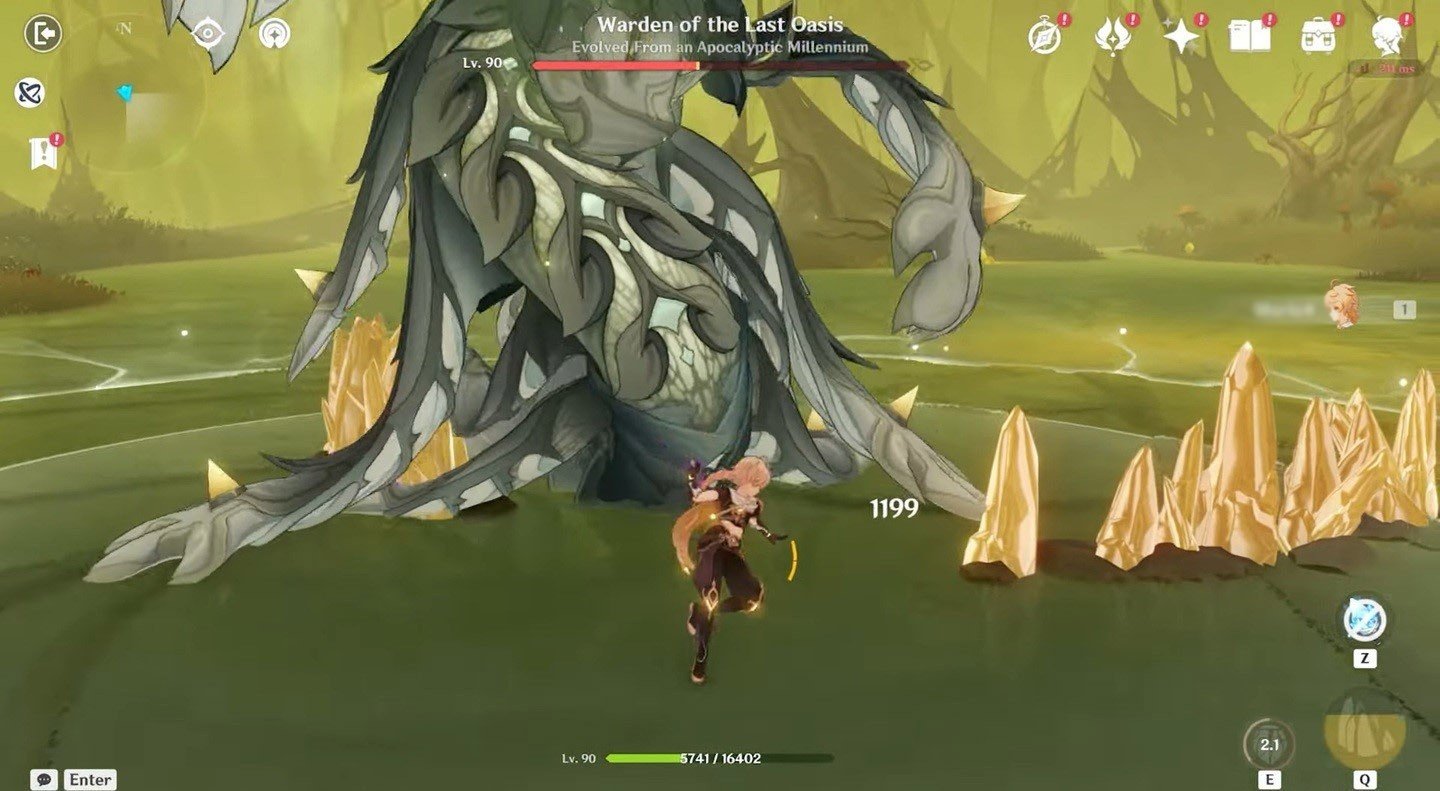 Image: youtube.com
After a short delay, the boss deals damage to all players around it.
Agony
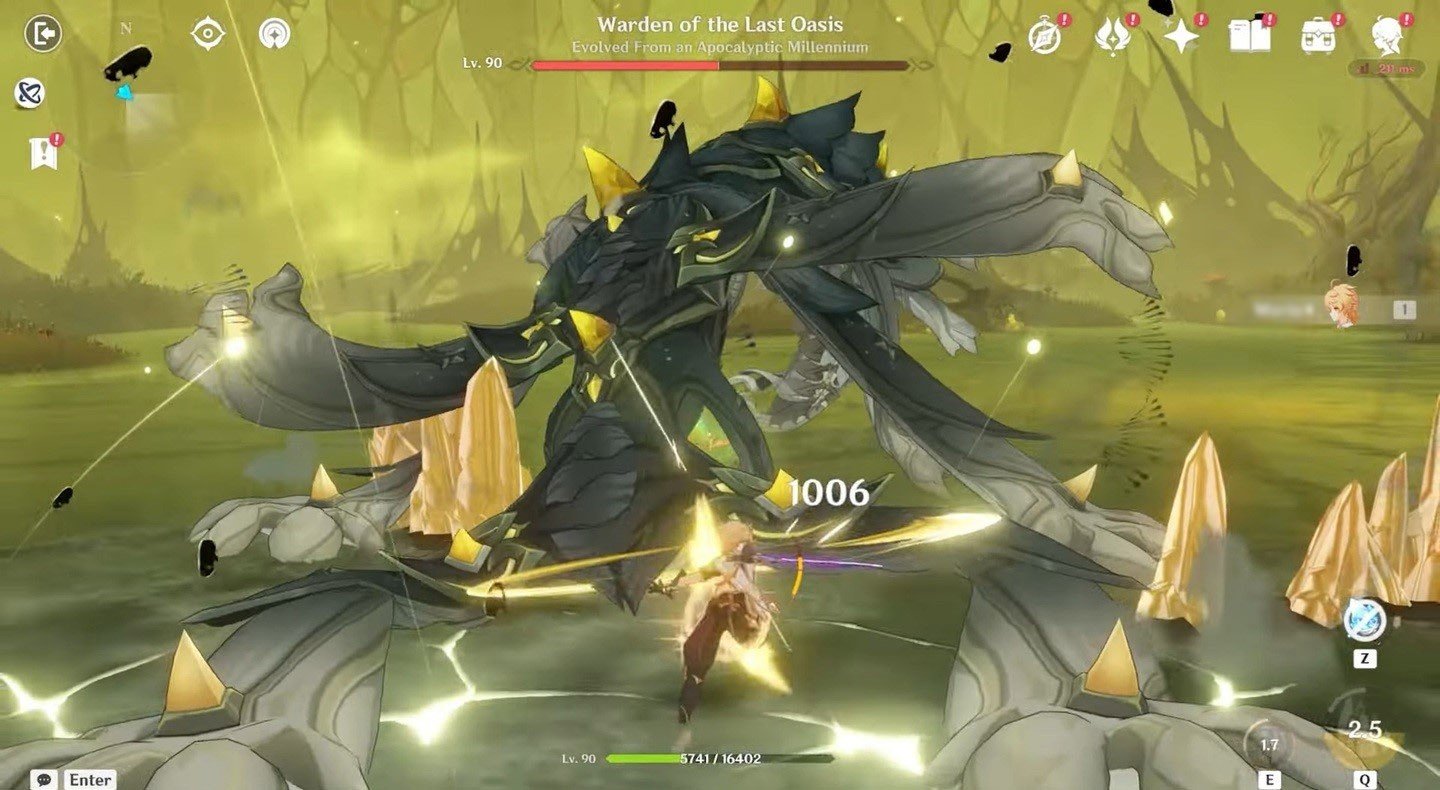 Image: youtube.com
Delivers several consecutive strikes in the player’s direction (up to four). The first two hits deal less damage than the later ones. The boss uses this ability unpredictably: sometimes only two hits, other times a third or fourth, and occasionally the full combo.
Ambush
Stabs its limbs into the ground and becomes immobile. After a few seconds, fins rain down on the player, dealing AoE damage.
Thorn Projectiles
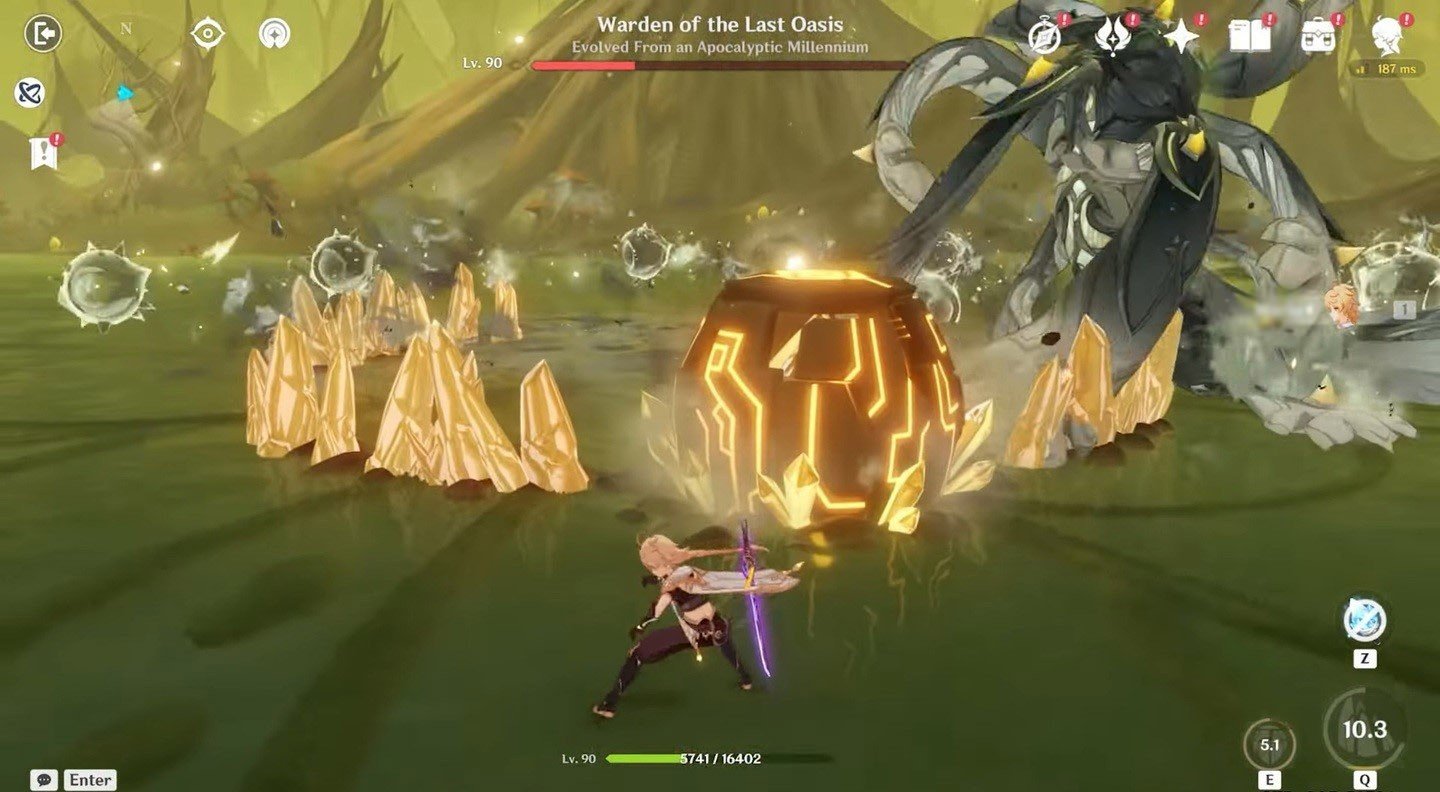 Image: youtube.com
Teleports to the center of the arena and strikes the ground three times. Each strike generates thorn projectiles that move toward the player, dealing damage on contact.
Sneaky Strike
This move is used only if the player is behind the boss. Apep performs two consecutive tail sweeps in an area-of-effect attack.
Phase Two—Heart of Oasis
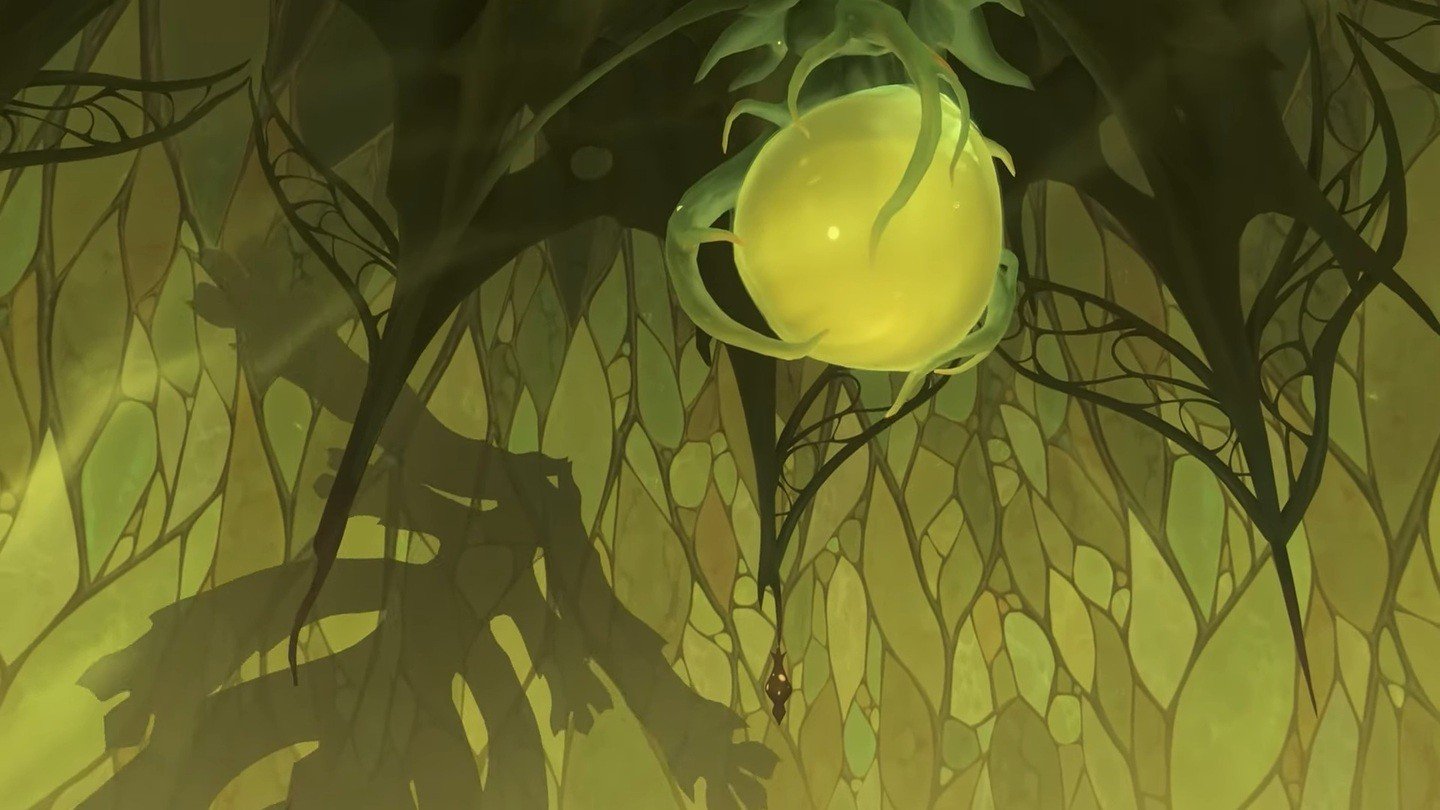 Image: youtube.com
This phase begins with the Apocalyptic Millennium retreating upward, while the Heart of Oasis appears at the center of the arena. Proliferating Organisms begin advancing from all sides, trying to destroy the Heart. The player’s task is to swiftly eliminate the creatures and bring the purification process to 100%.
About the purification process: it starts at 27%, but progress is lost if the player fails to eliminate the Proliferating Organisms in time.
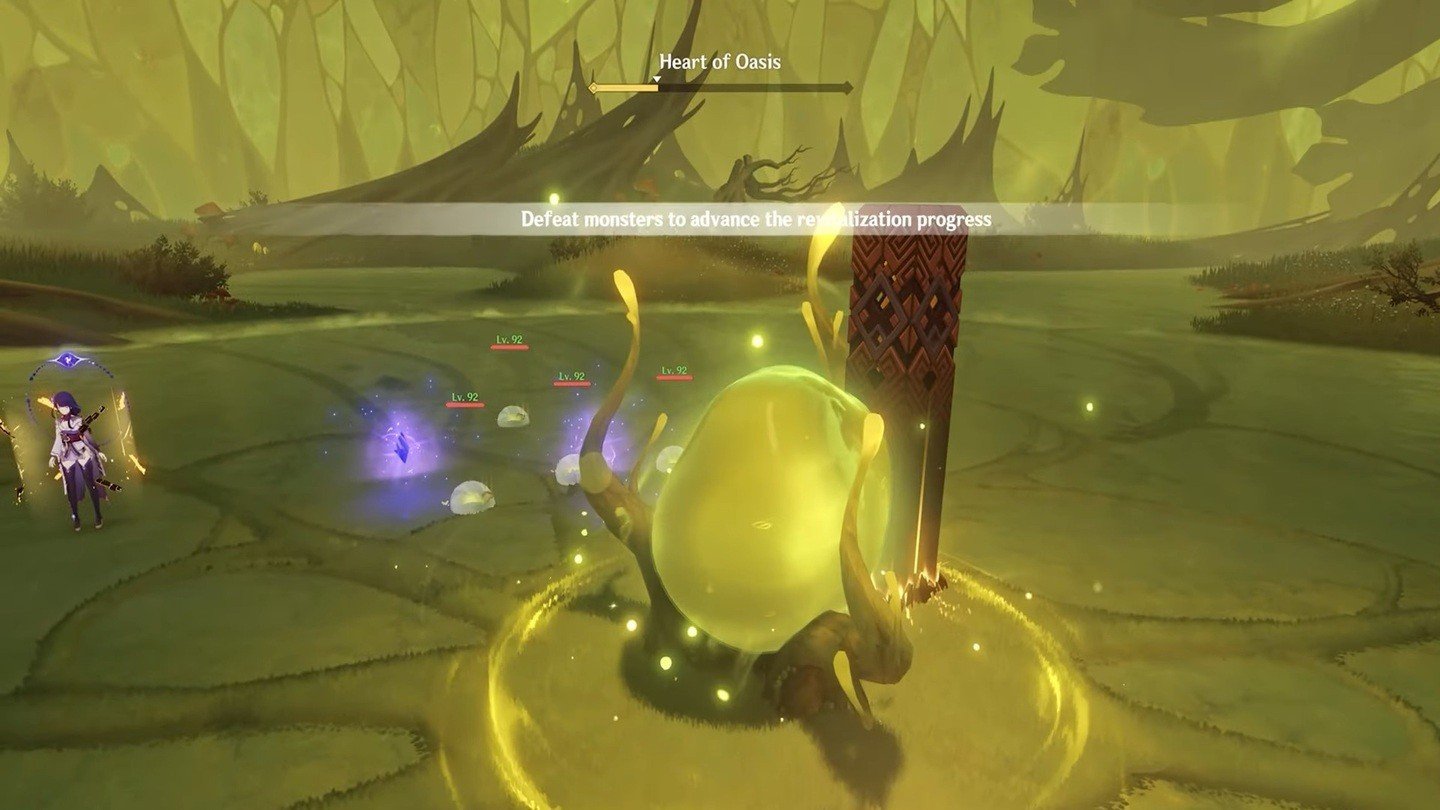 Image: youtube.com
Defeating these organisms speeds up purification. Note: not all the attacking mobs are just basic attackers. Many have their own abilities, and some don’t deal damage at all—instead, they support their allies.
Let's take a closer look at each of the organisms.
Preliminary Proliferating Organism
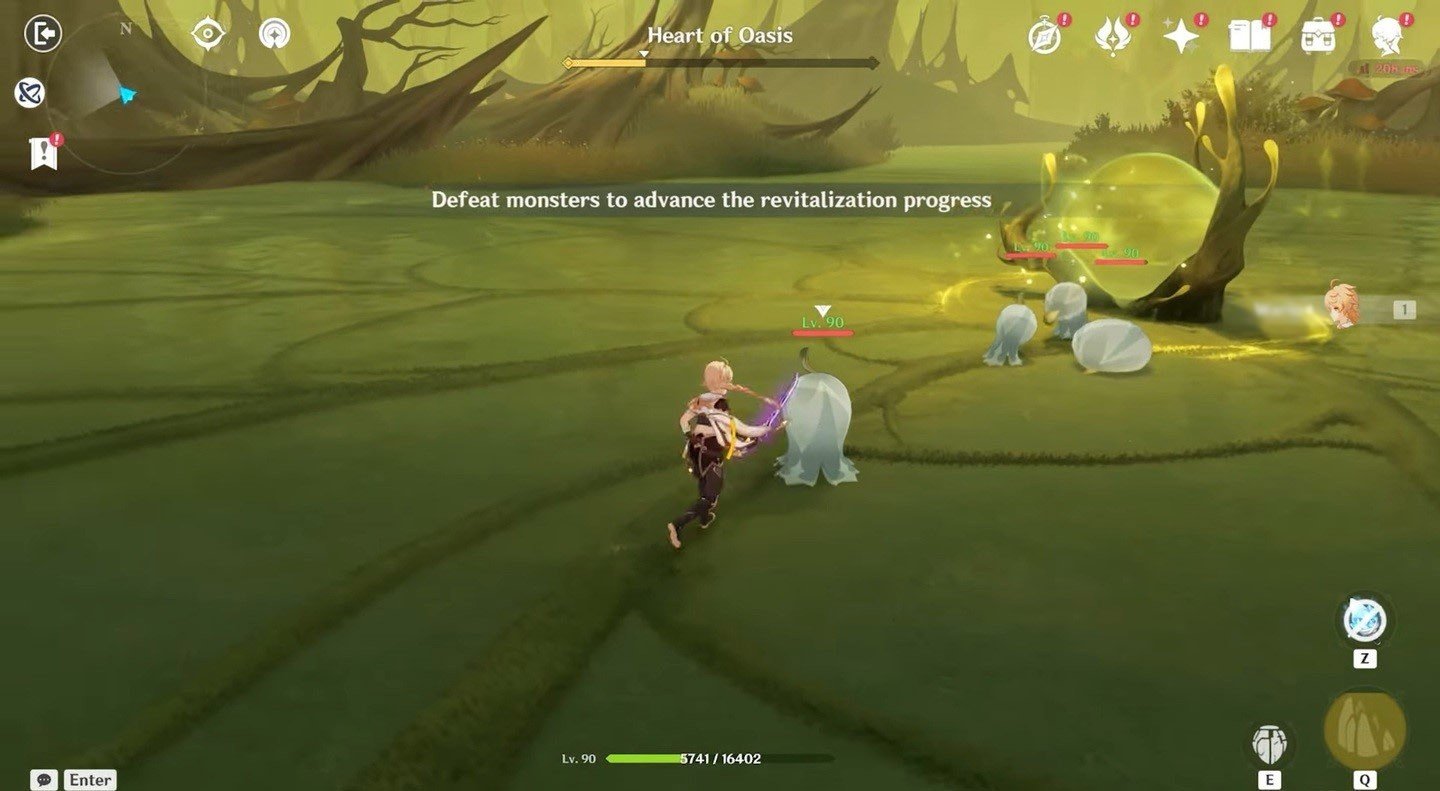 Image: youtube.com
The weakest of the units. It simply attacks the Heart of Oasis in close combat, dealing low damage. If the mob is under the enhancement of the Provender Proliferating Organism, its damage significantly increases.
Sometimes it switches to ranged attacks. In this case, only the damage dealt under the buff changes—it becomes slightly higher.
Provender Proliferating Organism
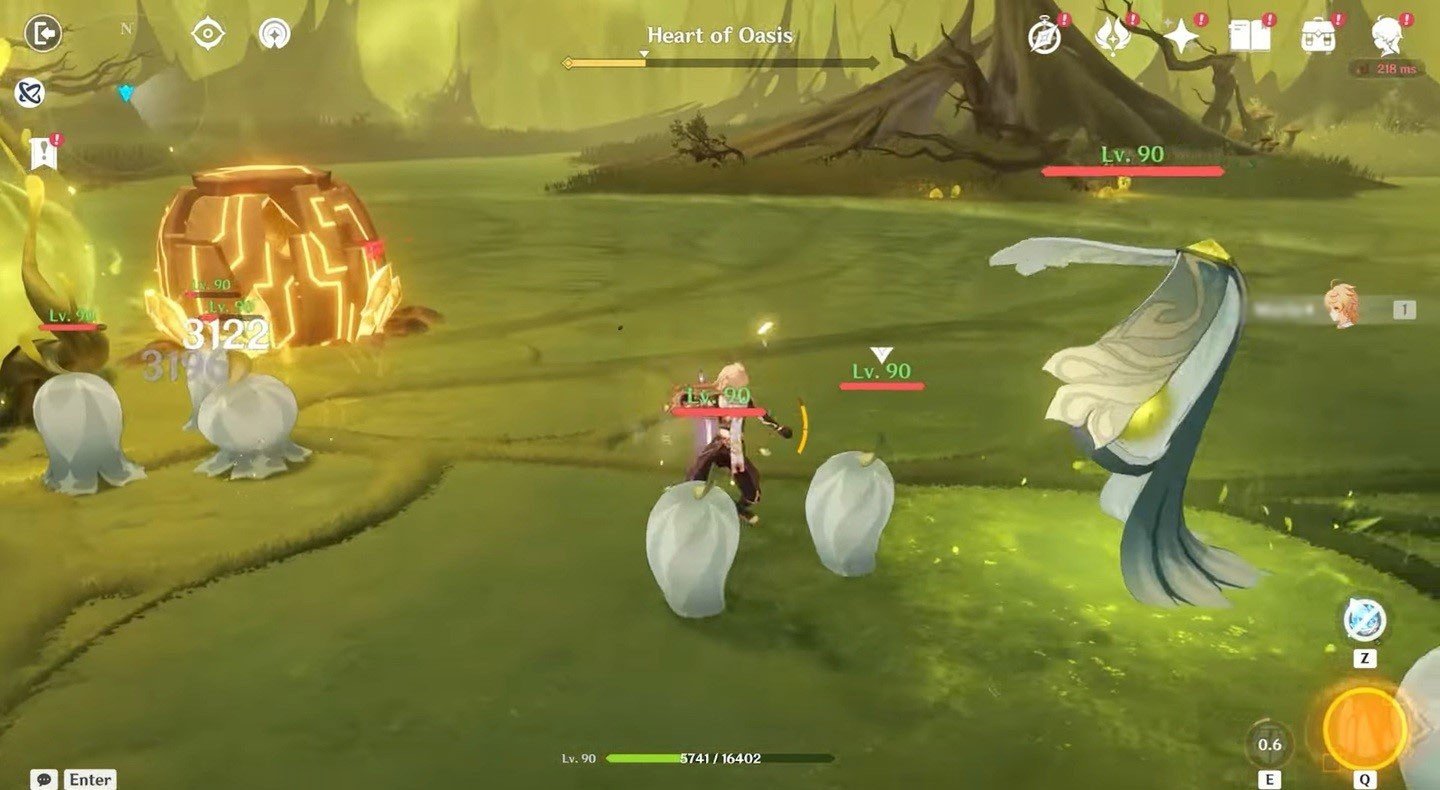 Image: youtube.com
It doesn’t attack, but applies a buff to three nearby Preliminary Proliferating Organisms, increasing their damage and gaining a powerful defense boost. The best way to deal with it quickly is to immediately eliminate the enemies it has empowered. The key is that for each Organism defeated while under its buff, the mob will lose 40% of its maximum health.
Protective Proliferating Organism
Another mob that doesn’t attack but supports its allies. It looks like a vertical tentacle and, upon appearing, applies a shield to the nearest Preliminary Proliferating Organisms. The shield refreshes every 0.5 seconds, so you need to focus your attacks on the Protective Proliferating Organism. Once it dies, its allies lose their protection and become vulnerable.
Pernicious Proliferating Organism
Remember the kamikaze enemies from Serious Sam? The Pernicious Proliferating Organism starts moving quickly toward the Heart of Oasis as soon as it spawns. Once it reaches its target, it explodes, dealing massive AoE damage and significantly slowing down the purification process. If the player manages to kill the unit in time, all party members will recover 20 energy.
Predatory Proliferating Organism
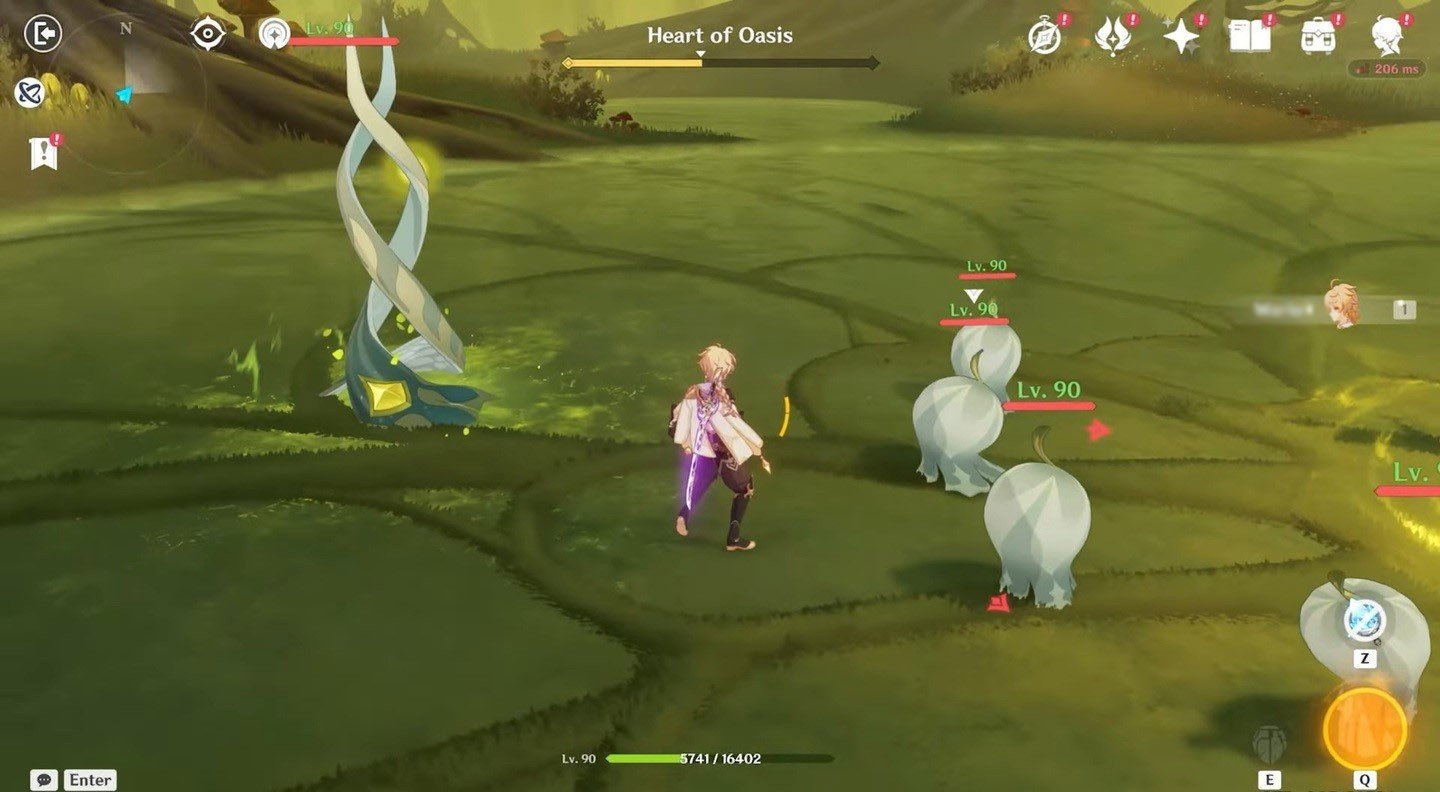 Image: youtube.com
This unit appears unremarkable and moves toward the nearest Preliminary Proliferating Organism to consume it. If it succeeds, it will enter an enhanced form and begin pursuing the player, dealing continuous damage.
Perch Proliferating Organism
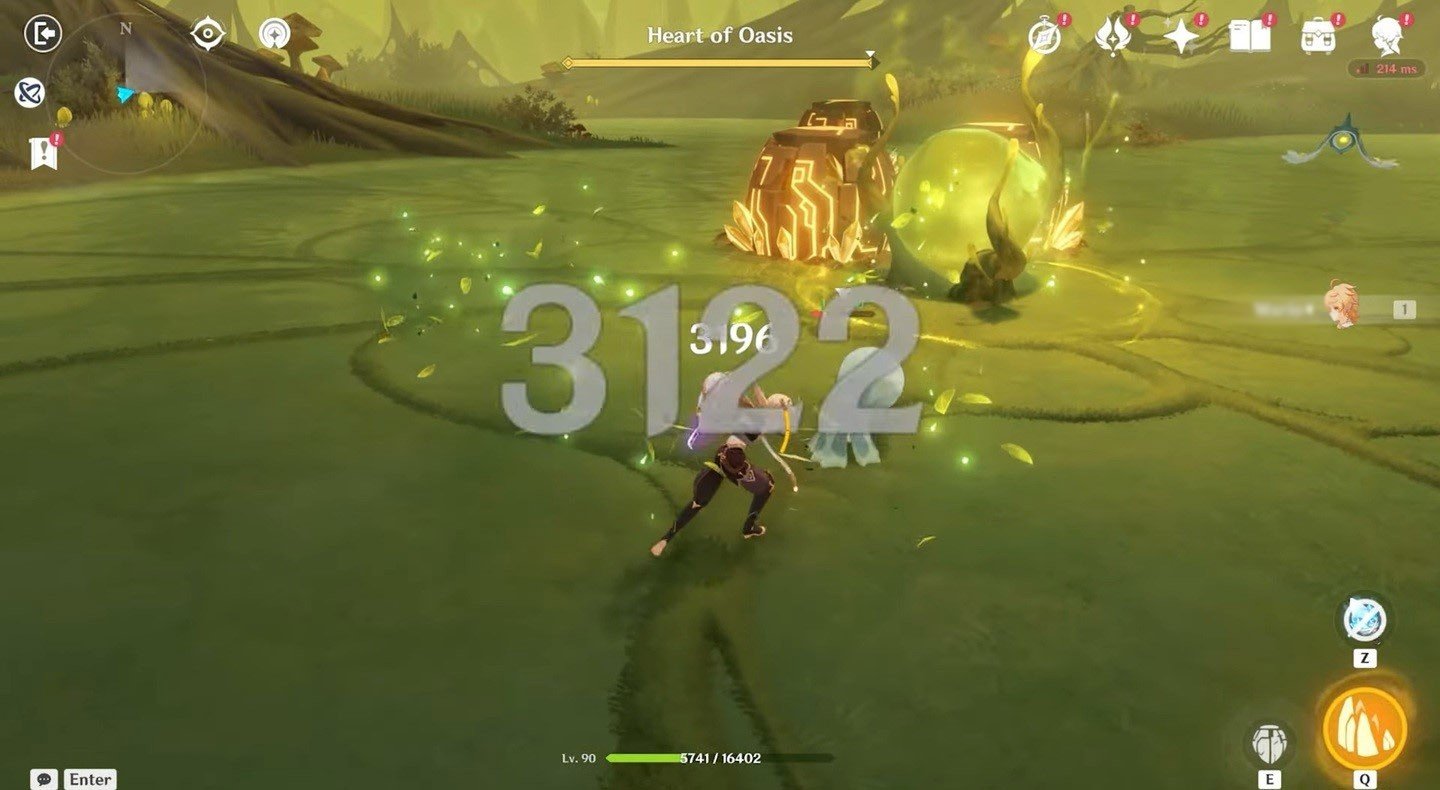 Image: youtube.com
An atypical mob, as instead of normal attack or support functions, it periodically creates walls near the player, limiting their movement.
Phase Three—Revived By the Fire Seed
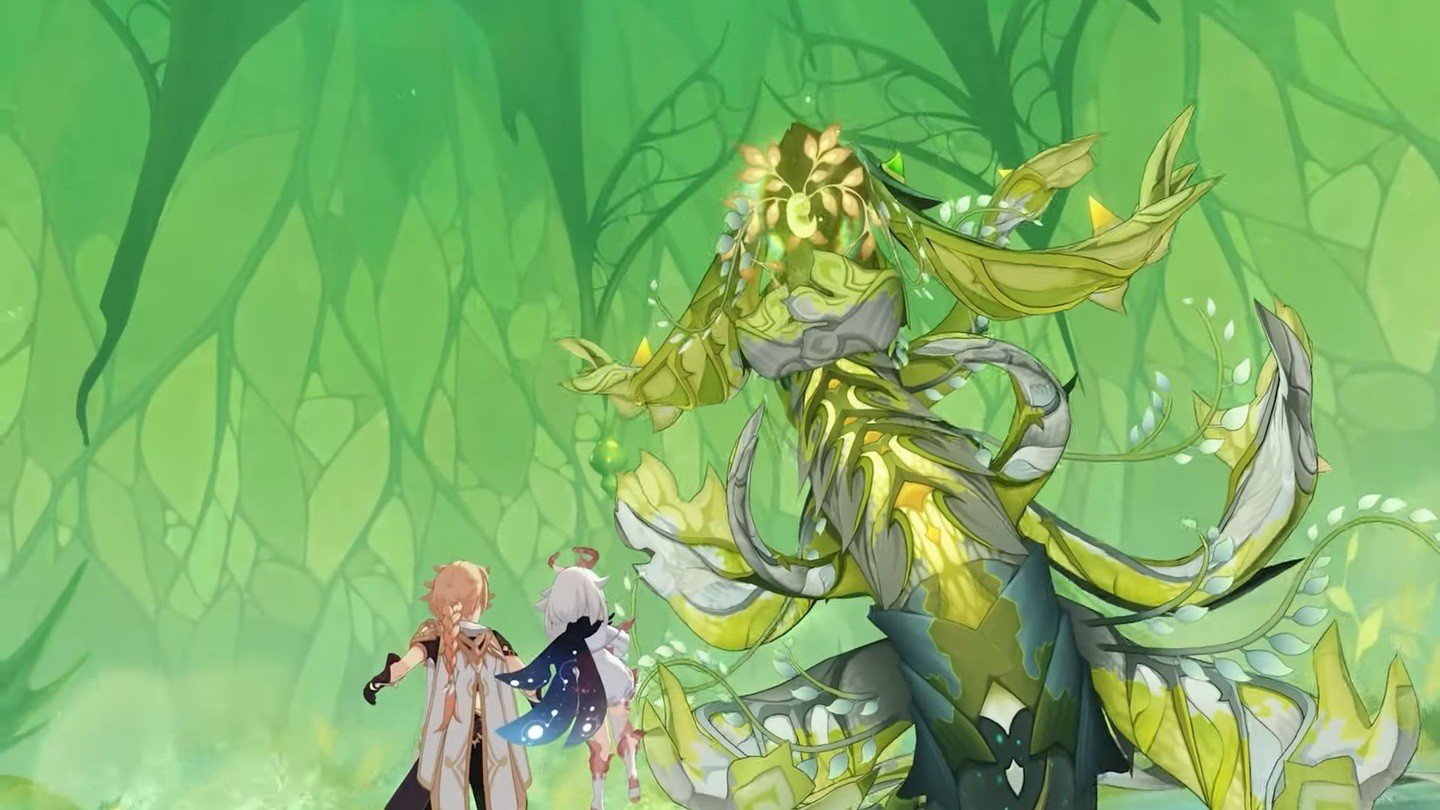 Image: youtube.com
This phase essentially mirrors the first one. We once again need to defeat a powerful single mob, though it now has some new abilities.
Deep Submersion
Image: youtube.com
The boss dives underground and moves toward the player. Upon reappearing, it performs a circular strike, dealing AoE damage.
Pulsation
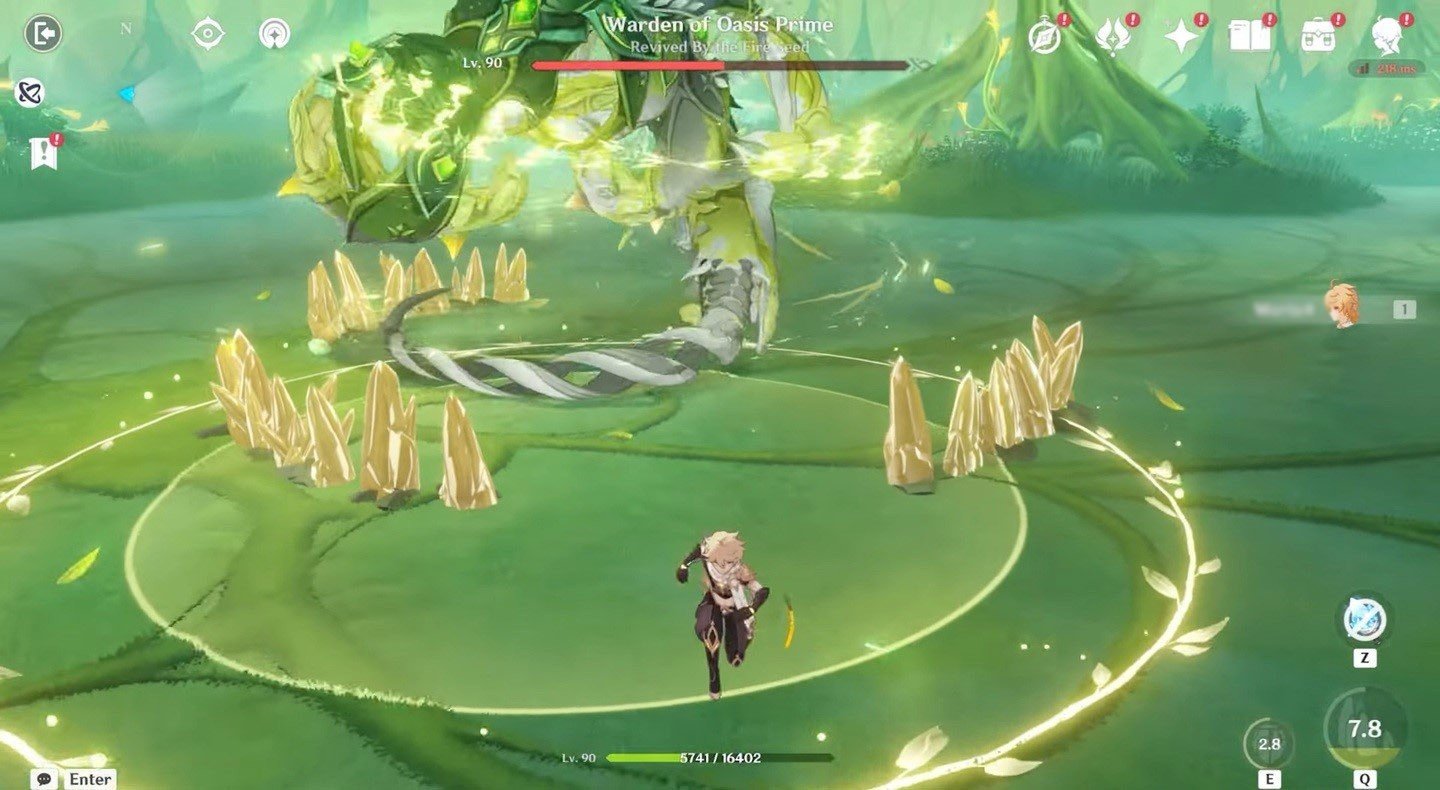 Image: youtube.com
After a short delay, the boss starts summoning impact pulses, trying to hit the player. It can release one, two, or three waves.
Explosive Spores
The boss summons a large number of small projectiles that rush toward the player, dealing damage on impact.
Blooming Dance
The boss uses this ability only when the player is nearby. It performs two swift attacks aimed at the character.
Aftershocks of the Apocalypse
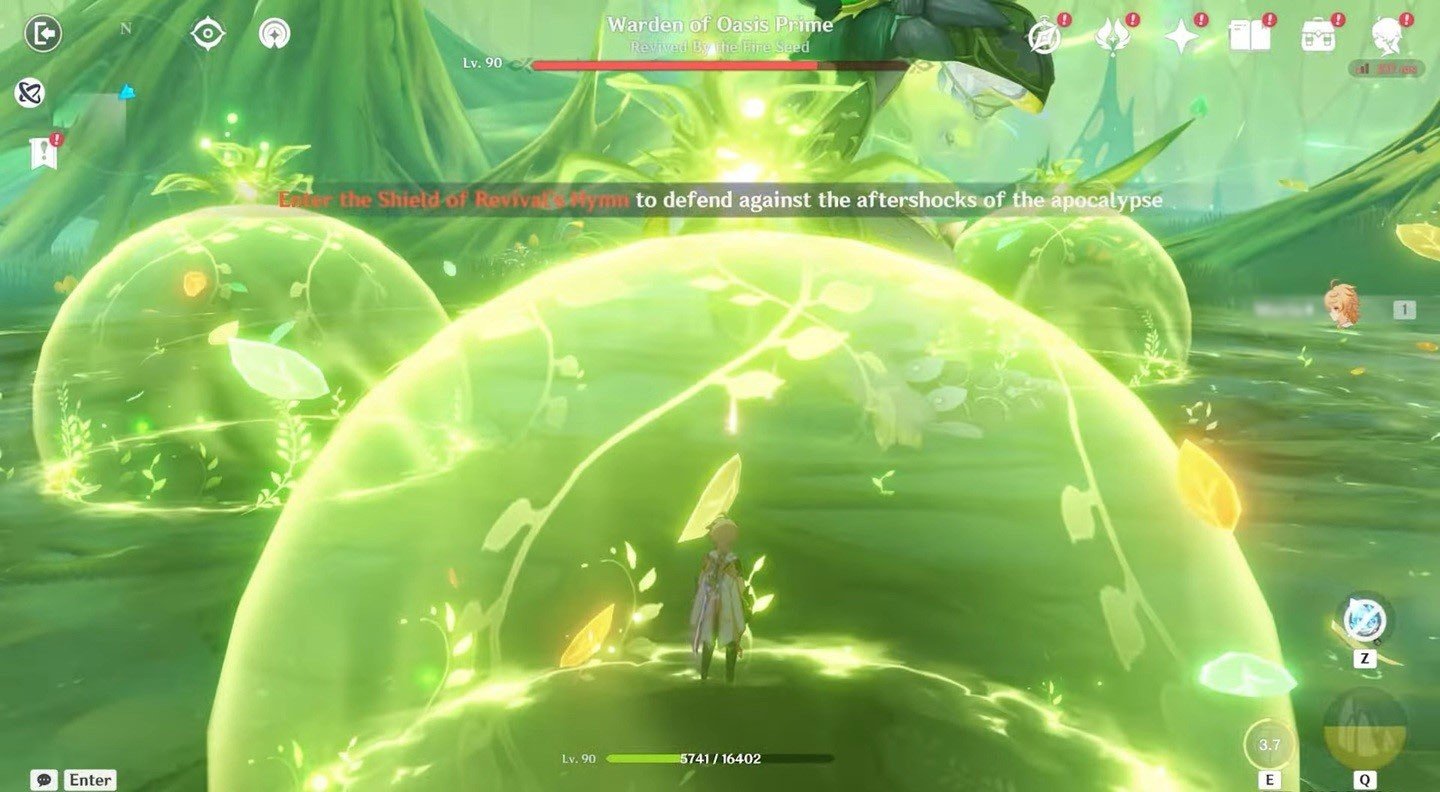 Image: youtube.com
This is the boss’s only truly threatening attack, requiring the player’s full attention. Revived By the Fire Seed returns to the center of the arena and begins bouncing, leaving puddles of energy on the ground. These puddles gradually expand, dealing periodic damage.
Additionally, three protective domes—Revival's Hymn—appear in the arena. The player needs to enter one of these domes as quickly as possible. After a few seconds, the boss releases a powerful shockwave, dealing massive damage to all players who are not inside a dome.
Best Characters for the Boss Fight
First, it’s important to consider the elemental resistances of the mobs you’ll be facing. These vary depending on the current phase of the battle. In phases one and three, enemies have 70% Dendro resistance, while in phase two, it's only 50%. For all other elements, resistance is just 10% across all phases.
Additionally, all of the boss's damage in the third phase is considered Dendro. Based on this, you should prioritize characters with the following traits:
- Dendro damage dealers are a poor choice, but you can still bring Dendro healers if you don’t have other options;
- Ideally, include a character capable of dealing high damage to both single targets and groups of enemies;
- Anemo characters deserve special mention, as they’re particularly helpful in phase two for grouping enemies and speeding up the clearing process.
Here are some example team compositions that can help you defeat Apep:
|
Character 1 |
Character 2 |
Character 3 |
Character 4 |
Description |
|---|---|---|---|---|
|
Hu Tao |
Xingqiu |
Kazuha |
Zhongli |
Hu Tao excels in phases one and three thanks to her massive single-target damage. For phase two, Elemental Burst is useful for clearing mobs. |
|
Raiden |
Bennet |
Xiangling |
Xingqiu |
The classic Raiden team performs very well against this boss. Supports provide buffs, and Raiden delivers heavy Elemental Burst damage. |
|
Wanderer |
Faruzan |
Xingqiu |
Bennet |
A team focused on Anemo damage. Wanderer is the main DPS, supported by the rest. Especially effective in phase two for quickly dispatching mobs. |
|
Xiangling |
Amber |
Barbara |
Kaeya |
A beginner-friendly team for those who haven’t unlocked stronger characters. Includes both damage dealers and a healer (Barbara). |
General Tips
The fight against Apep is not particularly difficult, as the boss lacks unique or interactive mechanics. That said, here are some helpful tips to speed up the encounter:
Phase one is the easiest. Apocalyptic Millennium is very slow, and its attacks are fairly predictable. Try to defeat the mob as quickly as possible to move on to phase two.
Phase two can be more challenging due to the large number of new units, which can become confusing. A simple solution is to group them using Anemo characters, then eliminate them quickly. However, some Proliferating Organisms require special attention. Here's a suggested priority list:
- Pernicious—deals the most damage to the Heart;
- Protective—prevents other mobs from being destroyed;
- Provender—significantly increases the damage of allies;
- Preliminary—can damage the Heart;
- Perch—doesn’t damage the Heart, but restricts movement;
- Predatory—ignores the Heart and targets only the player.
Phase three is very similar to phase one, but Revived By the Fire Seed has almost double the stats. However, its attacks are still predictable and not too hard to dodge.
The only truly dangerous move is Aftershocks of the Apocalypse. Pay close attention to the game’s warnings and immediately move to the nearest Revival’s Hymn dome to avoid taking damage. Note that these domes protect not only from the main shockwave but also from the boss’s continuous AoE damage.
If you realize you won’t make it to safety in time, switch to the character with the highest HP. Aftershocks of the Apocalypse deals significant damage but doesn’t guarantee a one-shot kill.
What Achievements Can You Earn
By defeating the boss, you can earn several achievements:
- "Like the Sun's Passage"—Defeat the boss without taking any damage from the Aftershocks of the Apocalypse ability;
- "Proof of the Reed Sea Conqueror"—Defeat the boss in co-op mode with another player.
What Rewards Can You Get for Defeating Apep
If you have defeated no more than two weekly bosses this week and are collecting loot from Apep, the resin cost will be 30 units. If you exceed this limit, the cost to collect loot increases to 60 units of resin. Available rewards include the following items:
- Artifacts from the Wanderer's Troupe, Gladiator's Finale, Berserker, Instructor, The Exile sets;
- Adventure EXP;
- Mora;
- Friendship EXP;
- Character EXP;
- Dream Solvent (with a 33% chance);
- Midlander Billet (with a 33% chance);
- Nagadus Emerald.
Additionally, materials for talent ascension may drop:
- Worldspan Fern. Required for ascension of Baizhu, Freminet, Traveler;
- Primordial Greenbloom. Required for ascension of Kaveh, Lyney, Wriothesley;
- Everamber. Required for ascension of Clorinde, Kirara, Lynette, Neuvillette.
 Image: youtube.com
The battle against Apep is not too difficult, but each phase of the fight requires its own approach. The first and third phases will test your ability to read the boss's attacks and respond quickly to threats. In the second phase, speed and target prioritization are key to success. Do not let the parasites absorb the Heart of Oasis. Focus on the dangerous Pernicious and Protective organisms, and use Anemo characters for crowd control.
Victory over Apep will grant you rare materials for character ascension as well as unique achievements. Manage your resin wisely and evaluate the priority of bosses for the current week. Good luck in the battle against the Dendro Dragon!
Read also
Main image: hoyolab.com















0 comments