
Lord of Eroded Primal Fire in Genshin Impact is a powerful weekly boss located in the Natlan region. This creature belongs to the Abyss and often uses its dark energy during the battle.
In this guide, you will learn:
- How to unlock access to the Lord of Eroded Primal Fire and where to farm the boss in the future;
- Which achievements are available for killing the boss;
- A list of materials that can be obtained after defeating the boss and their use—what heroes they are needed for talent leveling and ascension.
Tactical advice will help you achieve victory, and drop information will help you plan your character development in advance.
How to Unlock and Where to Find
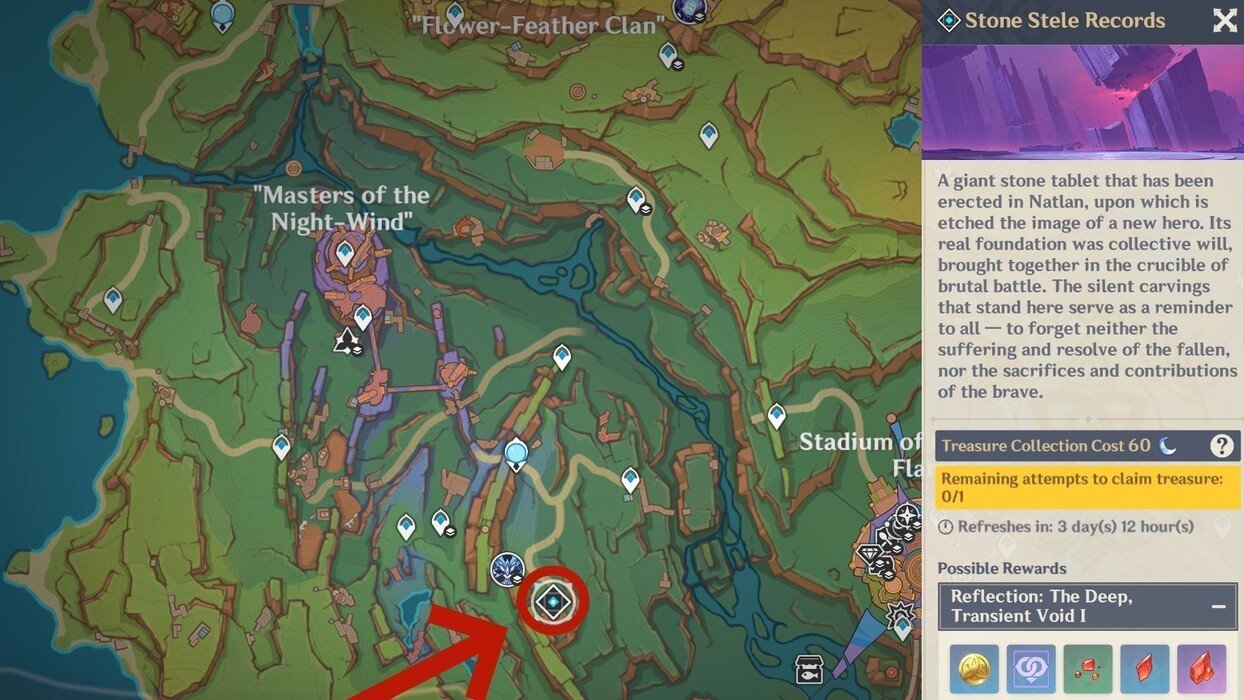 Image: lootbar.gg
To gain access to the dungeon for weekly farming, you need to complete the quest chain "Flame Ode of Resurrection". Lord of Eroded Primal Fire is the final boss of this quest.
Afterward, to start the battles, you need to find the dungeon of punishment called "Records on the Stone Stele". There are four difficulty levels available: "Deep Spatial Rift".
Best Characters for Fighting the Boss
Good news: The boss does not have high resistance to any specific element. Instead, it has a 10% resistance to all elements in the game.
Bad news: If you’ve already fought enemies in Natlan, you’ve likely encountered creatures shielded by Abyss barriers (a white bar under the health bar that fills as the shield is depleted).
Characters with the "Night Spirit" mechanic break these barriers much faster, so they are definitely worth using. If you don’t have any Natlan characters, consider using heroes who can frequently activate elemental skills.
Attacks and Abilities of the Lord of Eroded Primal Fire
 Image: youtube.com
The fight with the boss is divided into two phases. Regardless of the monster's current state, it can attack the player with red (Pyro) and purple attacks. The latter are the most dangerous, as they cause the "Decay" effect and deal periodic damage to the player.
First Phase
"Blade Strike"
The boss strikes with a fiery blade, dealing Pyro damage in front of it and leaving fire puddles on the ground. These puddles also deal damage if the player steps on them.
"Double Strike"
 Image: youtube.com
A consecutive arc strike with both blades. First, the boss makes a semicircular motion in one direction, then reverses the arc in the opposite direction. This attack deals Pyro damage to the affected player and leaves fire puddles on the ground that deal damage as well.
"Swing"
A move with a very large radius. After a short delay during which the boss raises its blade above its head, it makes a powerful strike to the arena. This ability deals Pyro damage and leaves fire puddles on the ground. Since the boss is immobile, it is a good idea to run as far away as possible from it.
"Dark Spheres"
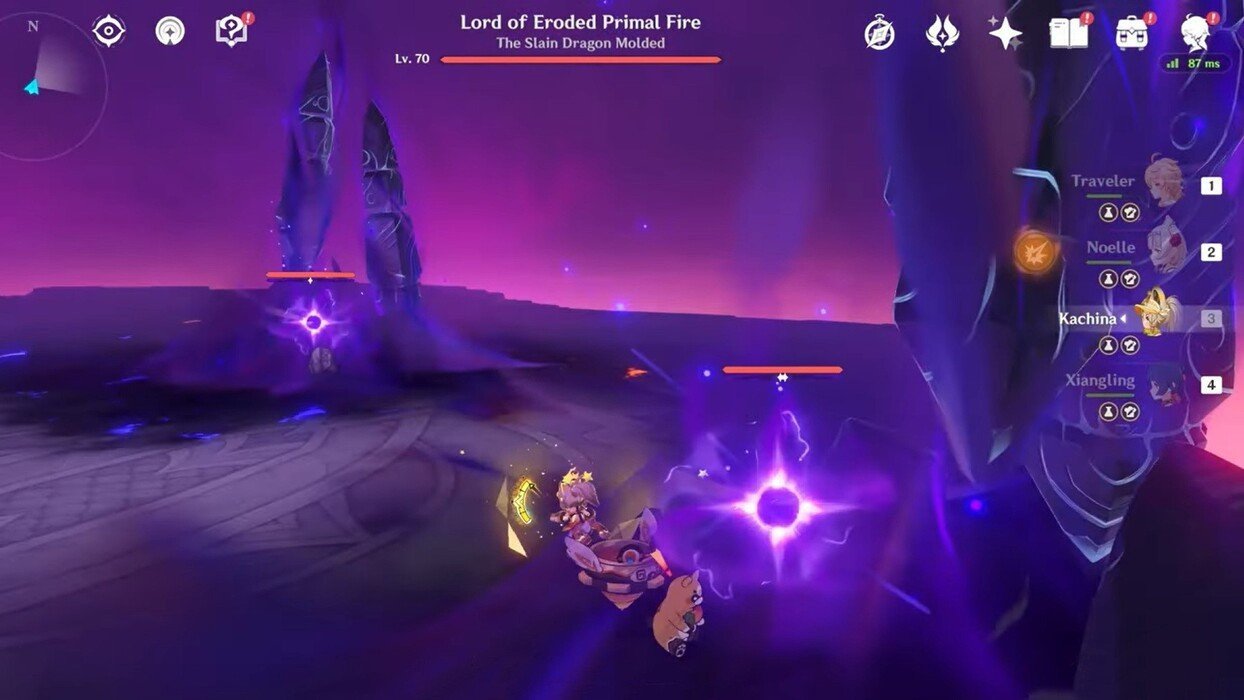 Image: youtube.com
The Lord summons several dark spheres that, after a brief delay, fly toward the player one by one. Shields do not protect against this ability, but it can be dodged. If they hit the player, they will apply the Decay effect and cause periodic damage.
"Force Ejection"
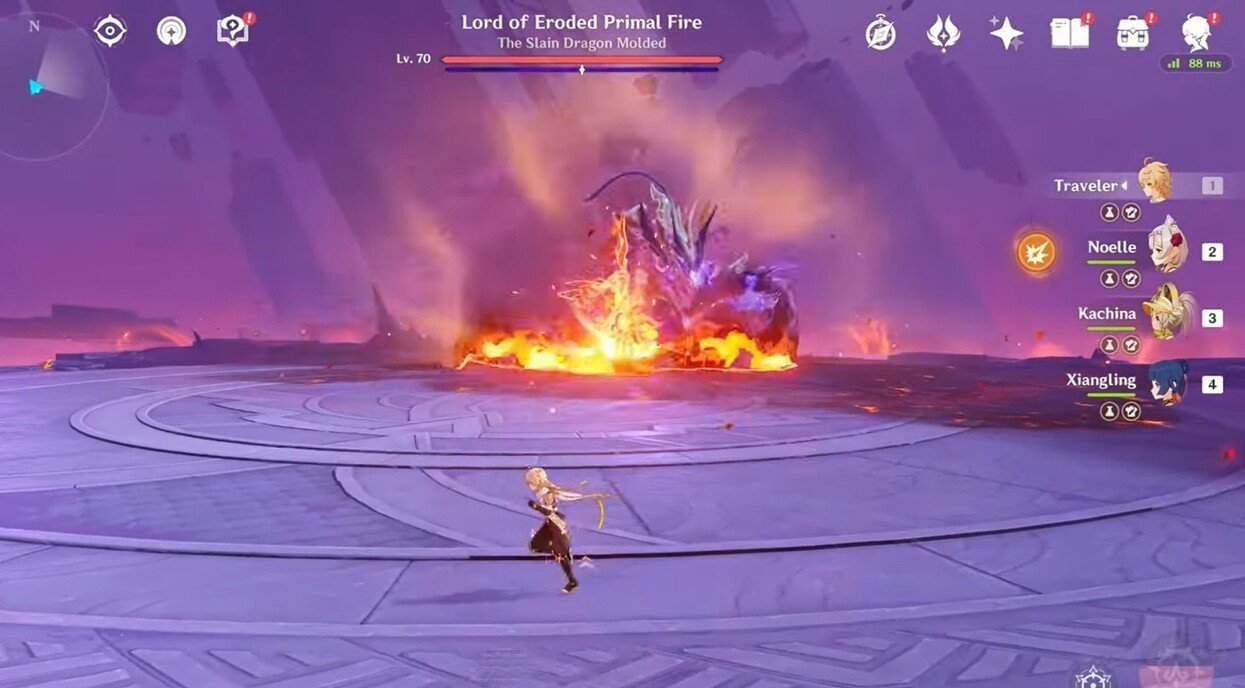 Image: youtube.com
This attack consists of several stages:
- The boss drives its blade into the ground and shields itself;
- It then releases fiery waves across the platform, dealing Pyro damage to affected targets. These waves cannot be dodged, but the shield can protect you from damage;
- After 6 waves of fire, the boss creates a dark sphere and throws it toward the player. The sphere explodes upon contact with the surface, creating an area that deals periodic damage. Additionally, the area pulls everything toward it, so it’s best to stay as far away from it as possible.
If you manage to break the barrier behind which the boss is hiding (reminder: characters with the "Night Spirit" mechanic disable such shields three times more effectively), the enemy will take significant damage and be stunned.
"All-Consuming Darkness"
The boss summons a fog that greatly reduces visibility, and three Tenebrous Mimiflora appear, following the player and dealing damage. Each is shielded by the familiar Abyss barrier. After a short delay, a purple area will appear under the player. If the player doesn't leave it in time, a massive hand will appear, inflicting the Decay effect on the player.
There are two effective ways to counter this attack:
- Use the Traveler’s Pyro Elemental Skill or Mawuiki’s skill. This will clear the fog;
- Try to eliminate the enemies following you as quickly as possible. Once they disappear, the boss will be stunned and take damage equal to 10% of its max HP.
"Abyssal Rain"
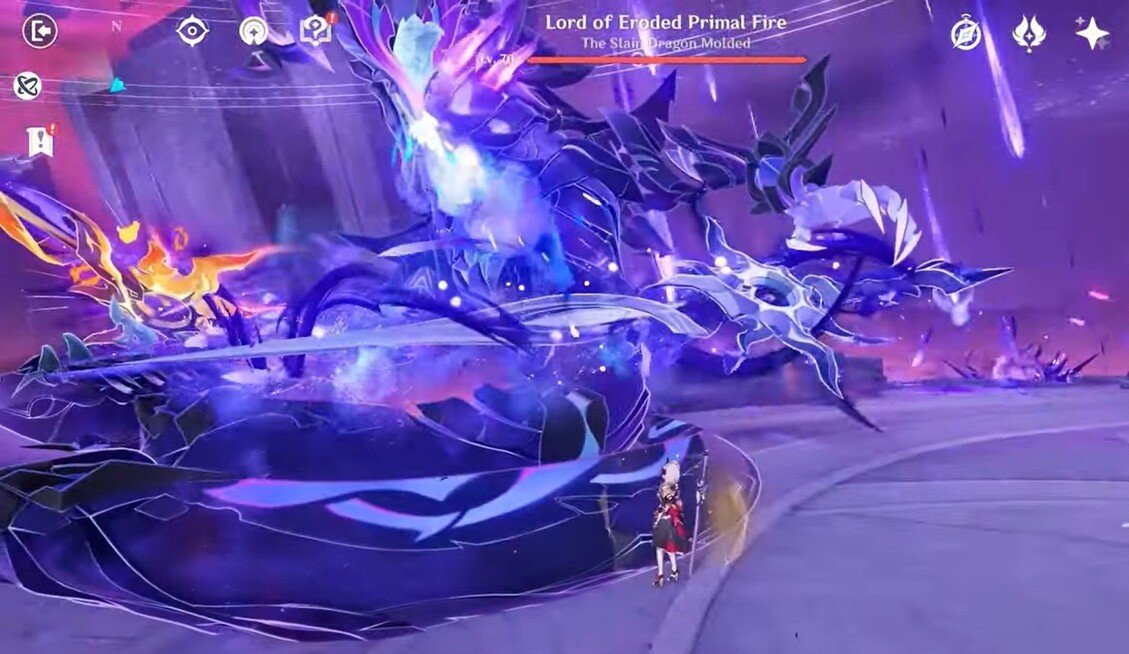 Image: youtube.com
This is a particularly important ability, as after its use, the boss enters the second phase. A barrage of dark meteors falls on the arena, and the player must dodge them. The effect lasts for several seconds, after which the Lord strikes the arena with its sword, cutting off part of the arena where the battle is taking place.
If you happen to be in the wrong place at the wrong time, your character will fall into the abyss. The fight will not end, but the active character will lose 80% of their max HP upon being transported back.
Second Phase
"Abyssal Charge"
The boss drives both blades into the ground, splitting the arena into two halves. This ability cannot be dodged, as one half of the arena will be covered in a Pyro area, and the other half will be filled with Abyss energy. The best strategy is to take shelter behind a shield and remain in the fire zone to avoid the Decay effect.
After this, the enemy fires a dark beam, dealing damage twice in the sector in front of them.
"Frenzy"
An enhanced version of the "Double Strike" from the first phase. The boss quickly attacks in front of them: first with a fiery sword, then with an Abyss sword, and finally with both swords simultaneously. Each strike releases a wave of the corresponding element, dealing damage in a large sector. The tactic is simple: hide behind a shield and stay close to the fire sword to avoid the Decay effect.
"Abyssal Arrows"
After a brief delay, the boss shoots a massive number of Abyss particles toward the player. These particles deal damage on contact and apply the Decay effect.
"Dark Cloud"
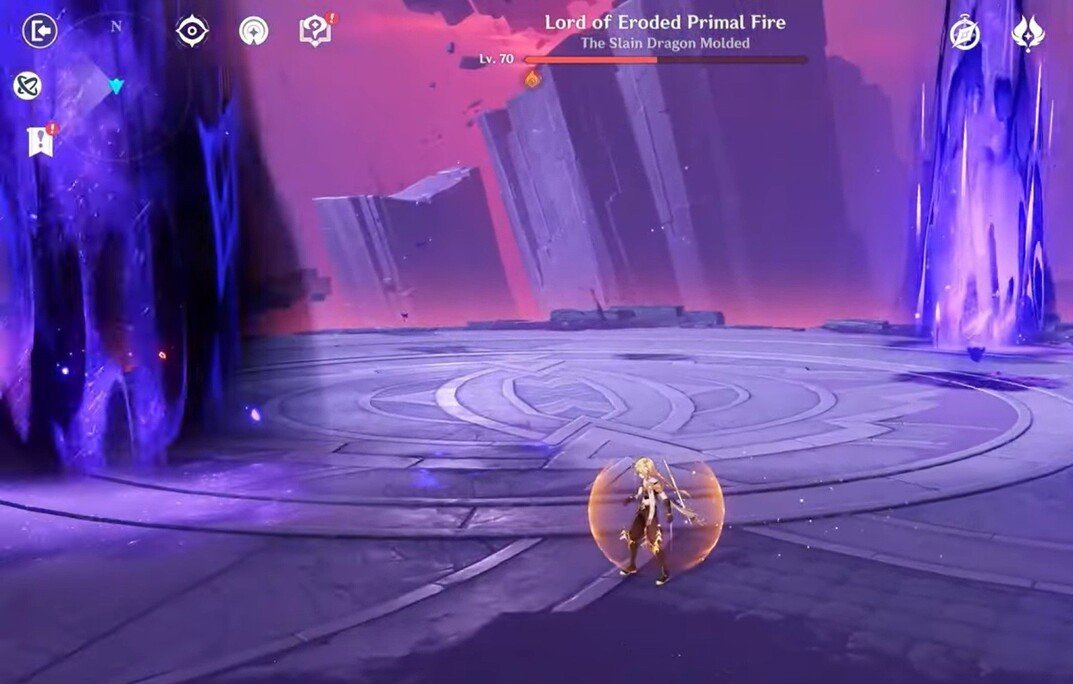 Image: youtube.com
This attack consists of several parts:
- The boss performs the usual "Double Strike", but the order of the attacks changes: first, the Abyss sword strike, then the fiery sword strike;
- The boss dissolves into shadows, disappearing for a certain time. While this effect lasts, dark areas will randomly appear on the field. If the player steps into them, they will take damage and the Decay effect;
- At the end of the effect, the boss repeats the "Double Strike".
"Apocalypse"
The boss shields itself and begins charging a powerful spell. The ability charges for a long time, but once it is completed, an Abyss explosion covers the entire arena and applies the Decay effect.
This ability cannot be dodged, but if you manage to break the Abyss shield, the spell will be interrupted, the boss will take damage, and become stunned.
"Abyss Invasion"
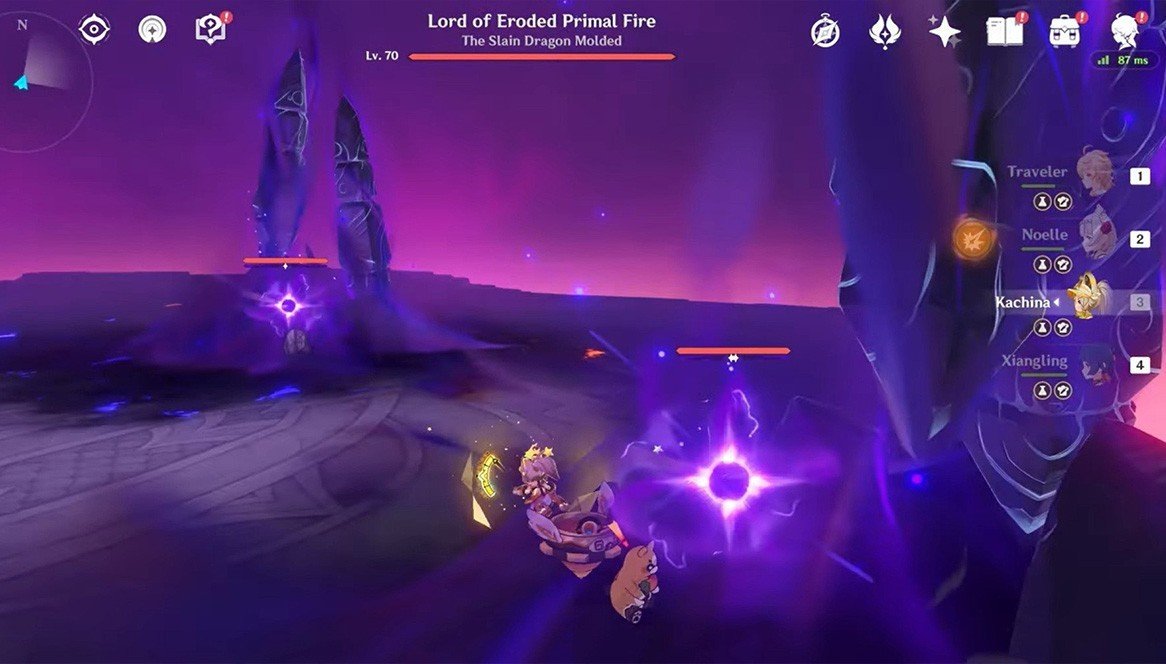 Image: youtube.com
This is the most powerful ability the travelers will face, and the boss will use it only once during the battle. It consists of several parts:
- In the center of the arena, a whirlwind of Abyss energy appears, constantly pulling the player toward the center;
- Three Abyss Stones, protected by a barrier, appear at the edges of the arena. While they remain on the field, the player will take damage and the Decay effect;
- You have approximately 20-30 seconds to destroy all the stones. If you succeed, the boss's attack will be interrupted, and the boss will take damage and become stunned;
- If you fail to destroy them in time, the Lord will briefly disappear and then transform into a massive sphere, crashing into the center of the arena, applying the Decay effect, and killing the active character. This attack cannot be dodged.
General Tips
The boss truly has many attacks, and the battle itself can be quite chaotic. Due to the flurry of colors on the screen, it can be easy to get confused by the Lord's abilities, but there are several simple rules to follow:
The boss frequently uses Abyss barriers. Characters with the "Night Spirit" mechanic are extremely effective against them.
Don’t forget about the "Abyssal Rain" ability. It can be used no more than three times during the fight, but each time it will cut off part of the platform. Do not stand too close to the edge.
Some abilities cannot be dodged. If you have to choose between taking Pyro damage or Abyss damage, hide behind a shield and allow the fire attacks. The purple attacks apply the Decay effect, which a shield cannot protect against.
Bring a healer in your team to restore health lost due to the Decay effect.
Achievements
Victory grants an unexpected achievement: "Reverse Turn". To unlock this, you need to wait for the boss to use "Abyssal Rain" three times, reducing the arena to its minimum size.
Rewards
- Artifacts from the following sets: "Wanderer's Ensemble", "Gladiator's End", "Berserker", "Instructor", "Exile";
- Adventure Experience;
- Mora (amount depends on your world level and selected difficulty);
- Friendship Experience;
- Character Experience;
- Dream Solvent (33% chance);
- Borderland Land Blueprint (33% chance);
- Agate Agnidus (value depends on your world level and selected difficulty).
Also, talent ascension materials drop:
- Eroded Horn (needed for the ascension of Mawuiki and Escoffier);
- Eroded Sunfire (needed for the ascension of Lan Yan);
- Eroded Scale-Feather (needed for the ascension of Varesa).
 Image: pinterest.com
We hope this guide helps you in your battle with the Lord of Eroded Primal Fire in Genshin Impact. Remember, knowledge is the best weapon. By thoroughly studying the abilities, choosing the right characters, and learning their animations, you will be able to defeat even the most fearsome opponents.
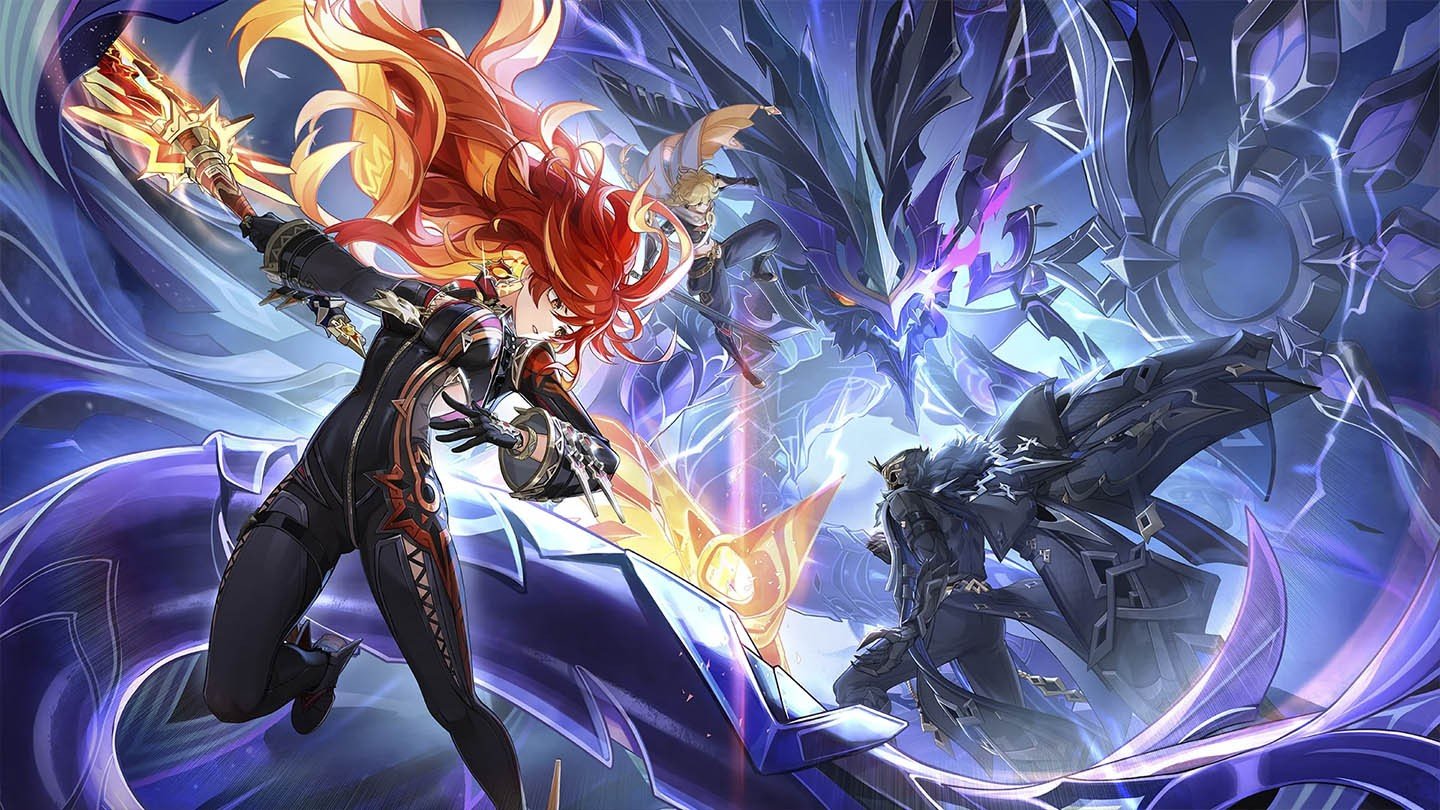
Main image: playstation.com


0 comments