

La Signora is the final boss of the main storyline campaign in Inazuma. The eighth of the Fatui Harbingers, she meets the player at the Raiden residence, attempting to establish diplomatic relations between the nation of Electro and Snezhnaya. Fortunately, the Traveler arrives just in time—the Crimson Witch of Embers not only loses her status but also her head.
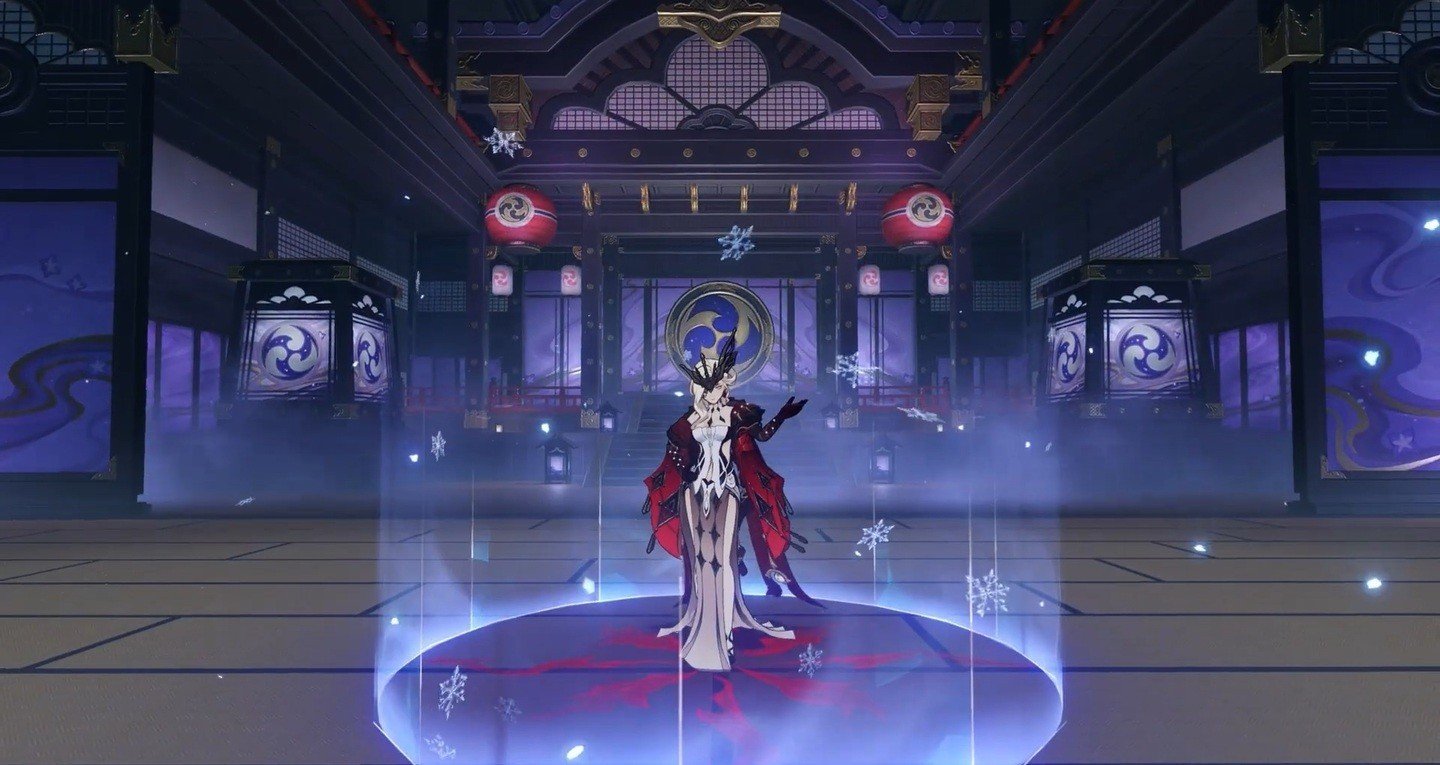 Image: youtube.com
Also, check out our other guides on Genshin Impact:
Read also
How to unlock and where to find
To fight this boss weekly, you must complete the quest chain "Omnipresence Over Mortals". The quest to unlock the fight with La Signora is "Duel Before the Throne".
To start the battle, you will need to find the punishment dungeon called "Narukami Island: Tenshukaku". There are four difficulty levels available for the "Duel to the Fiery Death".
Best characters for the fight against the boss
The fight with the Eighth Harbinger of Fatui consists of two phases and a transitional stage between them. The challenge lies in the fact that characters who are highly effective in the first phase will be almost useless in the second phase, and vice versa.
To avoid such a situation, here are some key points to keep in mind:
- You can take one Cryo and one Pyro DD in your team. But keep in mind that your Cryo damage dealer (for example, Ganyu) will only be useful in the second phase. Meanwhile, the Pyro damage dealer in the party (such as Diluc) will only be useful in the first phase;
- The second option is to avoid using these elemental characters entirely. This will make the first phase more difficult, but you won’t have any useless characters in your team;
- If your party includes heroes who summon attacking units (Furina, Fischl, Xiangling), be very careful as they can destroy "Eyes of Frost" and "Hearts of Flame" when you don't want them to.
Additionally, don’t forget about the boss's resistance to certain types of damage. La Signora has 70% Cryo resistance in the first phase (which is reduced to 10% in the second phase) and 70% Pyro resistance in the second phase (only 10% in the first phase). For all other types, the Crimson Witch consistently has 10% resistance.
Sample teams
Let’s take a look at some of the most effective teams for the boss fight.
|
Character 1 |
Character 2 |
Character 3 |
Character 4 |
Description |
|---|---|---|---|---|
|
Cyno |
Nahida |
Fischl |
Layla |
This team does not use Cryo and Pyro elements for the main damage, so you won’t have issues with the boss’s resistance at any phase. |
|
Raiden |
Bennett |
Kazuha |
Xingqiu |
Another team where the main damage comes from the Electro element. The supports provide positive effects, while Raiden kills the boss during her burst. Simple and canonical. |
|
Chasca |
Faruzan |
Bennett |
Xilonen |
The team uses Anemo for damage, with Chasca as the main damage dealer. |
|
Xiangling |
Amber |
Barbara |
Kaeya |
A team for beginners who haven't unlocked stronger characters yet. |
Attacks and abilities of La Signora
The first phase of the fight takes place in an ice hall. Here, the boss only deals Cryo damage. During this phase, your active character will gradually accumulate the "Sheer Cold" effect, and if they take damage from La Signora’s abilities, the accumulation will be faster. Once the effect bar is completely filled, the active character will begin to take DoT damage.
Almost all of the boss's abilities in this phase freeze the surface. While standing in these areas, the character will accumulate "Sheer Cold" faster.
At the edges of the arena, there are four "Hearts of Flame", around which a warming aura is constantly maintained. They help remove the freezing debuff, and to activate this, you simply need to approach one of them. It’s important to note that the effect doesn’t wear off immediately but takes a few seconds, so you’ll have to wait for a while.
You can also destroy the "Hearts of Flame". In this case, they will disappear, but before doing so, they will release a heatwave that completely removes the debuff effect from the character and destroys the traces of the boss's abilities around them.
Let’s move on to La Signora’s attacks.
Cold/Fire Fury
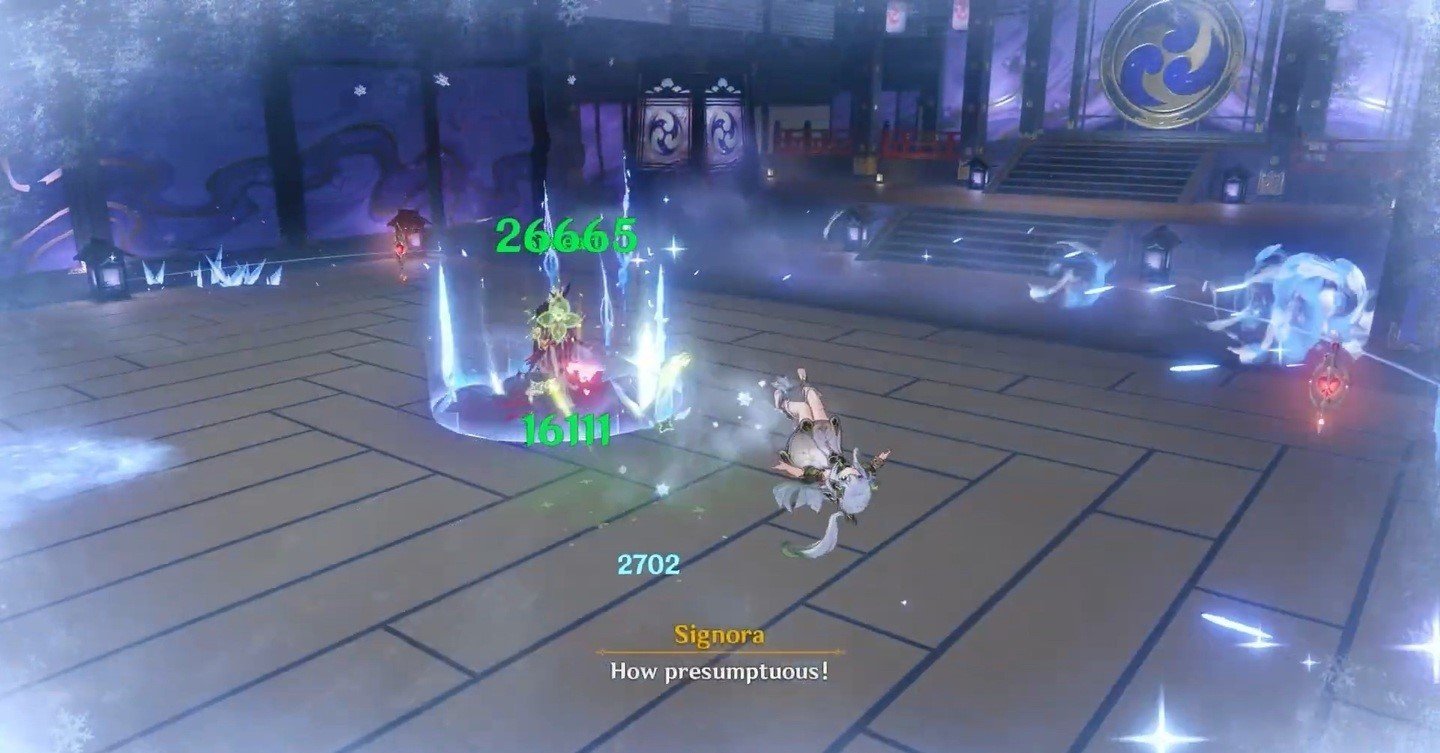 Image: youtube.com
If La Signora takes too much damage in a short period of time (more than 30% of her maximum HP), she deals Cryo or Pyro damage to nearby players, knocks them back, and instantly fills the Sheer Cold or Blazing Heat gauge. Additionally, any damage exceeding that threshold will be nullified. This mechanic persists in the second phase, but the elemental type switches to Pyro. So be cautious when stacking attack buffs on your DD!
Ice Arrows
 Image: youtube.com
Fires five ice arrows. Immediately after the arrows, La Signora releases an additional projectile that follows the player for a few seconds.
Blizzard
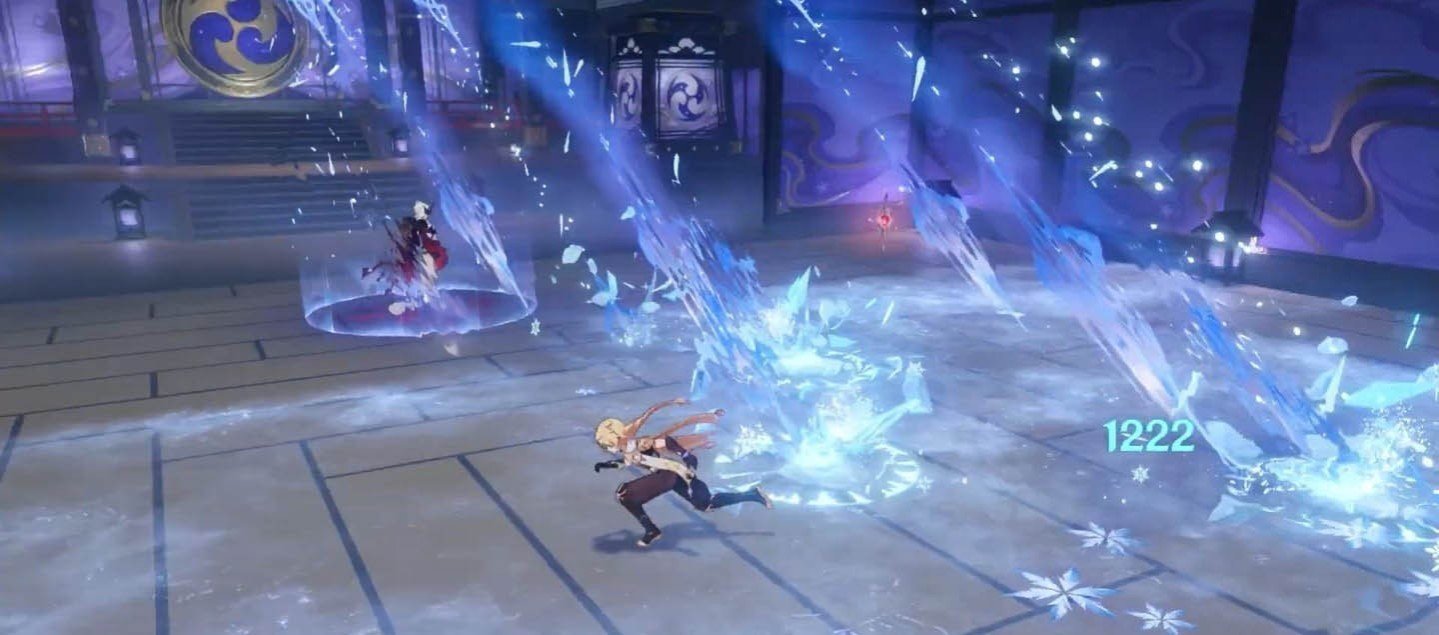 Image: youtube.com
Unleashes icy projectiles on a targeted area.
Frozen Bloom
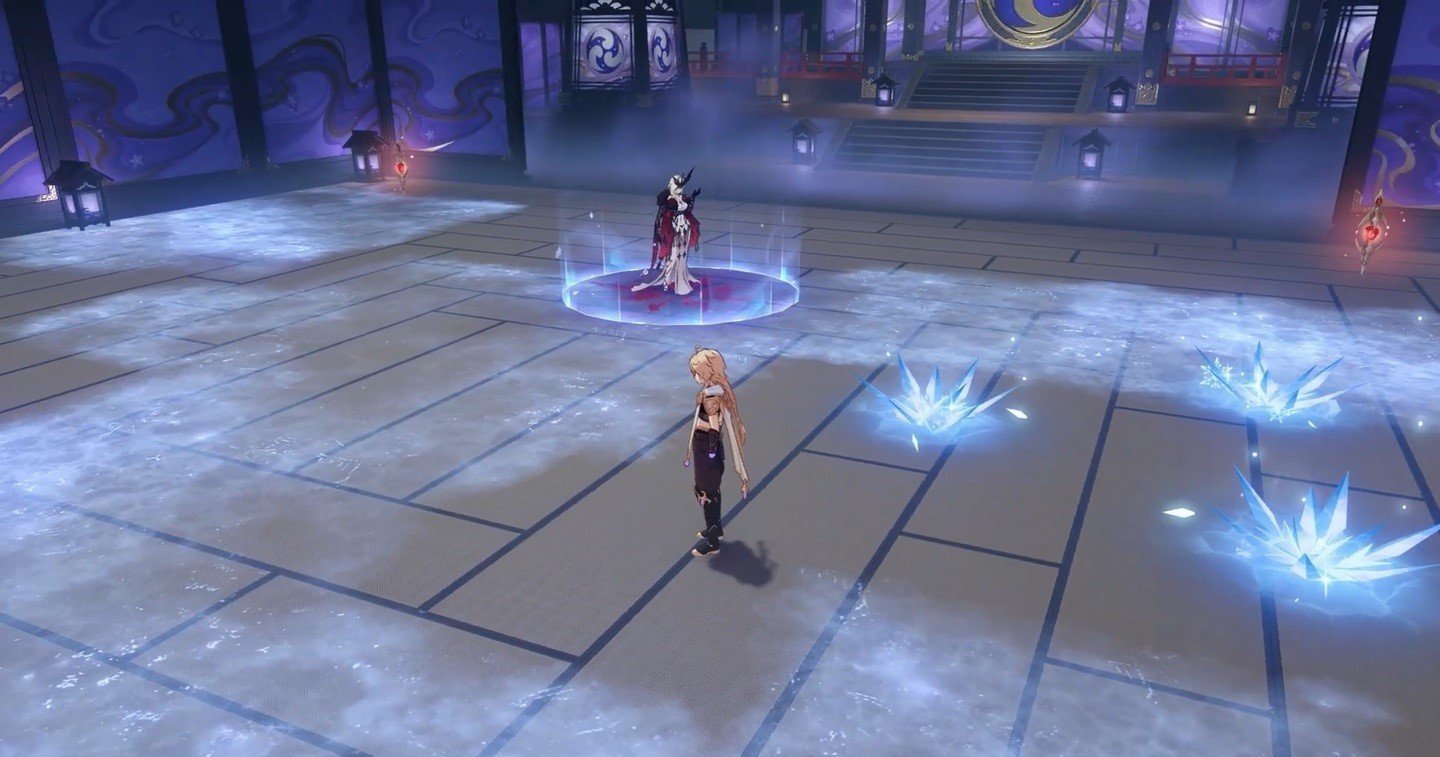 Image: youtube.com
Creates several ice flowers on the battlefield that detonate after a few seconds.
Frost Barrage
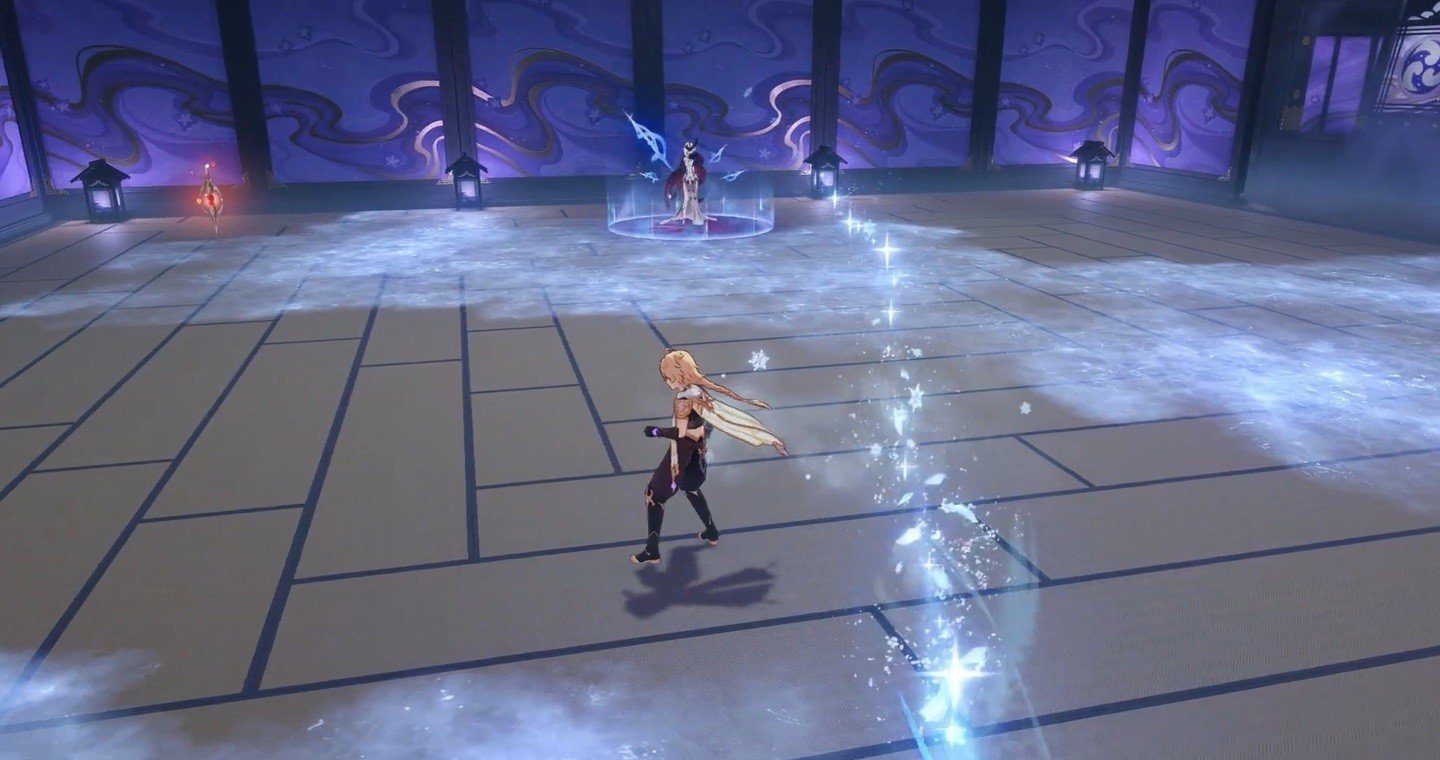 Image: youtube.com
Fires five ice projectiles in sequence, which track the player.
Ring of Cold
Releases a Cryo wave around La Signora, dealing damage to nearby players. If no players are near her, the boss teleports to a random player and then uses the ability.
The Tsaritsa's Benevolence
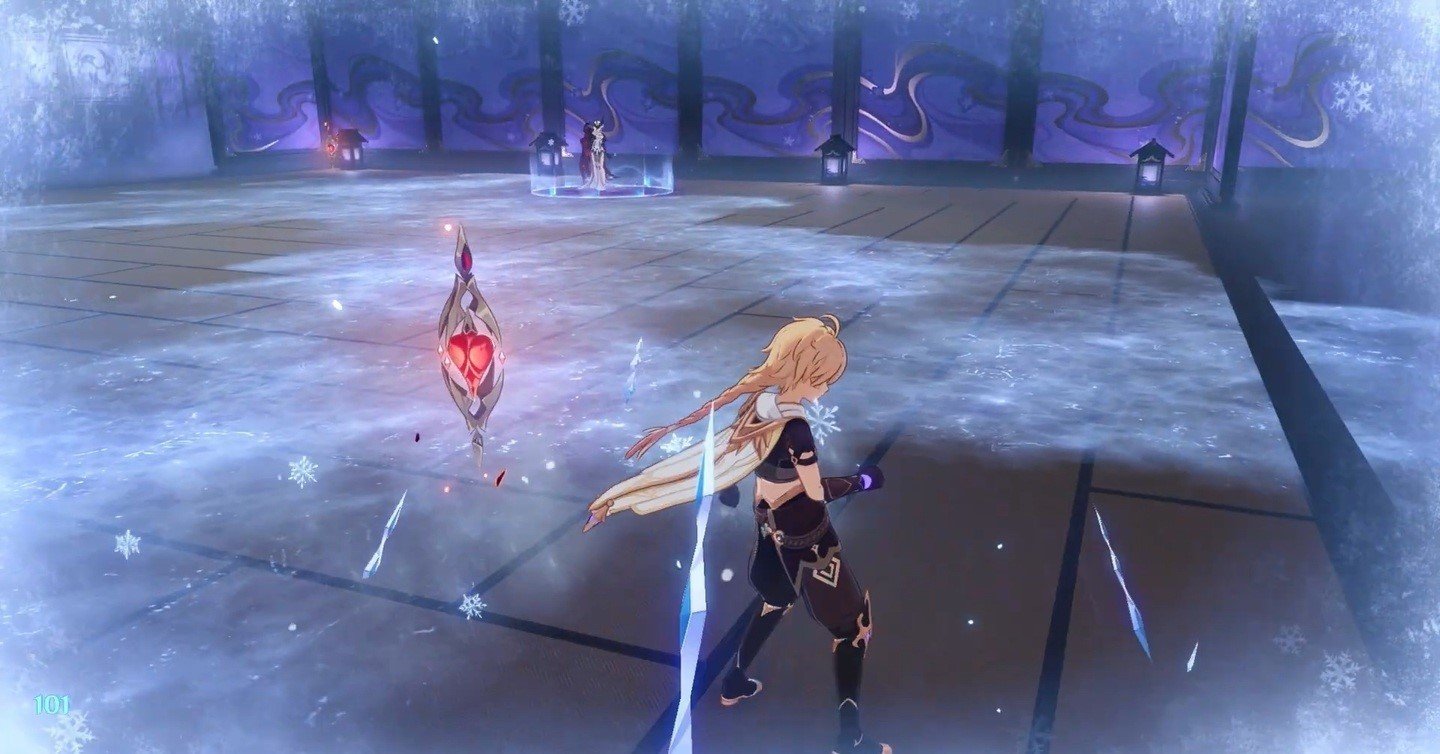 Image: youtube.com
Summons six ice spears that circle around the player for a few seconds before piercing them, dealing significant Cryo damage. This ability is used if the battle lasts too long.
Avalanche's Descent
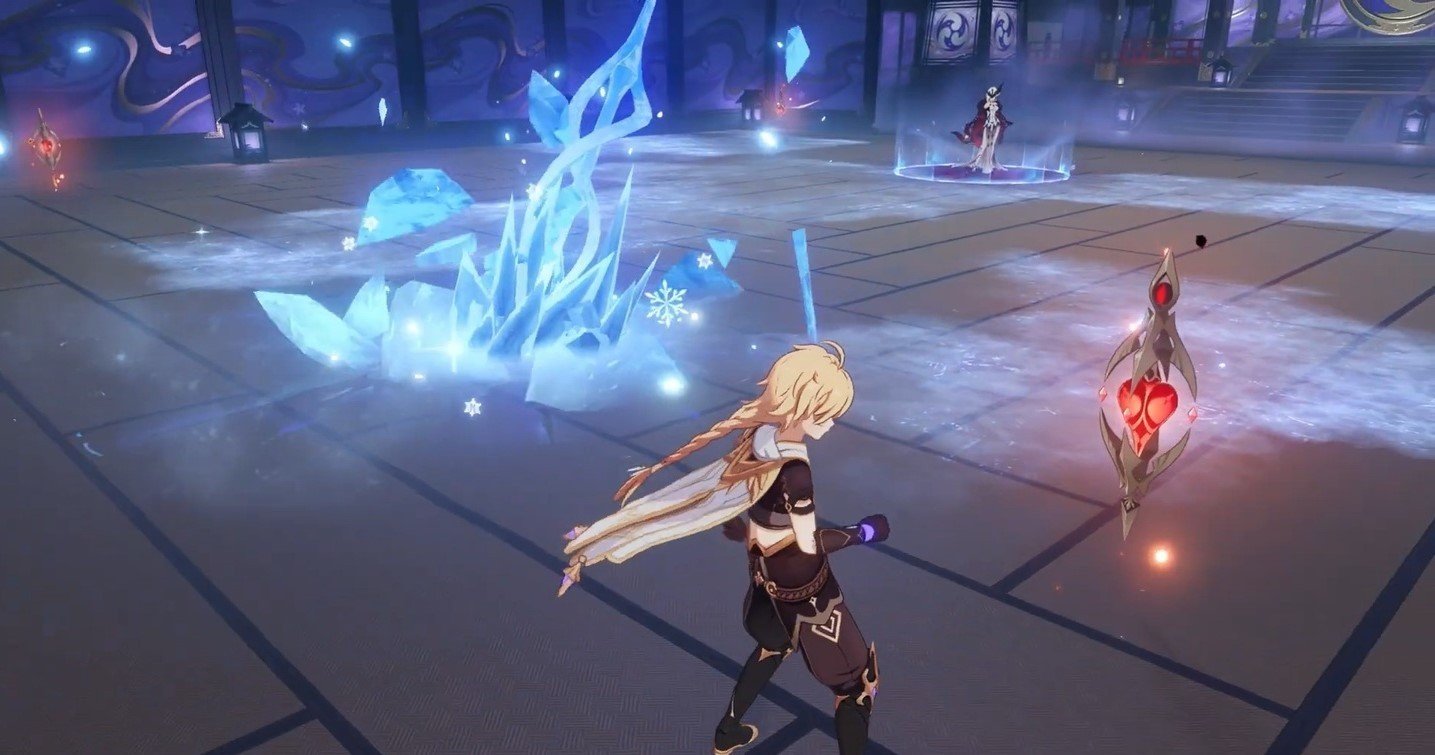 Image: youtube.com
Summons a massive ice spear that tracks the player for several seconds before plunging into the ground and dealing area-of-effect damage. After a short delay, the spear explodes.
These are all the abilities that the boss uses in the first phase. Once her HP drops to 20%, La Signora will teleport to the center of the arena and enter the transitional phase "Carmine Chrysalis", encasing herself in an ice cocoon. During the transitional phase, the following conditions apply:
- Resistances to damage types change, and the only element that is somewhat effective against the cocoon is Pyro (Electro becomes twice as ineffective as Pyro, Anemo and Geo become four times less effective, while Dendro and Hydro stop dealing damage);
- The "Sheer Cold" gauge fills twice as fast;
- The boss does not move and stops using most of her arsenal. Only the abilities "The Tsaritsa's Benevolence", "Frostbite Blossom", and "Frost Barrage" remain;
- The projectiles from "Frost Barrage" move significantly faster, their number increases to nine, and they follow the player for much longer;
- Flowers from "Frostbite Blossom" will periodically appear in different parts of the arena;
- "Crimson Lotus" butterflies will appear in the arena, which can be collected by pressing the F key. After collecting a butterfly, the player’s next attack will deal powerful Pyro damage.
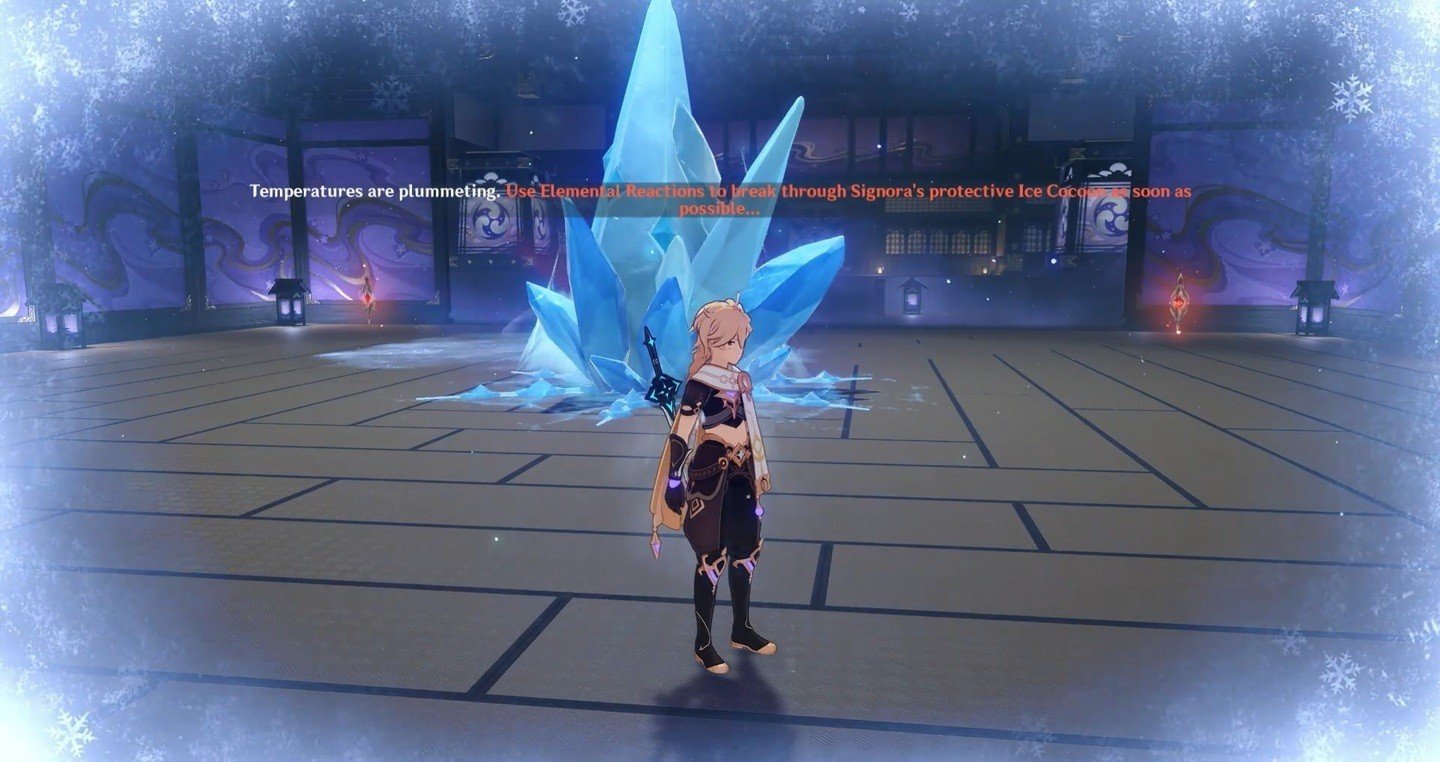 Image: youtube.com
To transition the boss to the second phase, the player must break the ice cocoon. This is where Pyro characters will come in handy if you have them. If not, don’t worry. Attacks enhanced by "Crimson Lotus" will be significantly more effective than any Pyro reactions.
The second phase is the complete opposite of the first, as it takes place in a blazing hall. All damage dealt by the boss will be exclusively Pyro damage. The "Sheer Cold" effect no longer accumulates on the player, and is replaced by "Blazing Heat". It works exactly the same, only the color of the gauge changes from blue to orange.
Instead of "Hearts of Flame", "Eyes of Frost" appear around the edges of the arena. Their functionality completely mirrors that of "Hearts of Flame", except that instead of cooling, they will warm the player. If one of these totems is destroyed, it will release a Cryo wave, clearing the surrounding area of fire traces (left by the boss’s abilities, similar to the first phase of the fight).
Flame Whip of Punishment
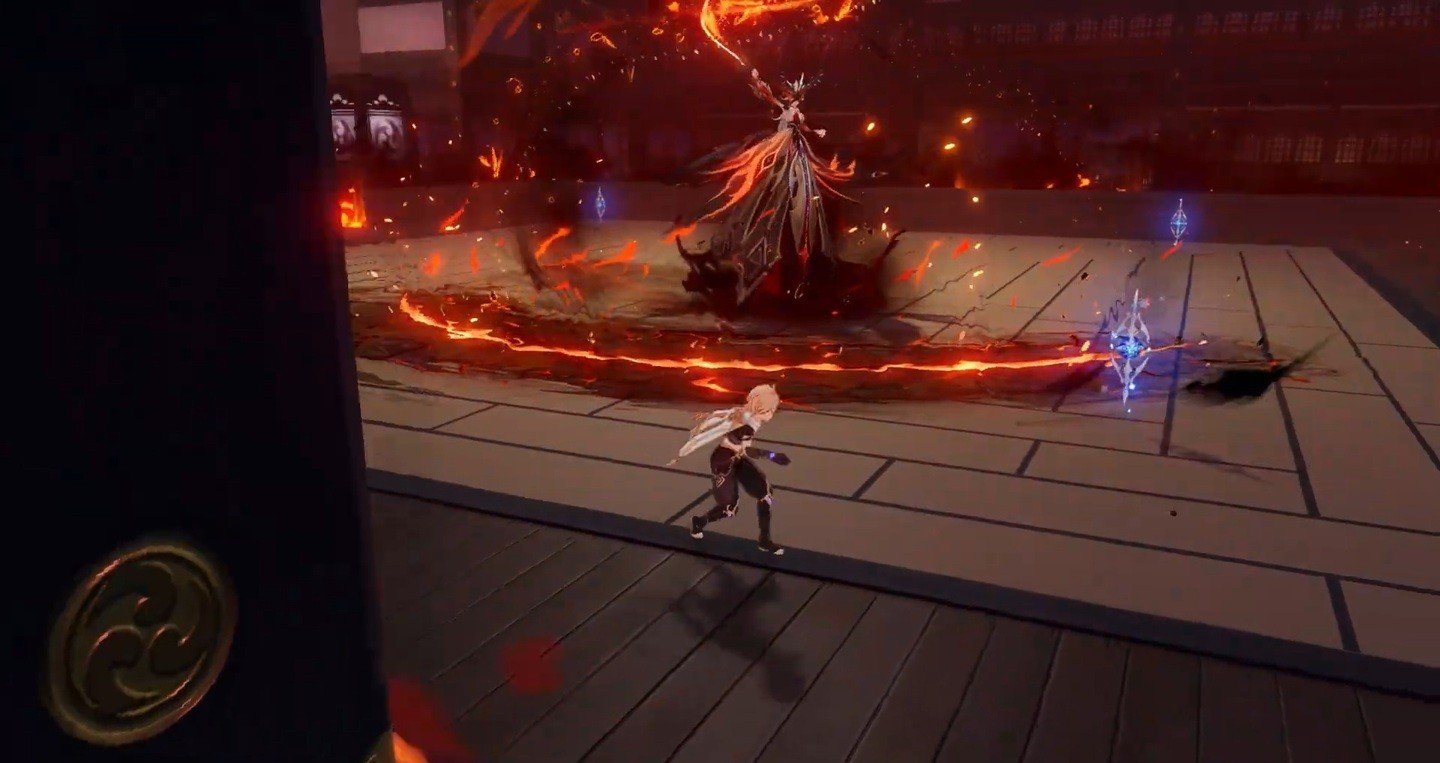 Image: youtube.com
During the fight, La Signora actively uses a fiery whip for various attacks. Let’s briefly review them, as most are similar:
- A basic forward strike;
- A double strike at mid-range;
- A single strike at long range;
- A wide mid-range strike that leaves a burning trail on the ground, which detonates after a few seconds.
Swift Flame
Becomes immune to damage and transforms into a cloud of smoke, moving to a new location.
Scorching Vortex
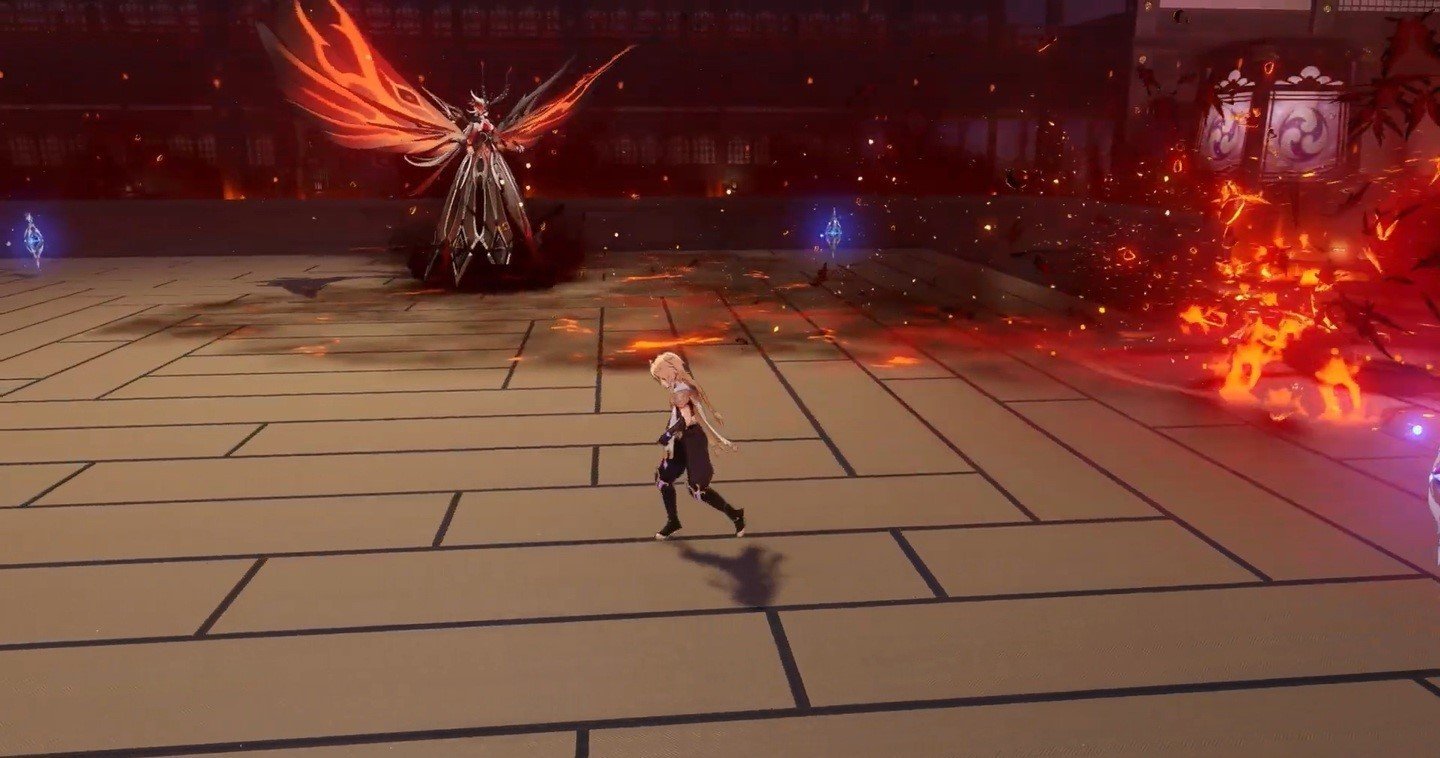 Image: youtube.com
Fires a large projectile that moves toward the player.
Witch's Wrath
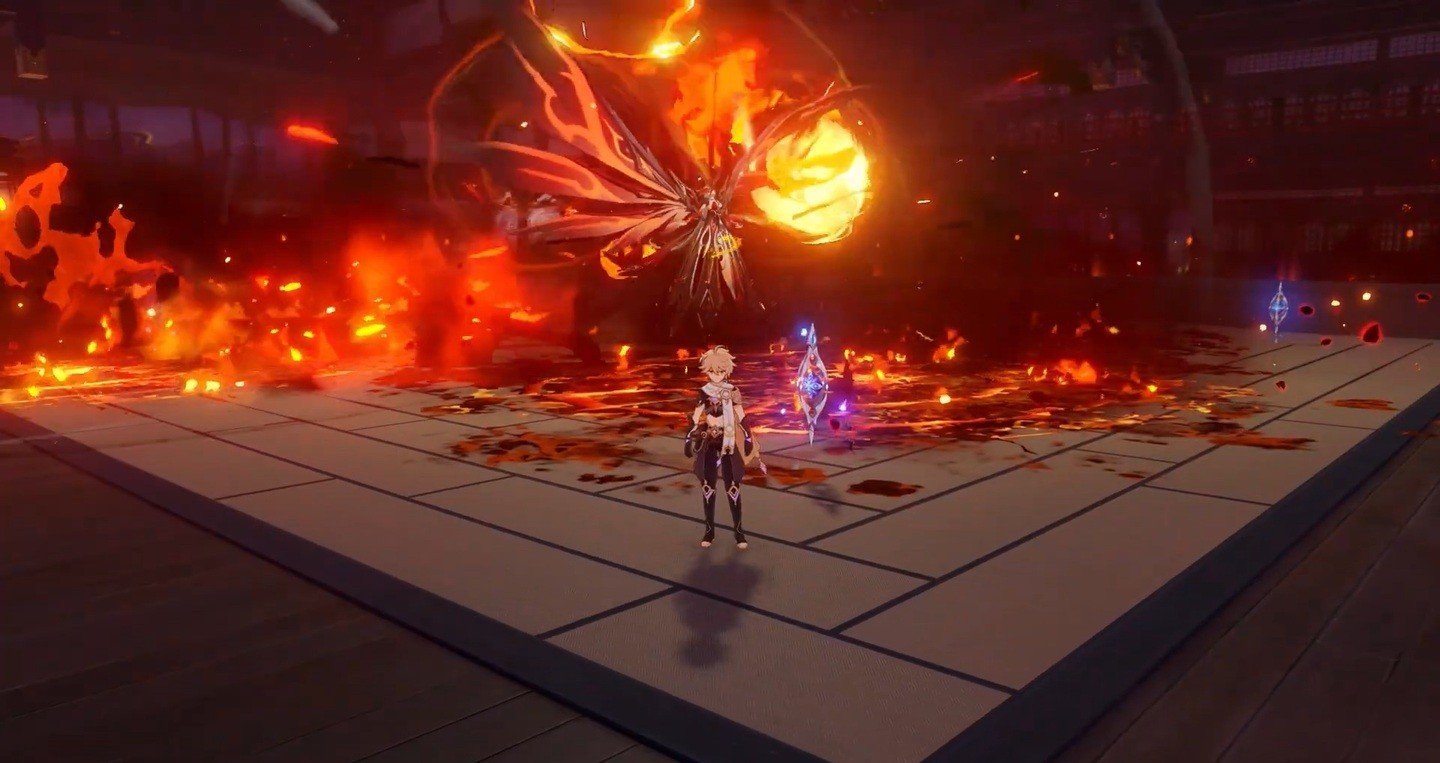 Image: youtube.com
Becomes immobile and starts launching fireballs that crash down onto the ground.
Fiery Downpour
 Image: youtube.com
After a brief delay, summons a swarm of fire moths that deal Pyro damage to affected players in the targeted area.
Crimson Lotus
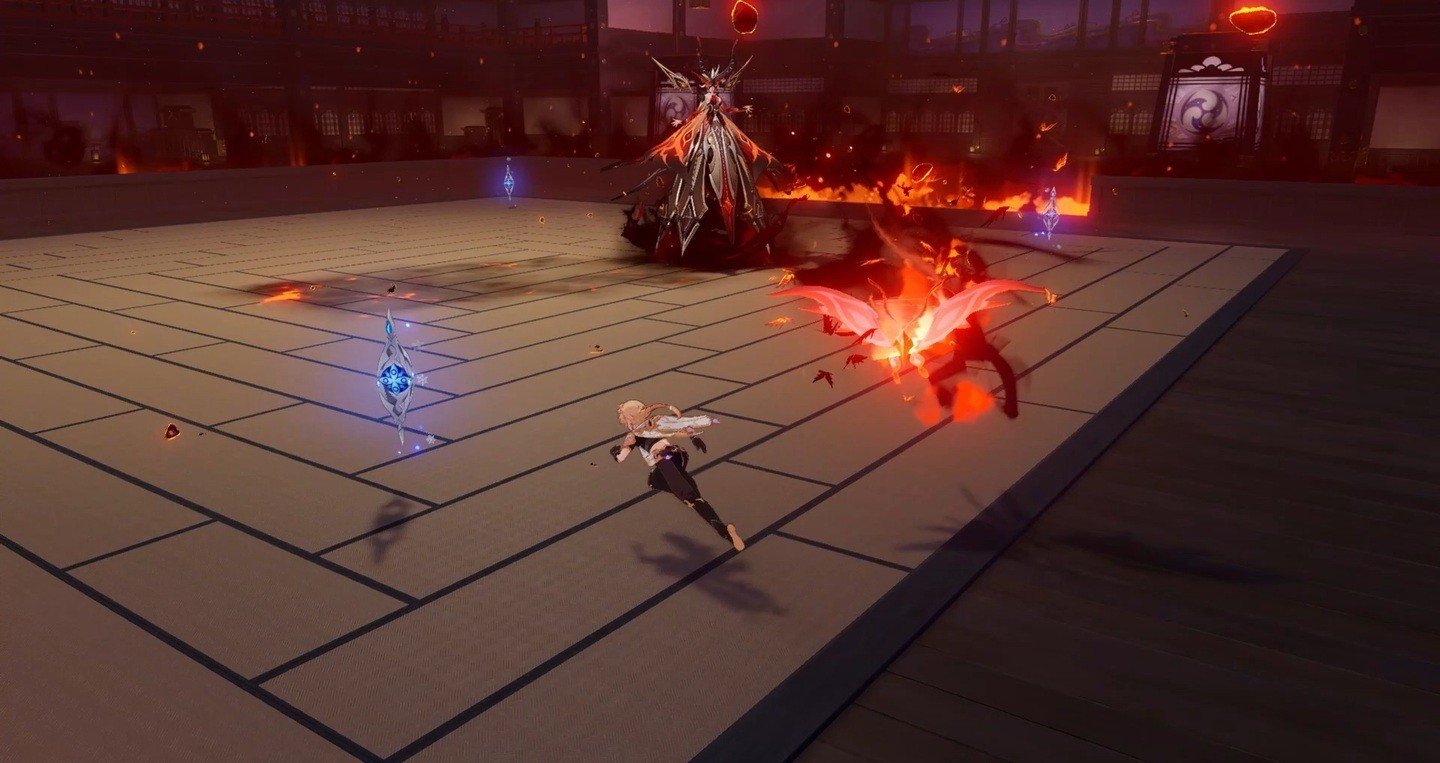 Image: youtube.com
Summons a large fire butterfly that chases the player and deals Pyro damage upon contact.
Whirling Flame
This ability is special because La Signora uses it either when the battle has been prolonged and her health has dropped below 50%, or when her health reaches 20%. It consists of several components:
- La Signora transforms into a fiery whirlwind, moving chaotically around the arena;
- Every three seconds, she releases four fire whirlwinds in different directions;
- At the end of the ability's duration, La Signora moves to the center of the arena, spreads her wings, and releases four more fire whirlwinds, filling her "Blazing Heat" gauge by 50%.
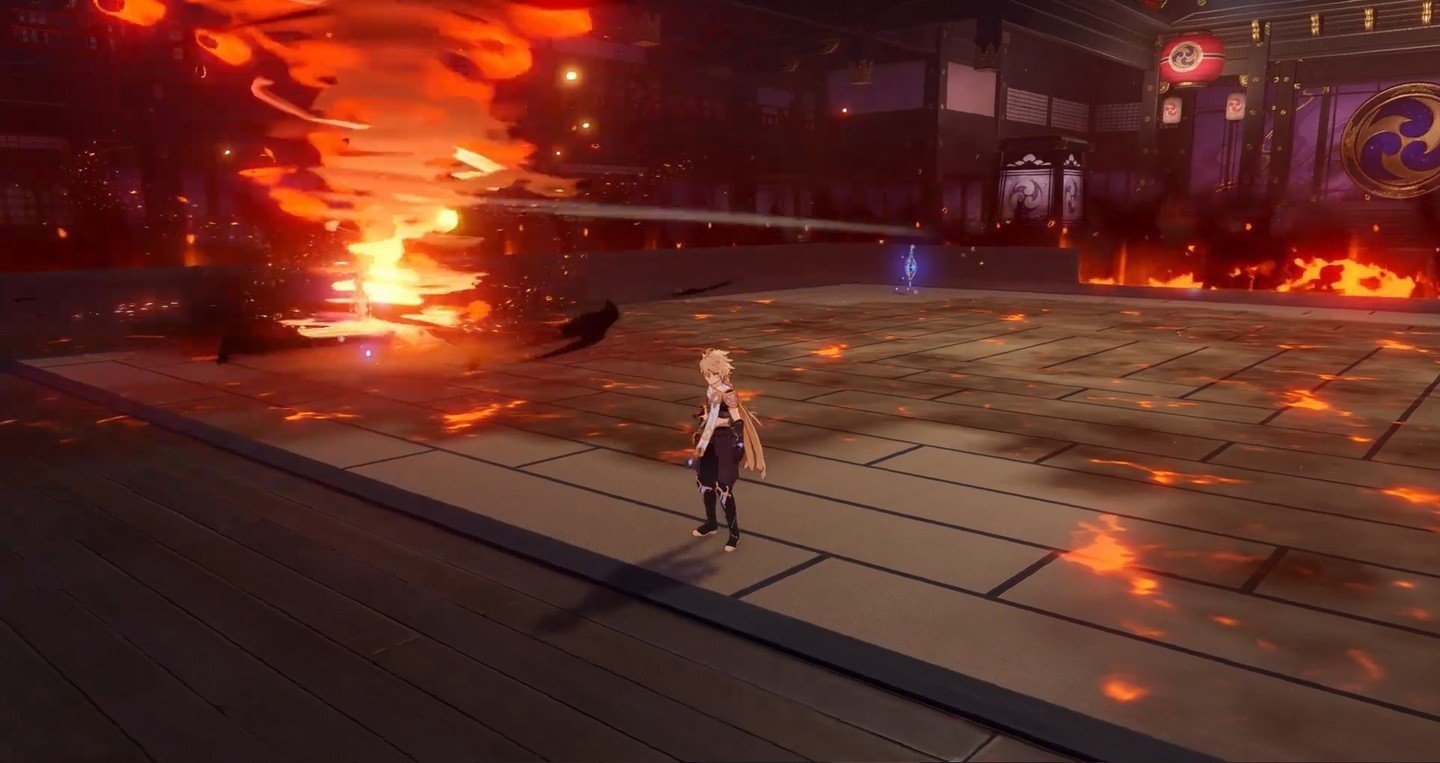 Image: youtube.com
General Tips
The overall strategy against La Signora doesn't vary much, as both phases are quite similar. The most important thing is to monitor the gauge buildup and reduce it in time by approaching the edges of the arena.
Here are a few more helpful tips:
- The durability of the "Eyes of Frost" and "Hearts of Flame" is based on toughness, not HP. This means characters who can attack rapidly will be more effective;
- It's best to clear the transitional phase as quickly as possible, but if you have strong healers, you can safely collect butterflies even with a full "Sheer Cold" gauge. For example, Furina's healing totem can nullify all periodic damage;
- In the second phase, La Signora has two abilities during which she is invulnerable: Swirling Flame and Blazing Dash. Use these windows to regroup and reduce the "Blazing Heat" effect;
- Swirling Flame can be considered her "enrage" phase, as after this ability the entire arena will be engulfed in flames, making movement extremely difficult. The best approach is to focus all your damage on La Signora and finish her off as quickly as possible.
What Achievements Can You Earn for Victory
You can earn several achievements for defeating this boss:
- "Icy Rivers, Crimson Witch"—Defeat her without destroying the "Eyes of Frost" and "Hearts of Flame";
- "Moment of Destruction"—Defeat her without collecting any "Crimson Lotus" butterflies during the transitional phase;
- "Dashing Through the Snow... and the Flames"—Defeat the boss in Co-Op mode with another player.
What Rewards Can You Get for Victory
If you've defeated no more than two weekly bosses this week and are claiming the loot, it will cost 30 resin. Otherwise, it will cost 60 resin. The reward pool includes:
- Artifacts from the sets Wanderer's Troupe, Gladiator's Finale, Berserker, Instructor, and The Exile;
- Adventure EXP;
- Mora;
- Companionship EXP;
- Character EXP;
- Dream Solvent (33% chance);
- Northlander Billet (33% chance);
- Agnidus Agate;
- Shivada Jade.
You can also obtain talent level-up materials:
- Molten Moment (needed for Aloy, Gorou, Raiden);
- Hellfire Butterfly (needed for Kokomi, Shenhe, Thoma);
- Ashen Heart (needed for Itto, Kujou Sara, Yun Jin).
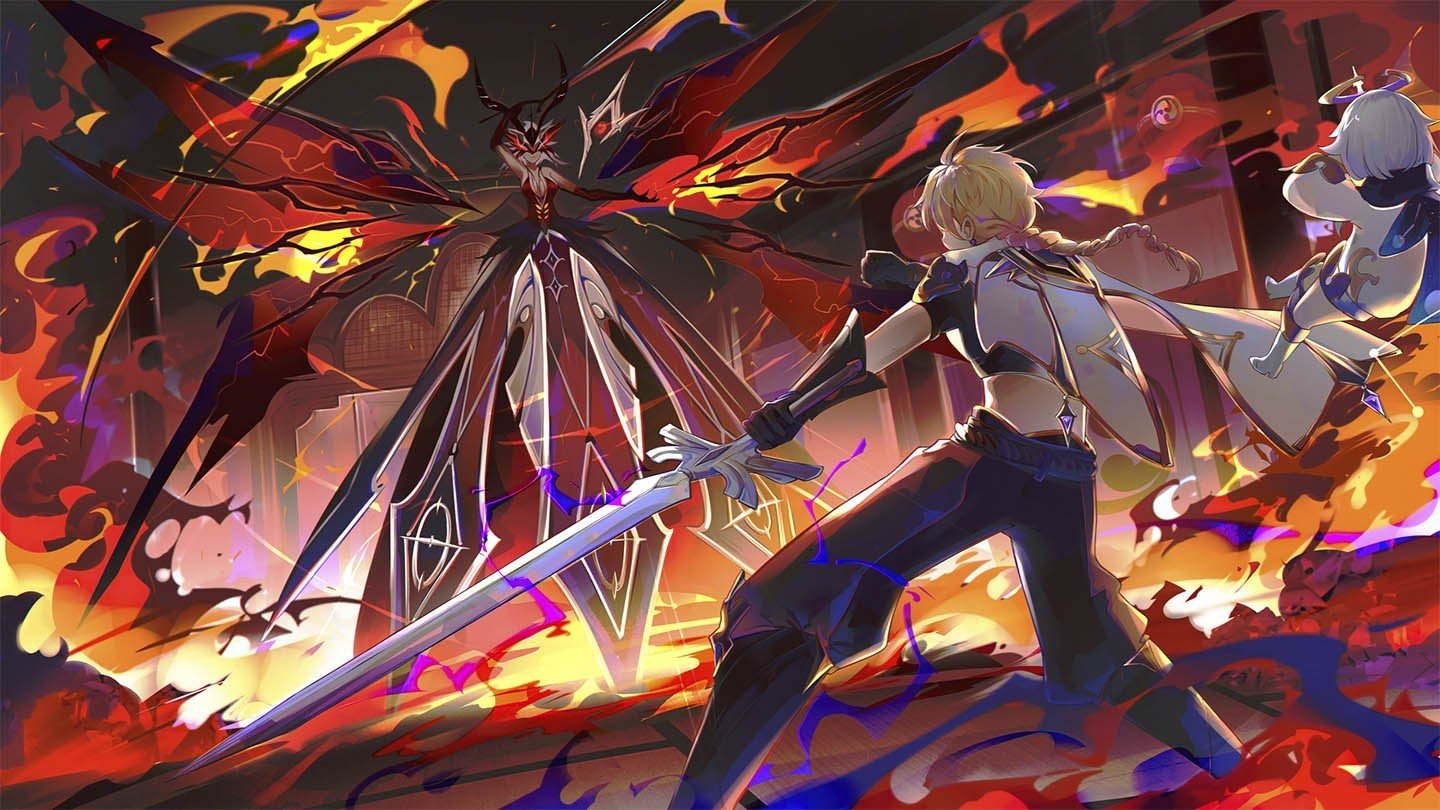 Image: uhdpaper.com
We hope this guide helps you in your battle against La Signora in Genshin Impact. Remember: knowledge is your best weapon. By studying the boss’s abilities in detail, choosing the right characters, and mastering her animations, you’ll be able to overcome even the most fearsome opponents.
Main image: hoyolab.com


0 comments