 Irina "Zemlia" Sukhanova
If you’ve just decided to explore the world of Monster Hunter Wilds and have no prior experience with the game’s hunting mechanics, this article might be helpful for you. I’m a beginner in this game myself, so I had to look up many details online. However, I decided to compile them into a single article to make it easier for players to find the information they need.
Interface
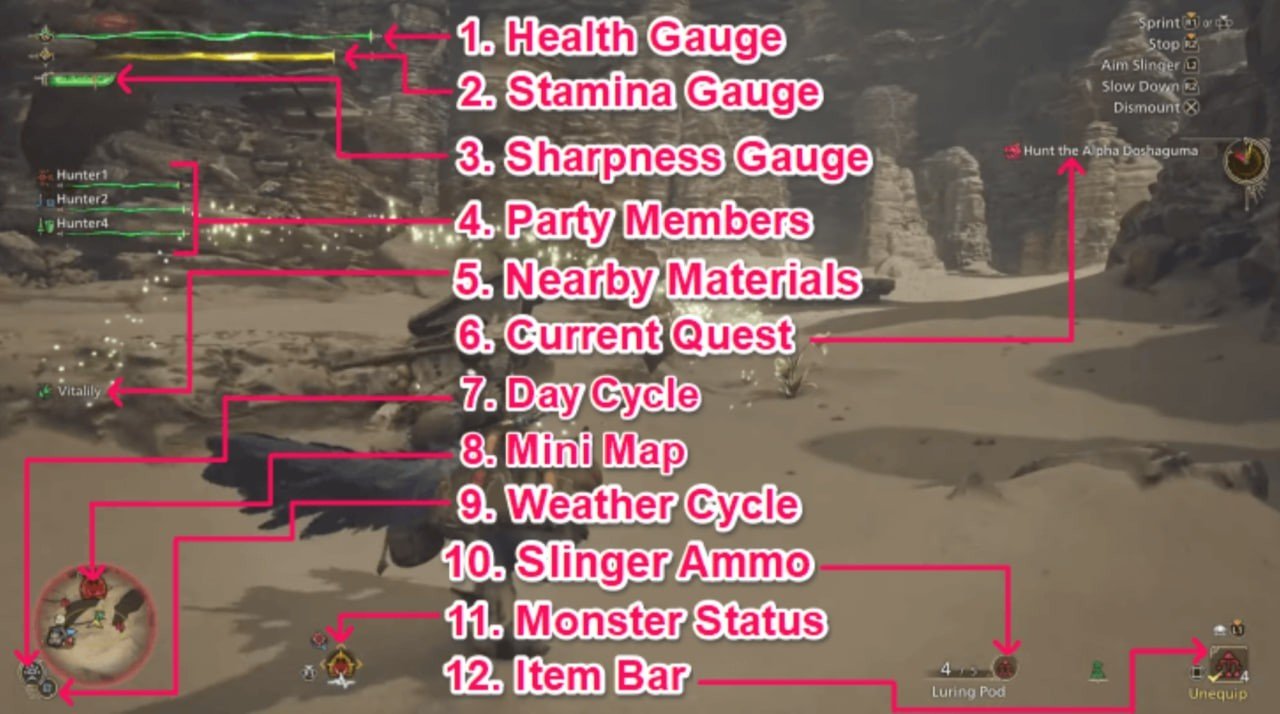 Image: game8.co
I’ll admit, I had a hard time understanding this at first, since, as I mentioned, I’ve never played any MH game before. I didn’t know where my health bar was or where the monster was (this indicator, by the way, doesn’t exist). That’s why it’s important for players to know what’s displayed on the screen. In the image above, you can see where everything is located.
Let’s break down each indicator separately.
|
Name |
Description |
|
Health Gauge |
The health indicator for your character is straightforward: make sure the bar doesn’t drop into the red or hit zero. |
|
Stamina Gauge |
Another crucial bar for a successful hunt. It’s important to keep this in check, or your character will become exhausted. |
|
Sharpness Gauge |
Your weapon must always stay sharp; otherwise, it won’t deal good damage. If you see the indicator turn red, it’s best to use a whetstone. |
|
Party Members |
Here, you can see the health levels and names of all party members. |
|
Nearby Materials |
Displays nearby resources available to the main character. |
|
Current Quest |
Shows the quest currently being undertaken. |
|
Day Cycle |
Indicates the current time of day. |
|
Mini Map |
The name makes it clear—this is the mini-map. |
|
Weather Cycle |
Shows the weather conditions in the area, such as drought. |
|
Slinger Ammo |
Displays the number of ammo currently loaded in the Slinger. |
|
Monster Status |
Another self-explanatory feature. This lets you know the monster’s status. |
|
Item Bar |
Well, this is simply the inventory, where you can check which items you currently have. |
Weapons
 Image: steamcommunity.com
When you unlock the ability to carry an additional weapon, it's best to have both a ranged and a melee option. Monsters vary, but this duo will cover nearly all situations.
If you grow tired of your current weapon, you can always change it by visiting the blacksmith.
Armor Skills
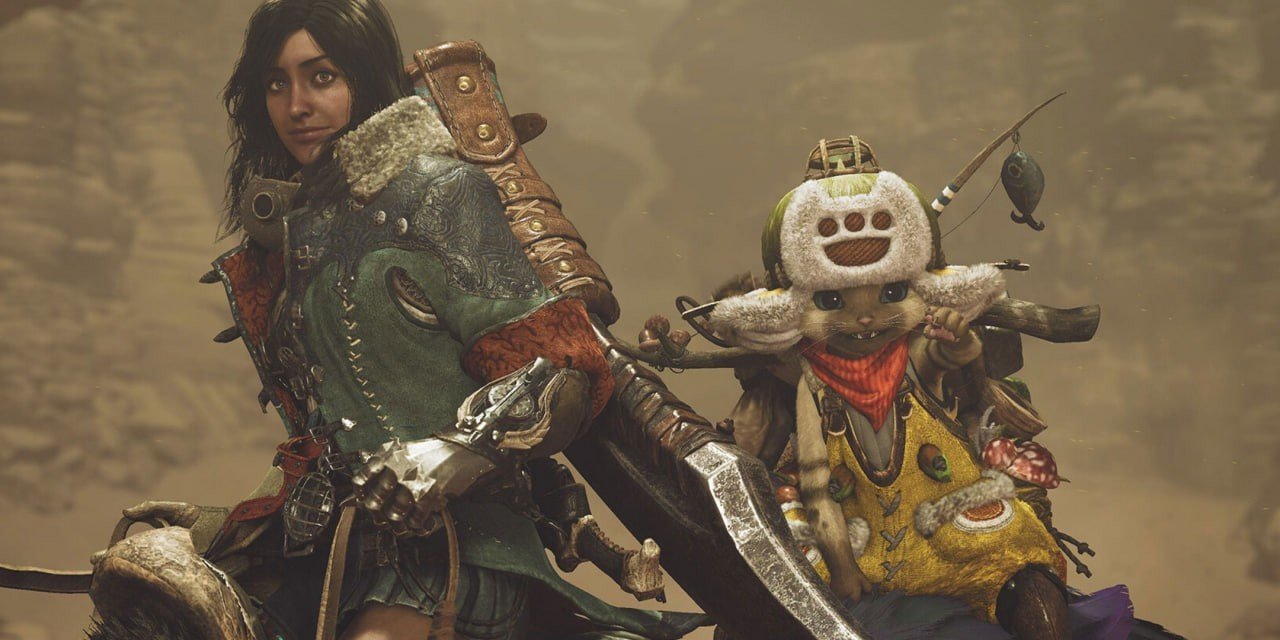 Image: msn.com
Armor can enhance your weapon, but choosing the right skills is crucial. For example, dual blades and bows drain stamina quickly—something I learned firsthand while using this setup. Therefore, your armor should include skills that boost stamina.
Study your chosen weapons carefully to avoid mistakes when selecting armor skills.
Don’t Forget to Use Helpful Hunting Items
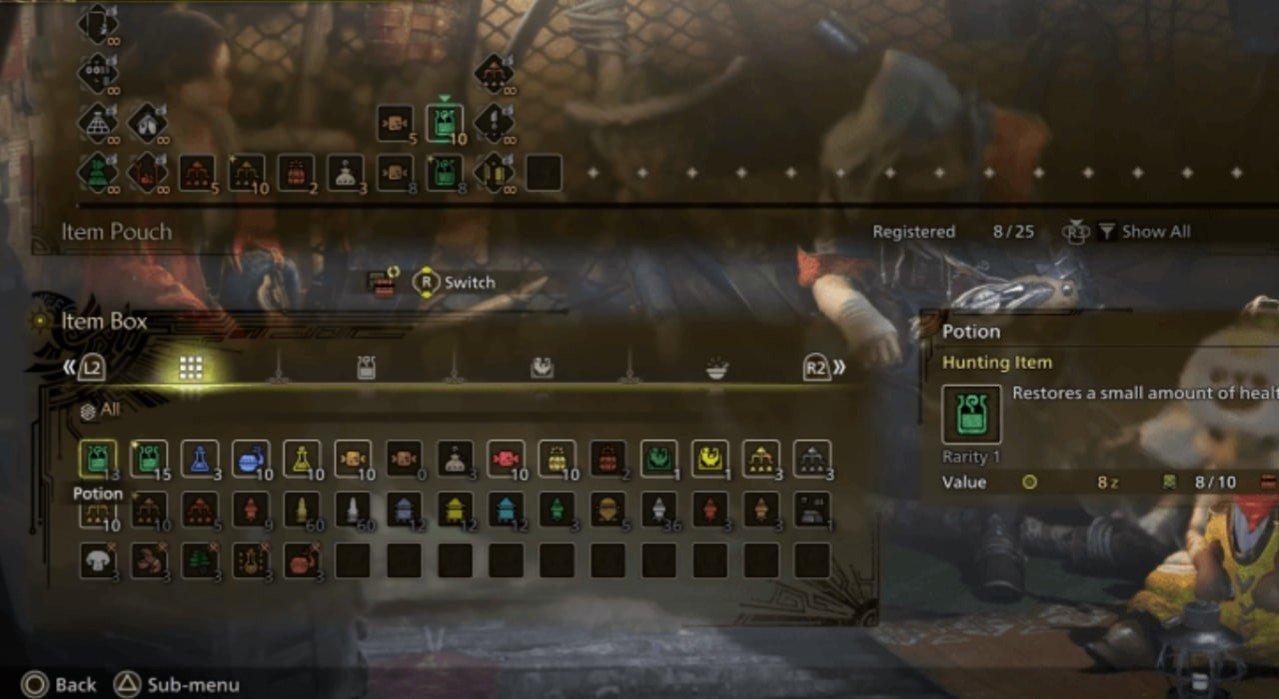 Image: game8.co
What are these? They’re items that help you survive battles and take down monsters faster. You can buy or craft them, including health potions, traps, antidotes, and more.
You can assemble your kit at the camp tent, where you can also craft items.
Food
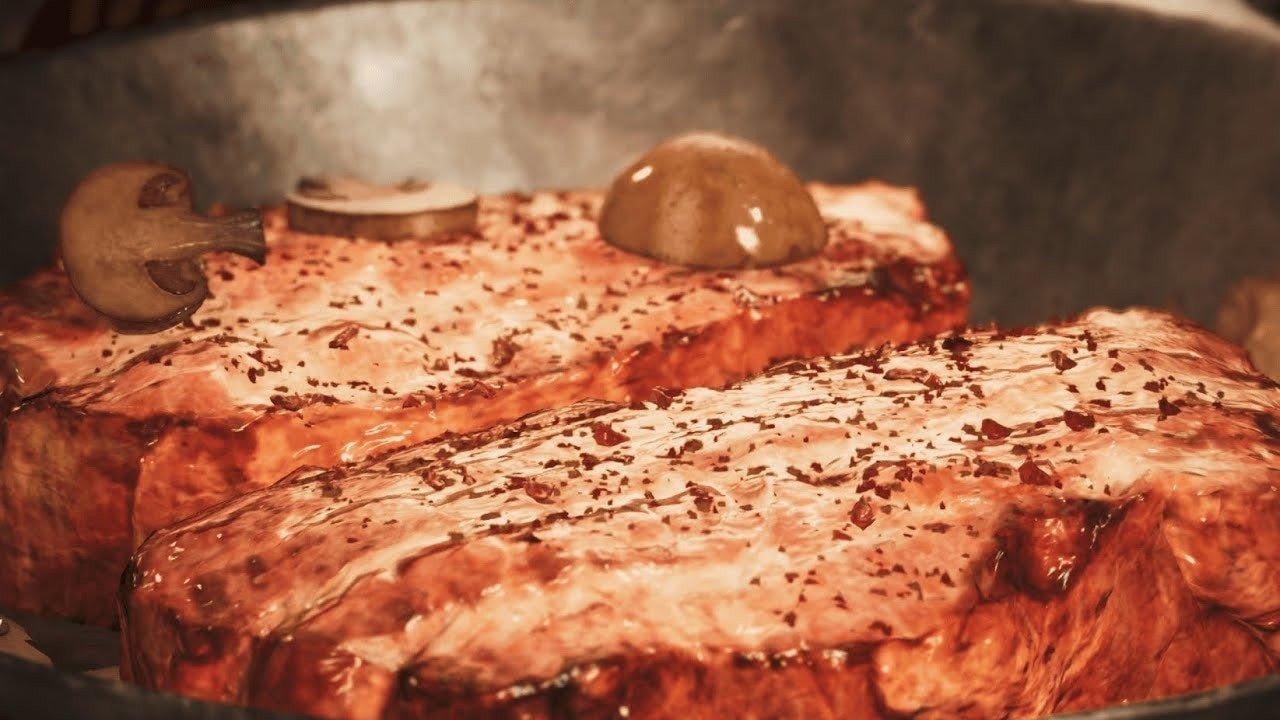 Image: skycoach.gg
Pay special attention to cooking, as food provides buffs to your hunter. If your hunter is hungry, their health and stamina will be significantly reduced.
I once encountered this issue, thinking it was a monster’s debuff. My character refused to drink an antidote—only after eating a well-done steak did everything return to normal.
Don’t Forget to Help Your Palico
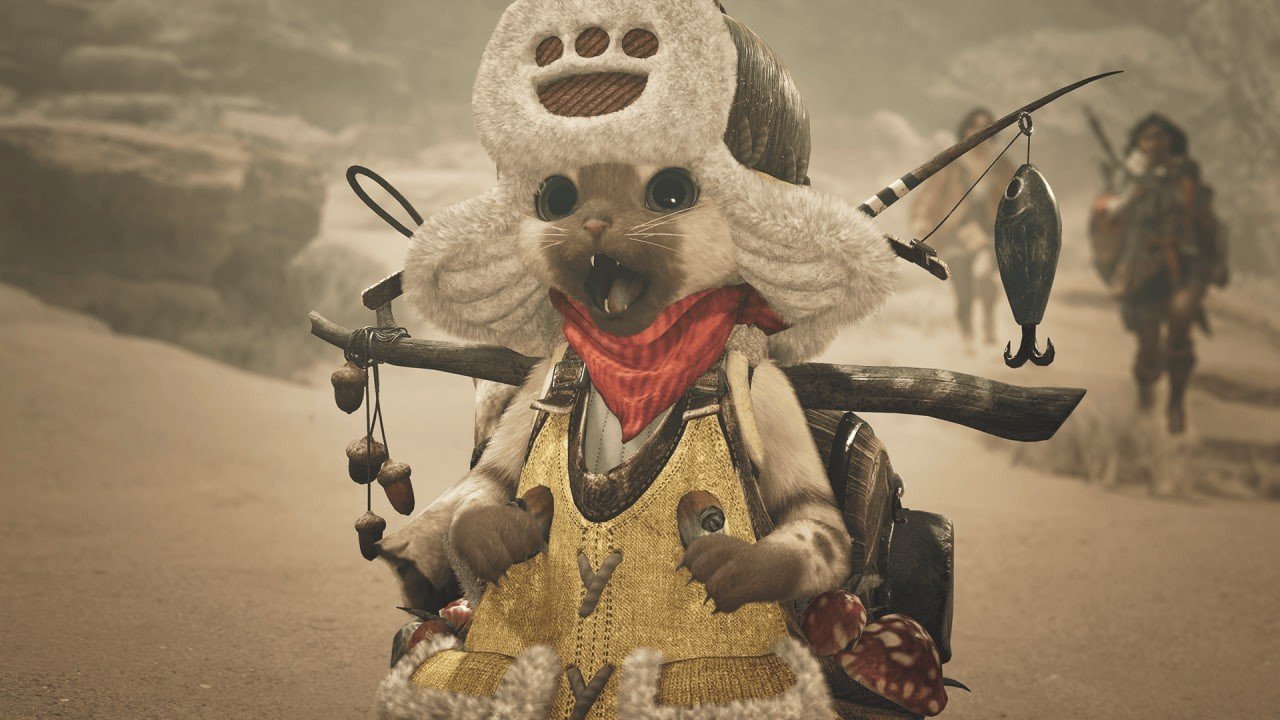 Image: monsterhunter.com
Yes, during battle, you should also assist your loyal companion using special items from your inventory.
Dodging
 Image: vk.com
Those who’ve played Dark Souls know how crucial dodging and rolling are. They’re equally important here—without them, you risk a quick demise.
Armor Spheres
 Image: game8.co
These are special items needed to upgrade armor. They boost defense, making your character more resilient.
SOS Signal
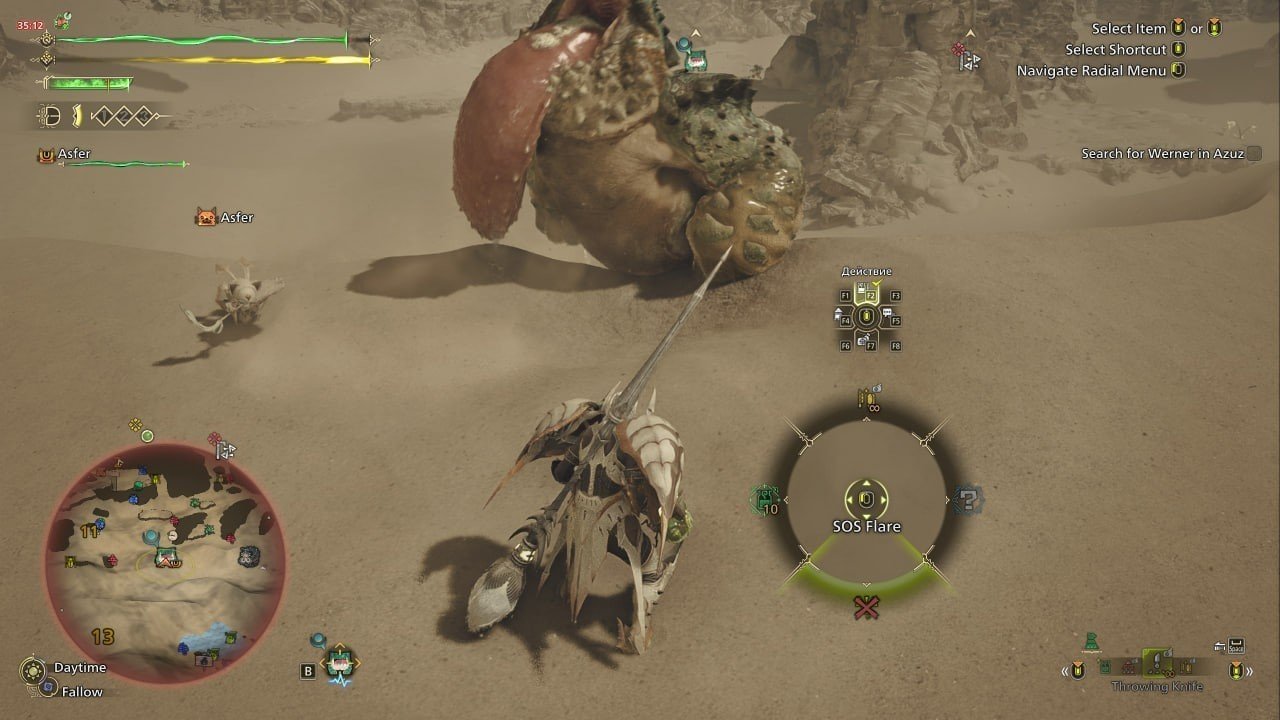 Image: ensigame.com
Don’t hesitate to call for help from NPCs or other players if you realize you can’t handle a monster alone. Endless failed attempts will only frustrate you, so ask for assistance when needed.
Don’t Forget to Switch Weapons Mid-Battle
As mentioned earlier, in Monster Hunter Wilds, players can carry two weapons and switch them during combat. Don’t hesitate to do so—sometimes melee works best, while other times, ranged attacks are more effective.
Focus
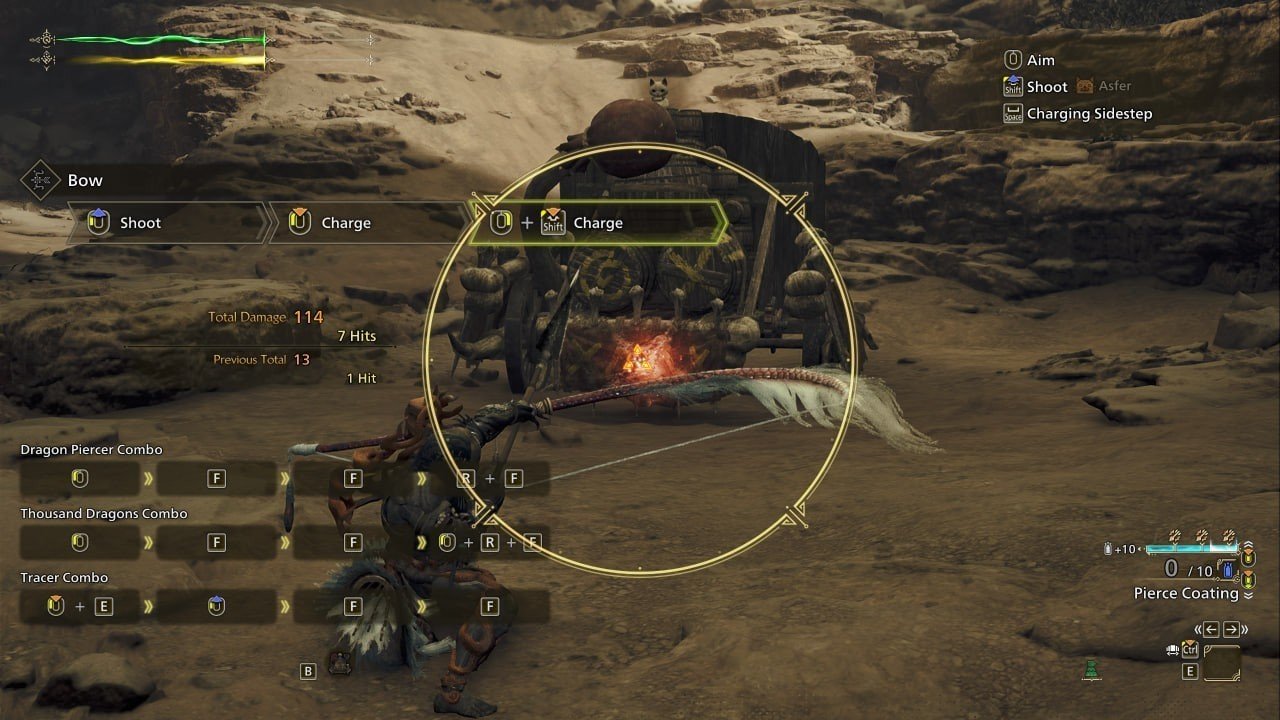 Image: ensigame.com
This is a crucial yet often underestimated feature. When a monster’s wounded areas glow red, hitting them deals extra damage. Focus mode can help target these weak points more precisely. For more details, check this guide.
Autopilot for Seikret
Save time and simplify gameplay by setting your mount to autopilot. This way, the bird will take you to your destination automatically, eliminating the need to constantly check the map for directions.
Stealth Attacks
Another great way to defeat monsters while minimizing damage. Stealth attacks are essentially assassin techniques—approach quietly from behind, hide in bushes, and ensure the monster remains unaware of your presence before striking hard.
Environmental Traps
 Image: game8.co
Traps can be found everywhere if you look closely. For example, I once wounded a monster by triggering a rockslide above it. The creature didn’t die but took significant damage.
Other traps include stunning frogs or vines that immobilize hostile creatures.
Quick Resource Gathering
Did you know you don’t always need to dismount to gather resources? Simply approach them and use the Slinger to collect what you need from a distance.
These were all the essential tips to help players begin their journey in Monster Hunter Wilds.
Main image: uhdpaper.com


0 comments